How to Make a Pop Up Birthday Card
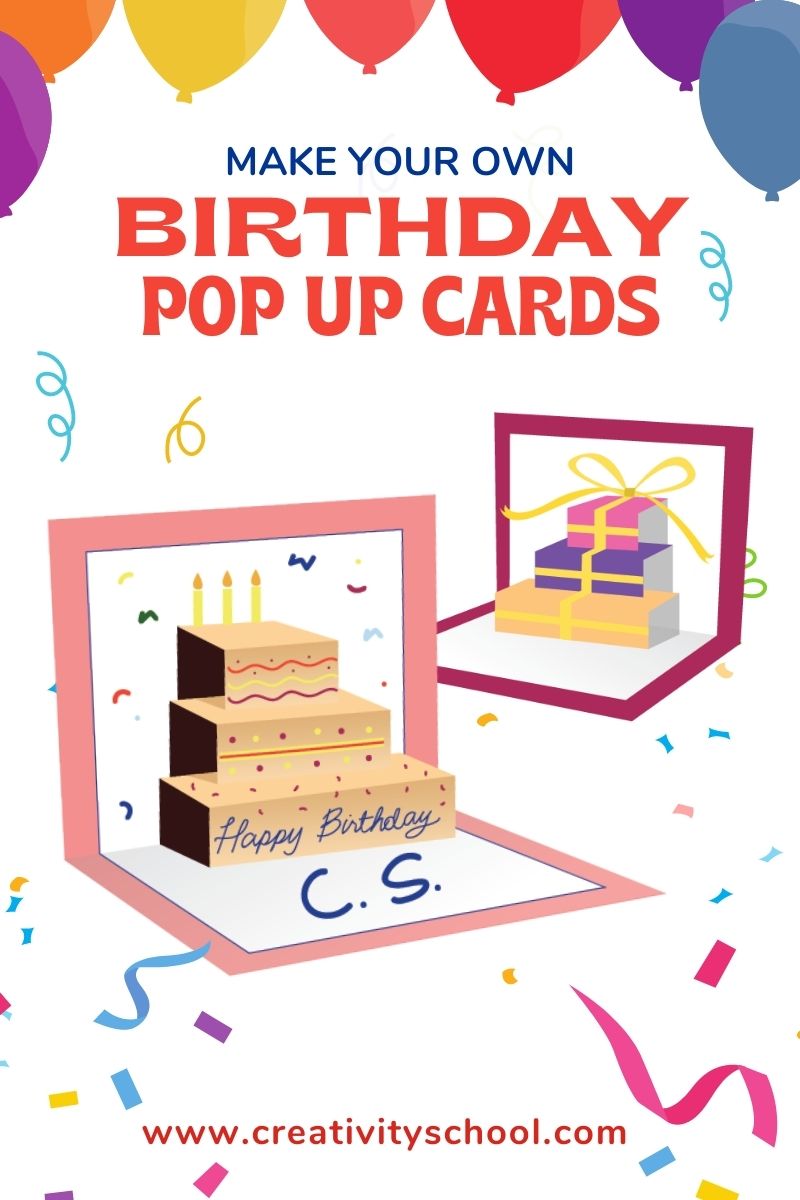
Want to make your birthday message really pop? Let’s make a pop up birthday card!
Creativity School just turned 1, and this hands-on activity is the best way to celebrate a year of memorable crafts and fun arts that have helped our young artists develop their creative passion.
Get your craftsy fingers ready and let’s get started!
Recent Posts
Celebrate your birthday through arts and crafts at the Creativity School!
Our award-winning artists give away free LIVE art classes from the Creativity School.
Create fun and crafts like collages, animations, pop up cards, and much more!
The Magic of Pop Up Cards
Giving cards is a special way to connect with your friends and loved ones.
And nothing beats the wonderful feeling of receiving and opening a handmade pop up card.
Pop up may seem complicated, but it is actually easy and fun to make. It is also a cool hands-on craft project to do with your kids and great for any occasion!
Here's a simple step-by-step guide crafted for kids and for all ages!
Ready. Craft. Cut!
Materials
- Thick white paper
- Colored construction paper
- Glue and scissors
- Ruler
- Colored pencils, magic markers, crayons (or whatever coloring materials you might have)
Instructions

Step 1. Make the structure of our pop up card.
Fold the colored construction paper on the longer side (any color you want) and cut it along the crease.
Fold one of the sides in half, then keep the other one for future use.
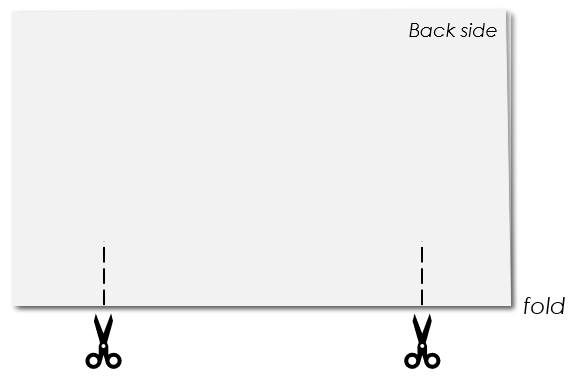
Step 2. Draw and cut the base of your cake pop up.
With the fold towards you, draw two straight lines to where you want to have the base of your cake be, then cut.
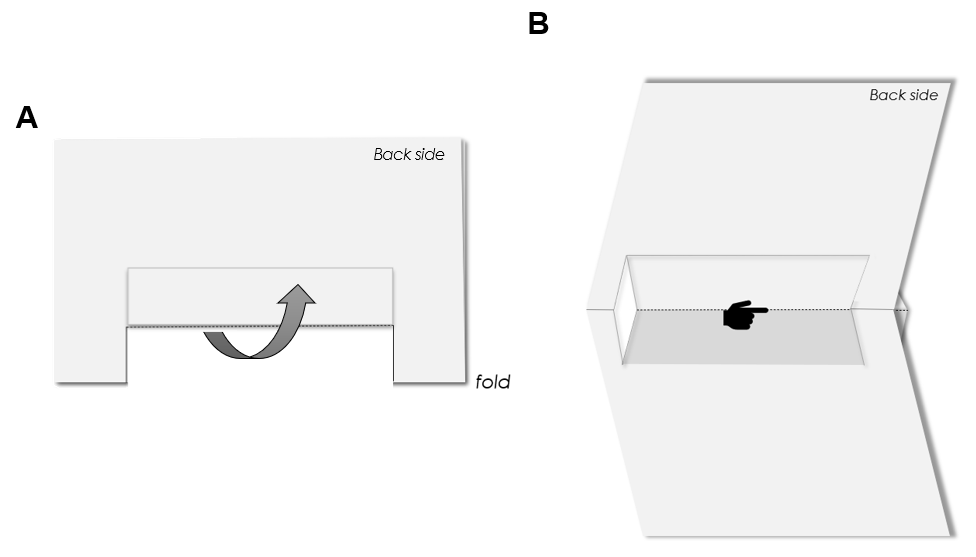
Step 3. Fold the flap upward, then slightly open the paper. Push through the flap until the fold is on the other side.
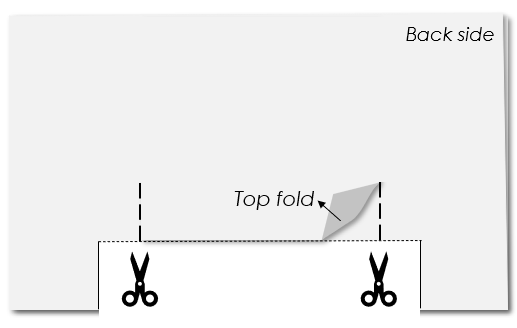
Step 4. Let’s make the second layer!
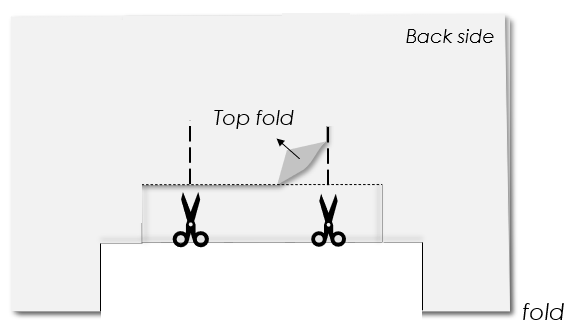
The second layer is smaller than the base layer. Draw two straight lines above the first cut, then cut only on the top fold.
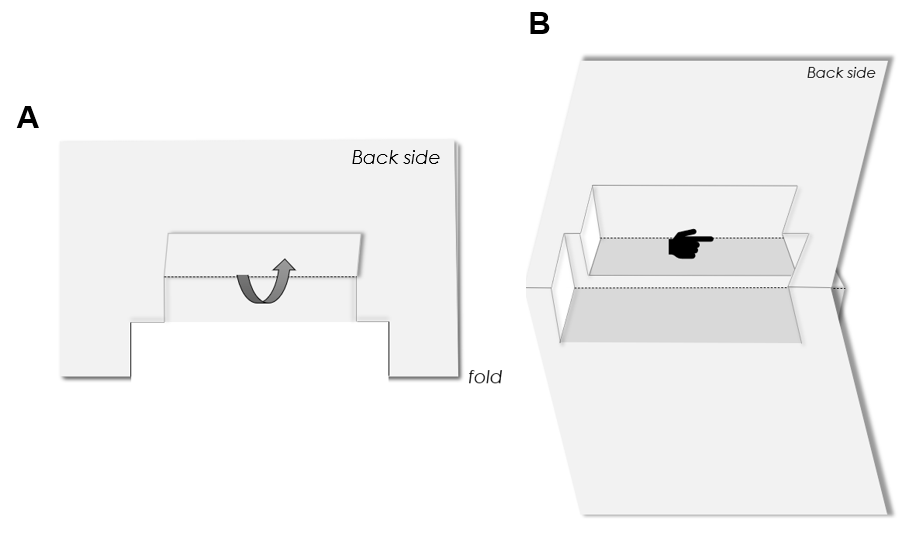
Repeat step 3 on the second layer.
Step 5. Let’s make the third layer!
The third layer is smaller than the second layer. Draw two straight lines above the second cut, then cut only on the top fold.
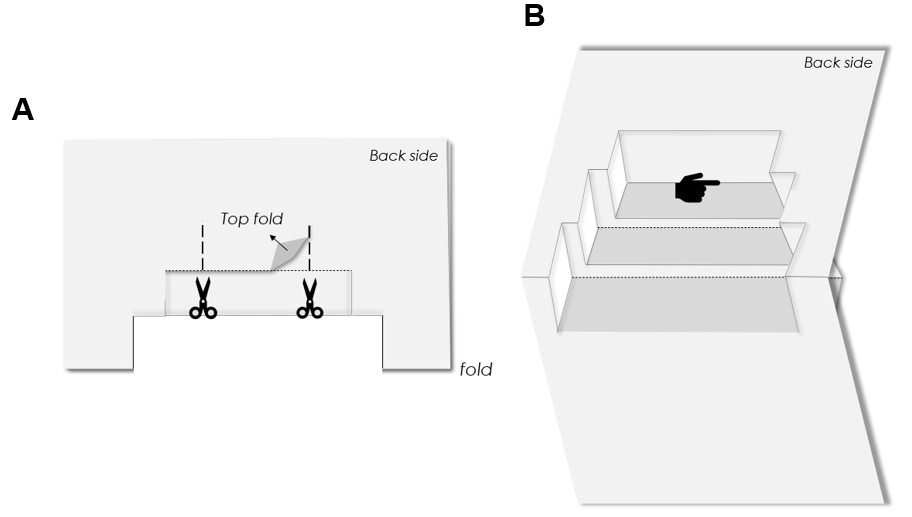
Repeat step 3 on the third layer!
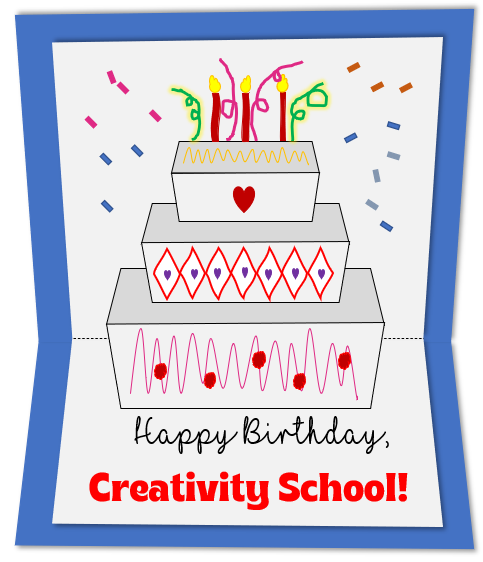
Step 6. Let’s decorate the cake!
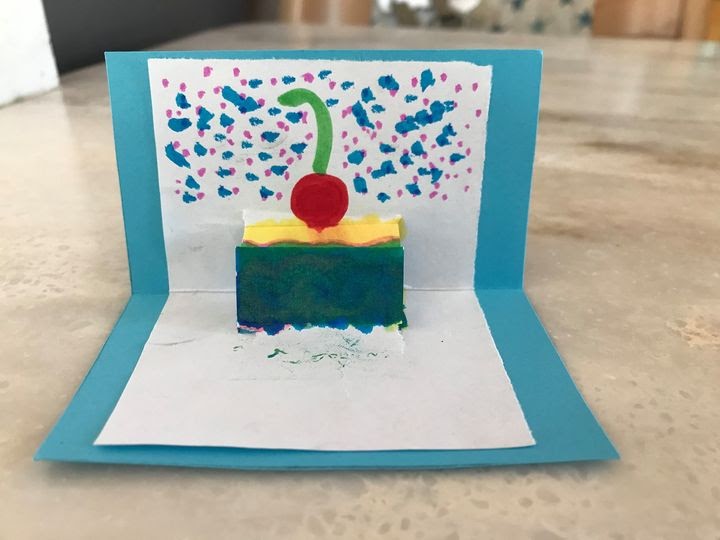
After coloring and adding beautiful decorations to your cake, glue it in a colored paper, then cut to shape!
You’ve just made a very special cake, and you can give it to your best friend who’s having a birthday, or to your mom and dad to show them you love them!
Tips for art-mazing success:
- Making pop up cards requires a pair of scissors, so TAKE EXTRA CARE while handling, or seek the supervision of an adult. ✂️❗
- You can use colored markers to highlight and color your cakes.
- You can add different shapes and other elements in the background or just simply write a sweet message.
- Don’t worry about being perfect. Cards are more fun with imperfections!
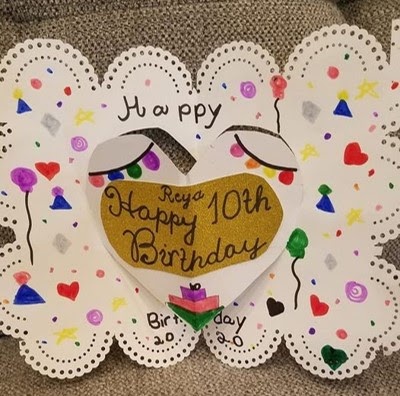
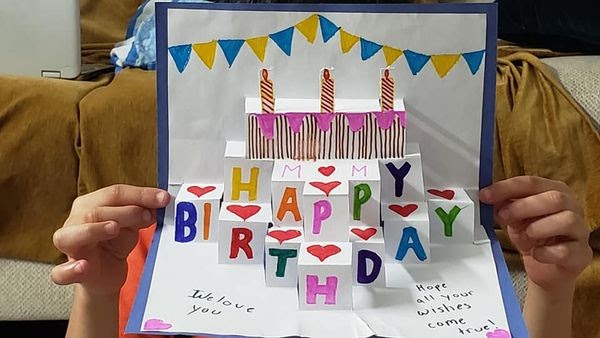
Check out some adorable cakes prepared with love by our young artists at the Creativity School!
Send a sweet birthday message to your family and friends. Leave a comment below if you enjoy making birthday pop up cards.
Check other pop up card crafts below:
Creative Kids Live
- Celina G.
On Demand Class
—Miao
