How to Make a Jolly Bee and Flower Collage

Let’s be jolly and make a bee and flower collage!

Learn the beauty of collage and share happy moments with your kiddos with this fun and simple activity.

Table of Contents

Enjoy making collages at the Creativity School!


Our
award-winning artists give away free LIVE art classes from the Creativity School. 

Create beautiful crafts like collages, animations, pop up cards, and much more!

Let’s get started!

Be sure to check out our YouTube video tutorial on how to make a bee and flower collage.

Materials

  • Copy paper or drawing paper
  • Multicolored paper
  • Crayons or markers or colored pencils
  • Scissors
  • Gluesticks

Instructions

Let’s make the bee!

oval and heart outlines on a yellow rectangle with the scissors icon

Step 1. On a colored paper of your choice, draw and cut an oval for the bee’s body and a big heart for its wings.

triangle and four narrow rectangle outlines on a green rectangle with the scissors icon

Step 2. Get another colored paper. Draw and cut narrow rectangles for the bee’s body markings and a triangle for the stinger.

yellow heart shape with inverted 'U' patterns

Step 3. Add a design to the upper parts of the heart for the wing details.

various shapes to form bee collage with glue icons

Step 4. Glue the wings and the stinger at the back of the body while the markings at the front.

various shapes to form bee collage with scissors icon

Step 5. Cut the excess papers around the edges of the body.

yellow bee collage with round eye drawing and a smile

Step 6. Draw the eye and a big smile.

You’re done crafting your cutesy happy bee!

Let’s do the flowers!

circle outline on an orange rectangle with scissors icon

Step 1. Draw and cut a circle for the flower head.

purple and pink rectangles outline and cutouts

Step 2. Using two to three different colors of paper, draw and cut 10 small rectangles for the petals.

curved purple and pink rectangles outline and cutouts

Step 3. To make the petals, cut the rectangles to a curve from the corners to the middle of the opposite side.

flower collage with glue icon

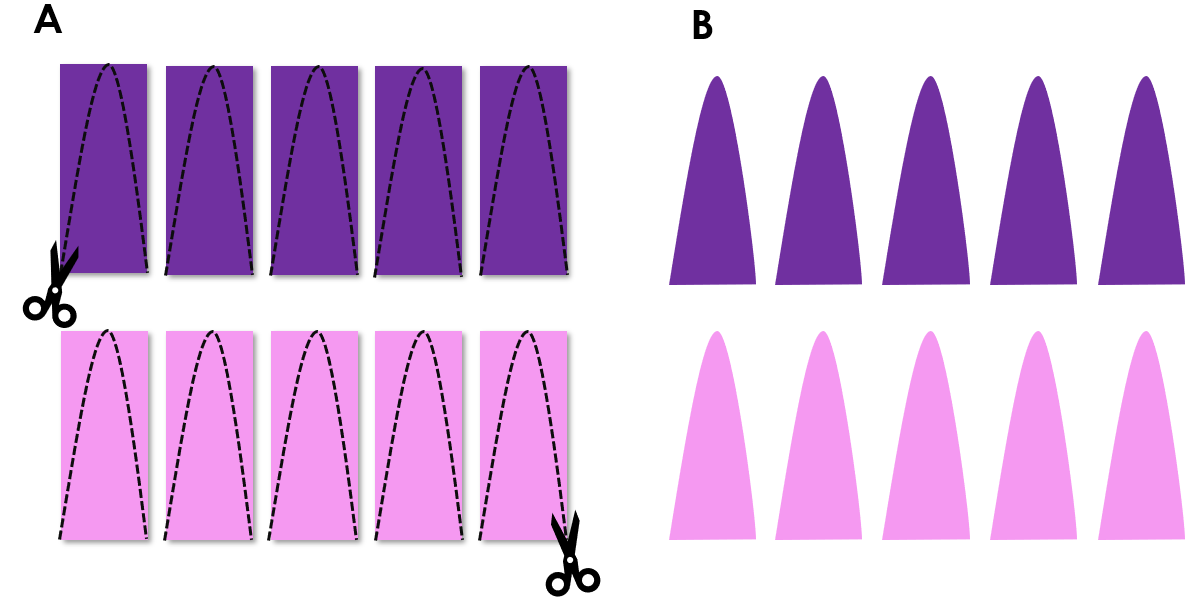
Step 4. Glue the petals around the flower head.

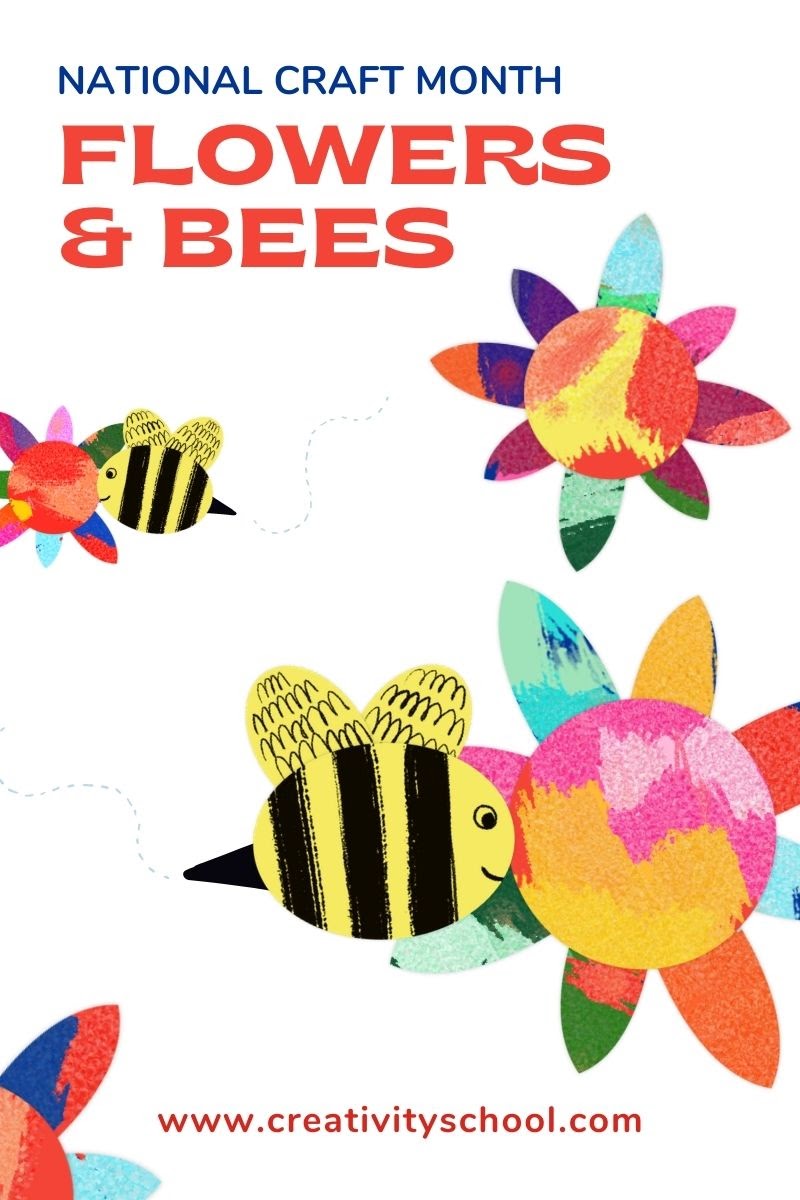
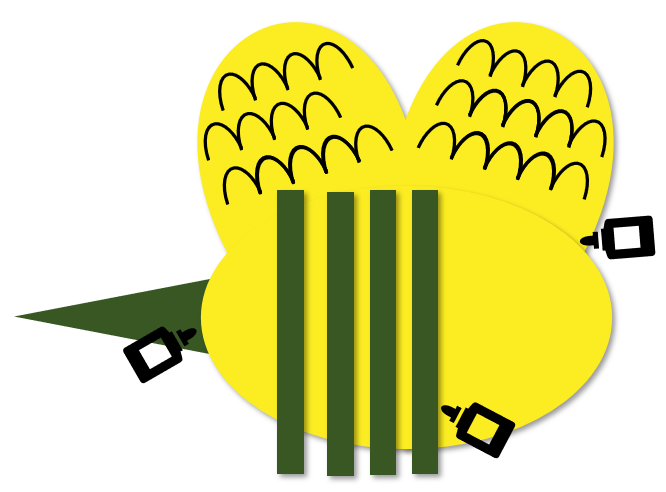
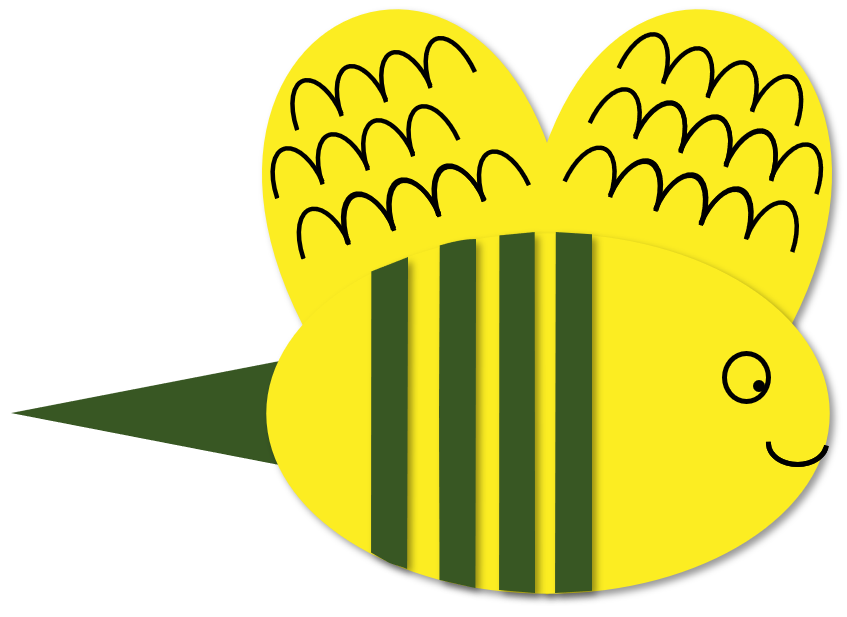
There you have it! You’re done creating your flower!

Tips for art-mazing success

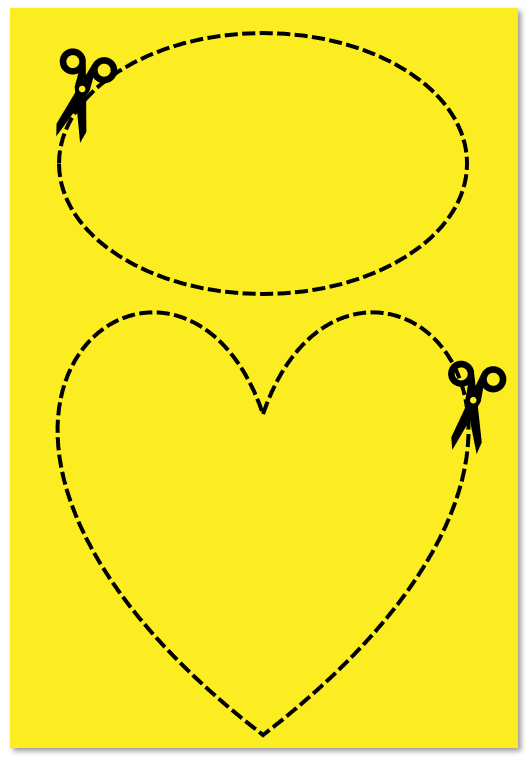
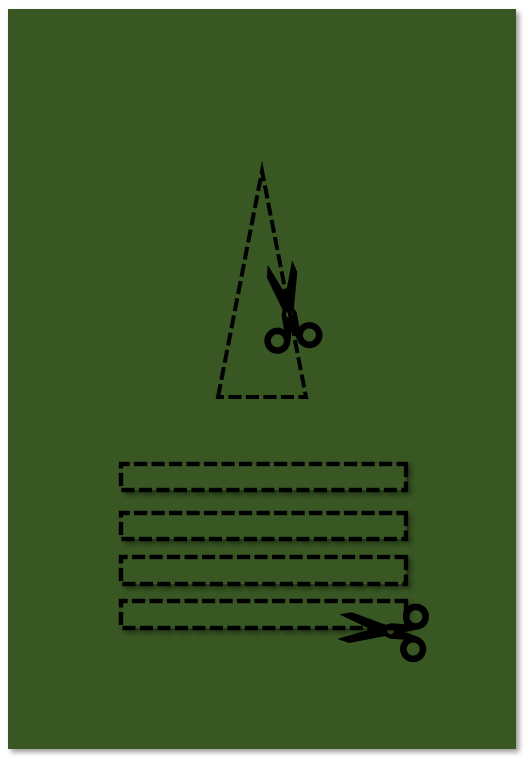
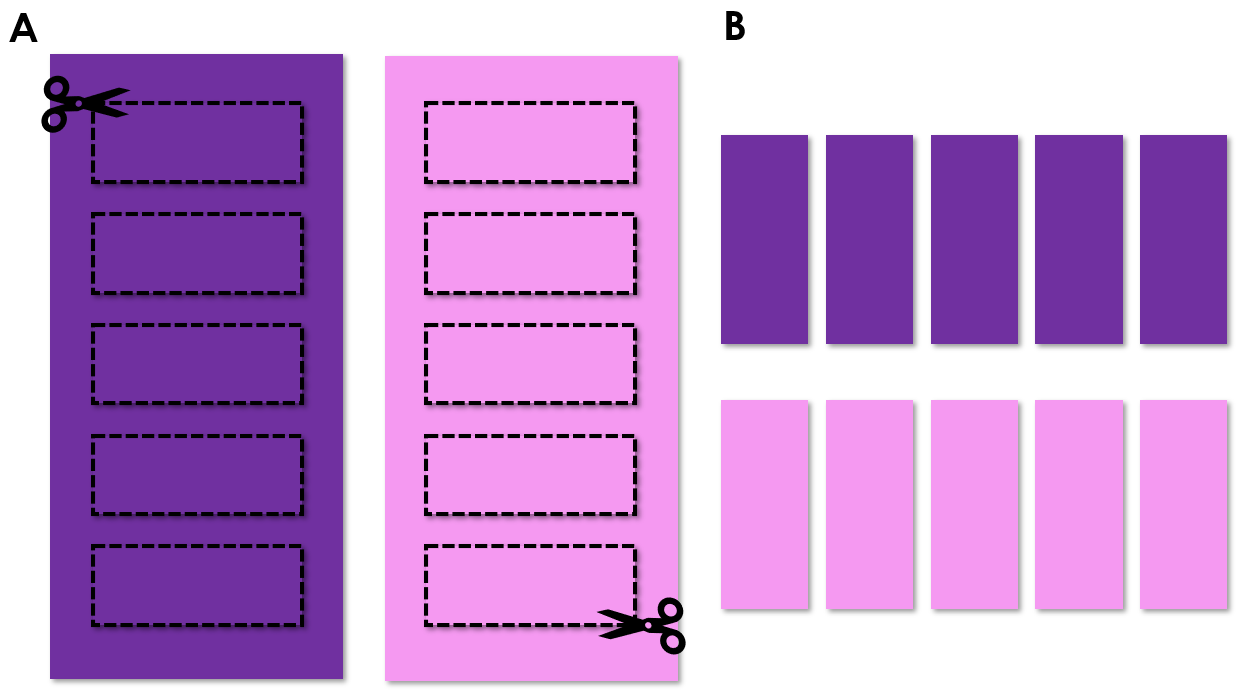
  • Collage arts require the use of scissors, so TAKE EXTRA CARE while handling them, or seek the supervision of an adult. ✂️❗
  • Make two to three more flowers so you’ll have a garden for your bee.
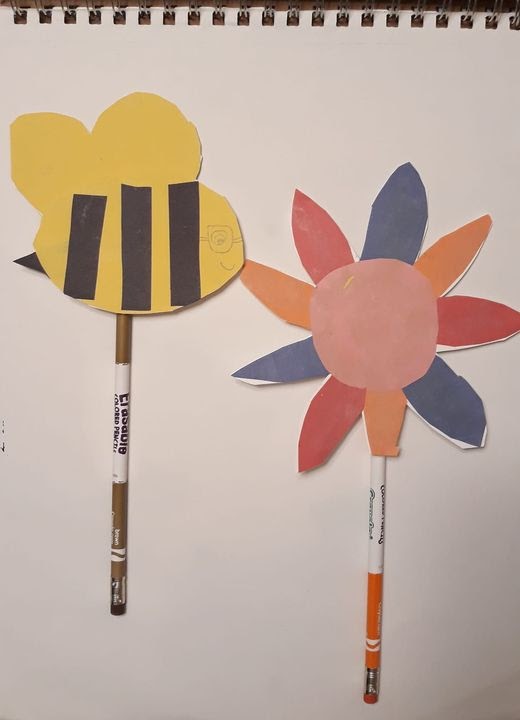
  • You can tape your bee and flower to a pencil or a stick so you’ll have DIY puppets to play with!
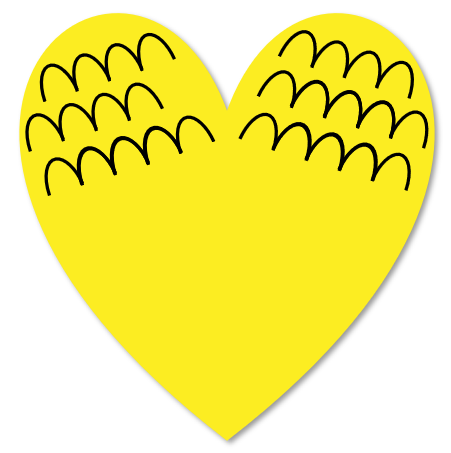
  • Make sure that there’s something underneath the paper when you scribble so you won’t accidentally draw on your kitchen table or drawing table.

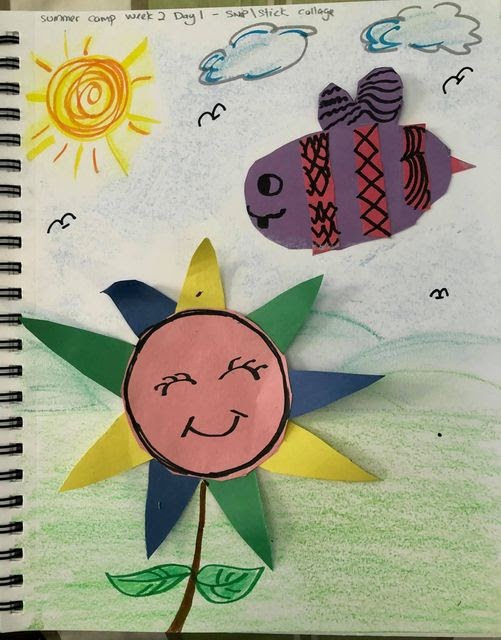
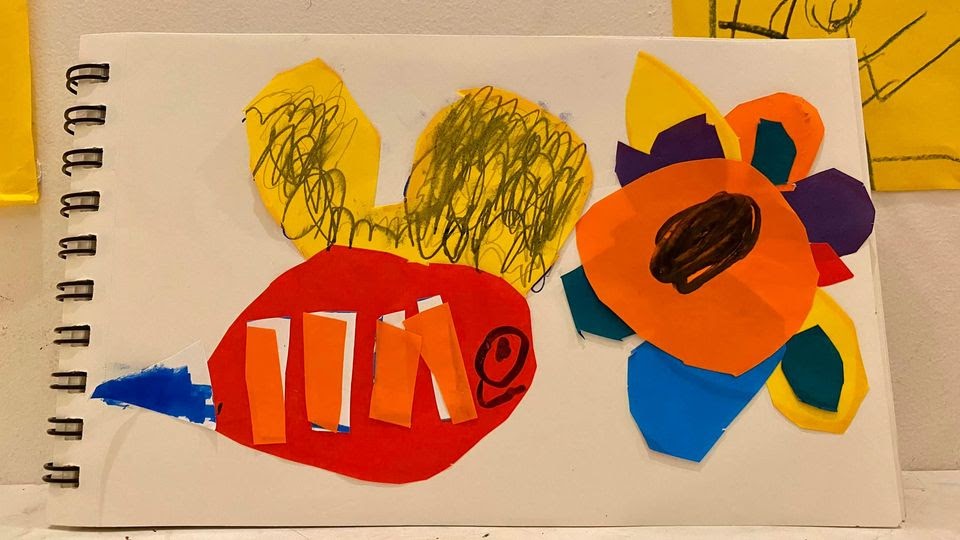
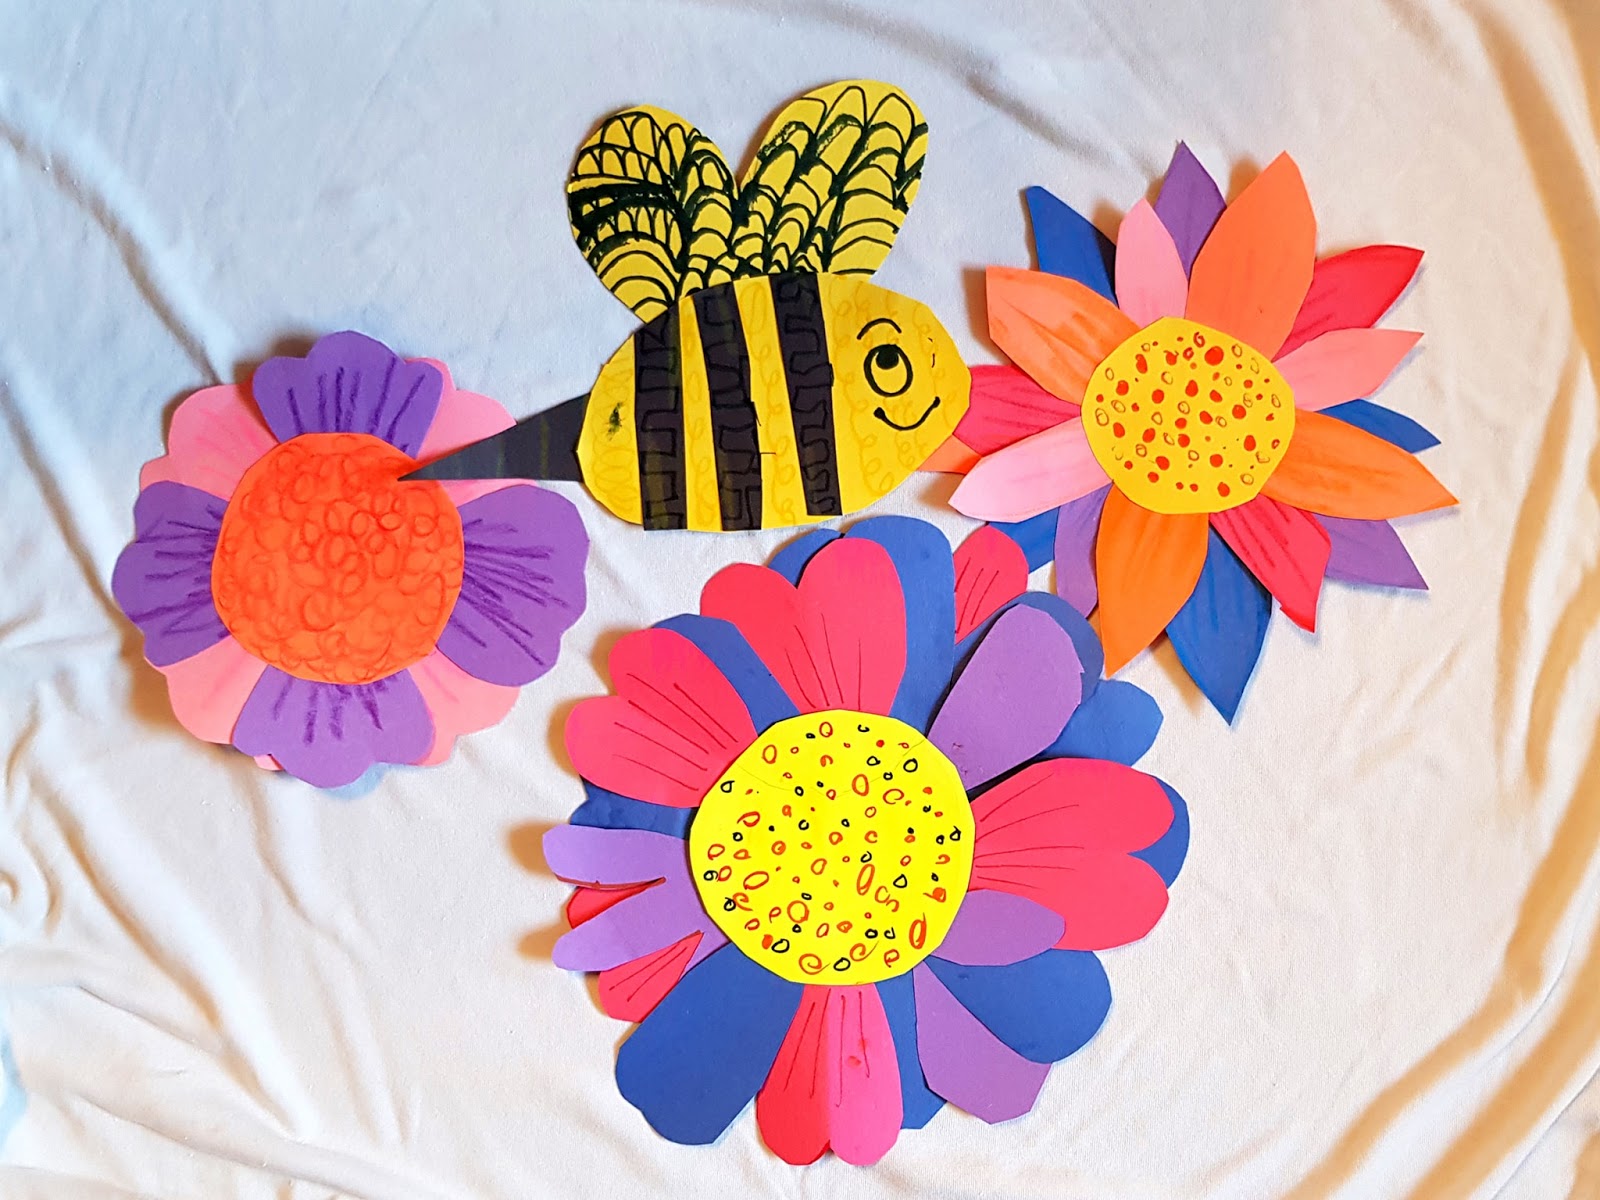
Check out some of these beautiful collages by our young artists at the Creativity School.

bee and flower collage attached to a pencil
purple bee and colorful and smiling flower collage under a bright sun
bee and flower collage on a sketch pad
A bee and three flowers collage on a cloth

Artworks from Creativity School by Caitlin L. (top-left), Helena G. (top-right), Enoch M. (bottom-left), and Willie B. (bottom-right)

Did you have fun making collages? Share with us your thoughts in the comment section below. 

Hop on to Creativity School for more fun and creative art activities!!

Creative Kids Live

“We can tell that Creativity School is having a positive impact on my son’s motivation for school and his overall well-being. We know art and creativity are always boosts for academics and health! This is proving it!!!"
- Celina G.

On Demand Class

“Arree Chung, your class is fantastic! I am sure other parents would agree that Creativity School is more of a FAMILY DEAL! Because I, as a parent who has no drawing experience, learned too.”
—Miao
Share on facebook
Facebook
Share on twitter
Twitter
Share on pinterest
Pinterest

Related Blogs

It seems we can't find what you're looking for.

2 thoughts on “How to Make a Jolly Bee and Flower Collage”

  1. Soujouner Smith

    My daughtesrs loveed the bee the heart part as wings is what made them want to finish.. Lol .. Thank you

Leave a Comment

Your email address will not be published. Required fields are marked *

Scroll to Top

Where can we send your lessons?