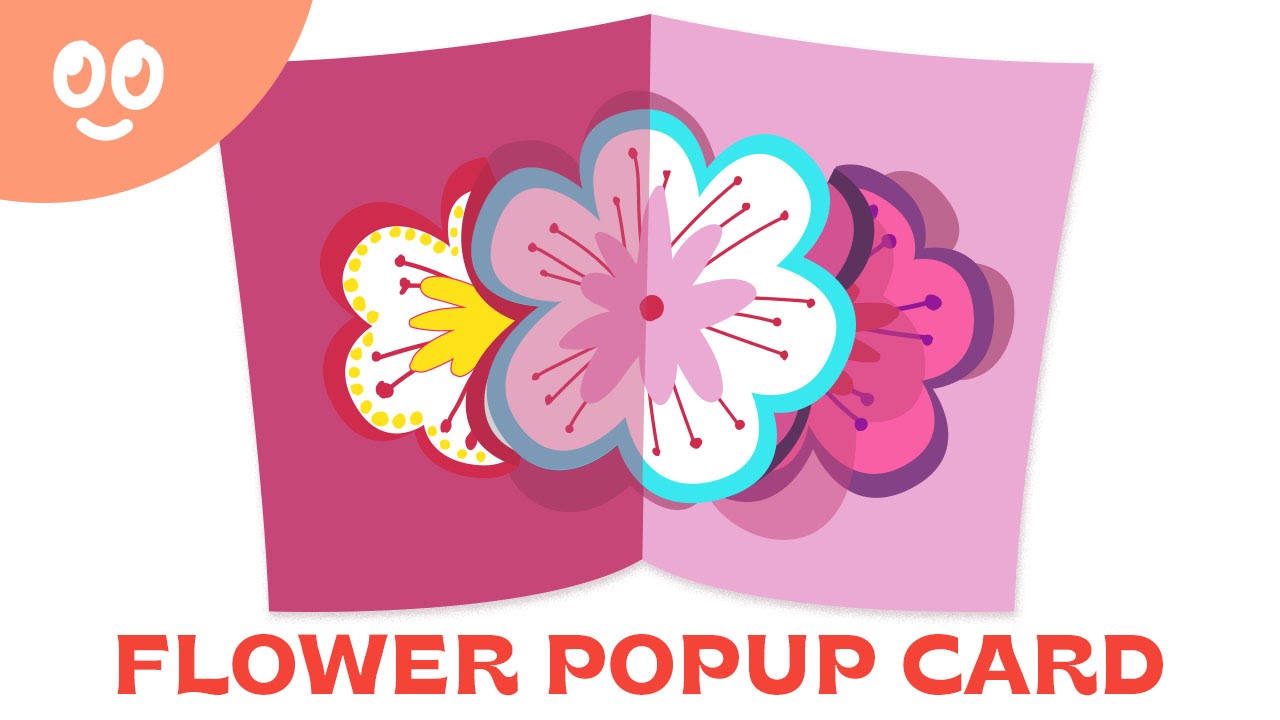
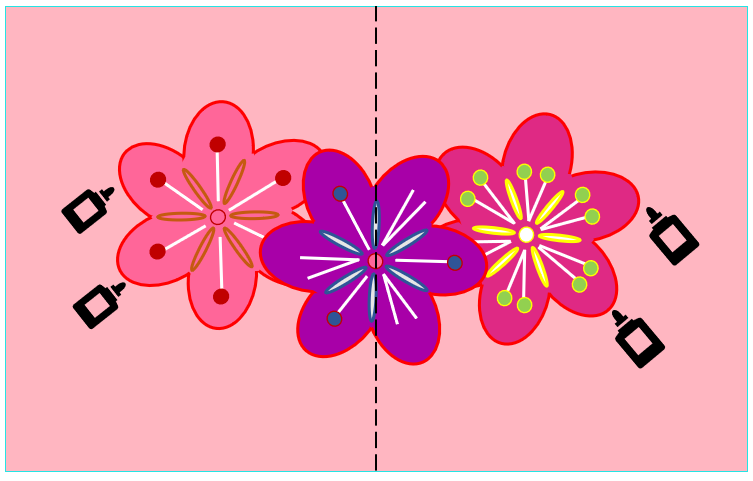
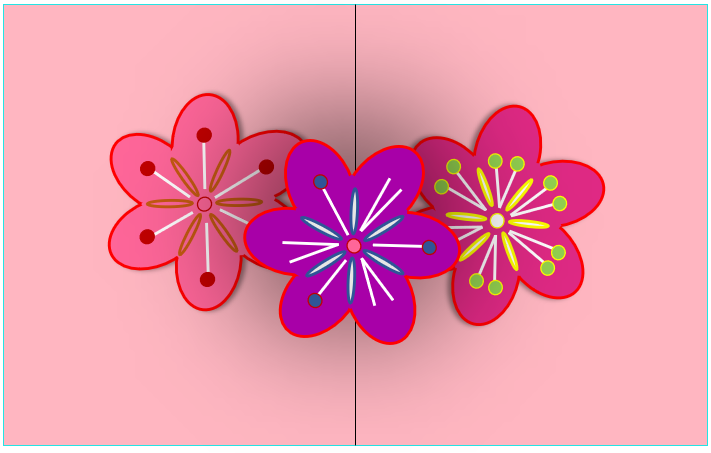
How to Make a Cute Pop Up Flower Appreciation Card

A finished flower pop up card with the Creativity School logo on the top left
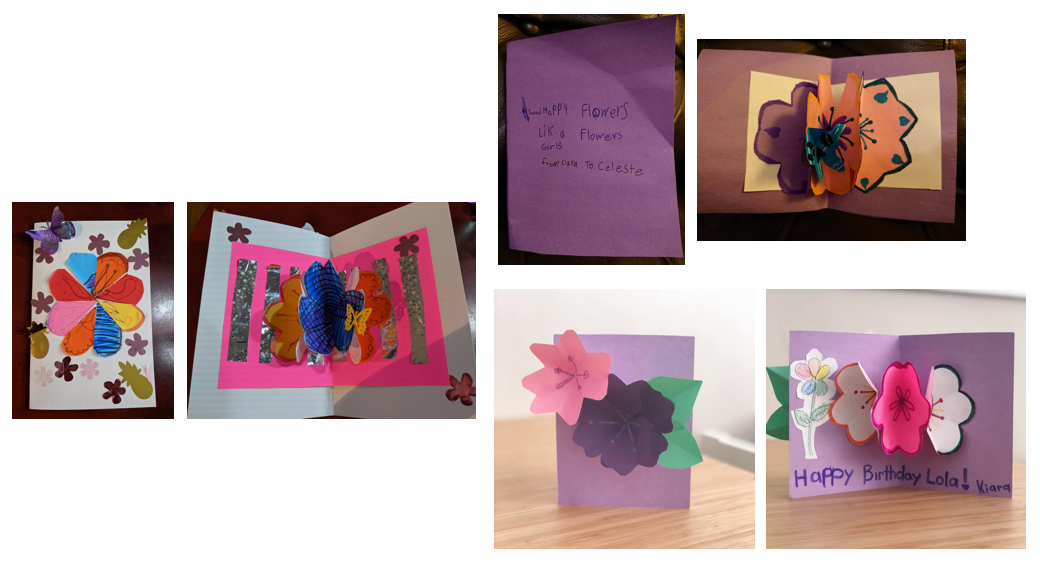
Image courtesy of Arree’s Creativity School

Creative Kids Live

“We can tell that Creativity School is having a positive impact on my son’s motivation for school and his overall well-being. We know art and creativity are always boosts for academics and health! This is proving it!!!"
- Celina G.

On Demand Class

“Arree Chung, your class is fantastic! I am sure other parents would agree that Creativity School is more of a FAMILY DEAL! Because I, as a parent who has no drawing experience, learned too.”
—Miao

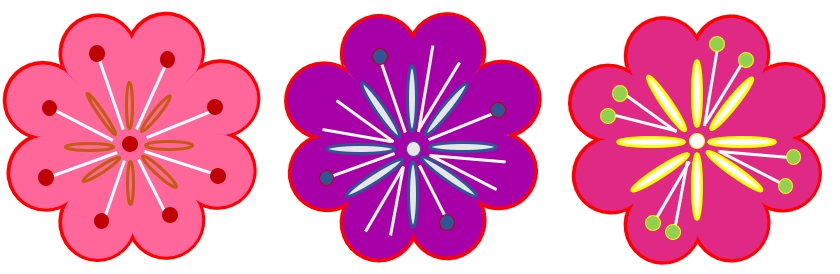
A sweet way to celebrate love this month and enjoy creative time with kids is to make a pop up flower card.  

With Valentines Day coming up, it is a perfect way to give a thoughtful and personalized gift to someone you love. Plus, the process is super fun for kids and adults too! 

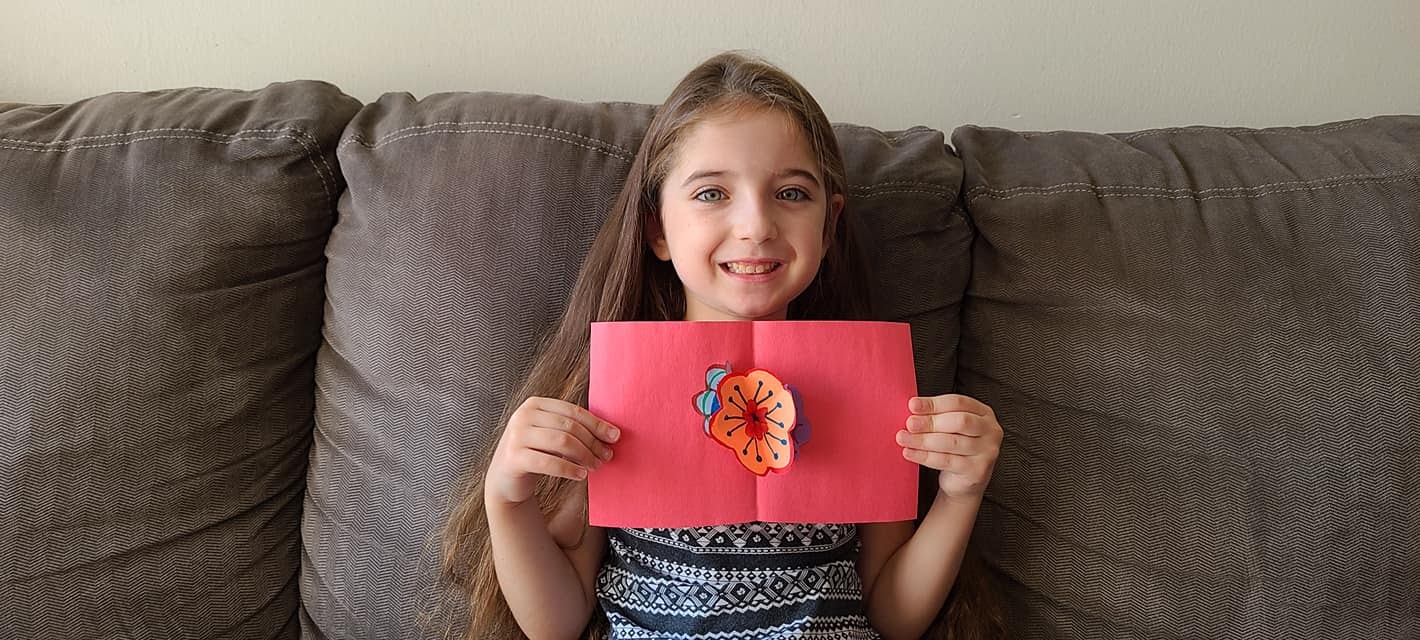
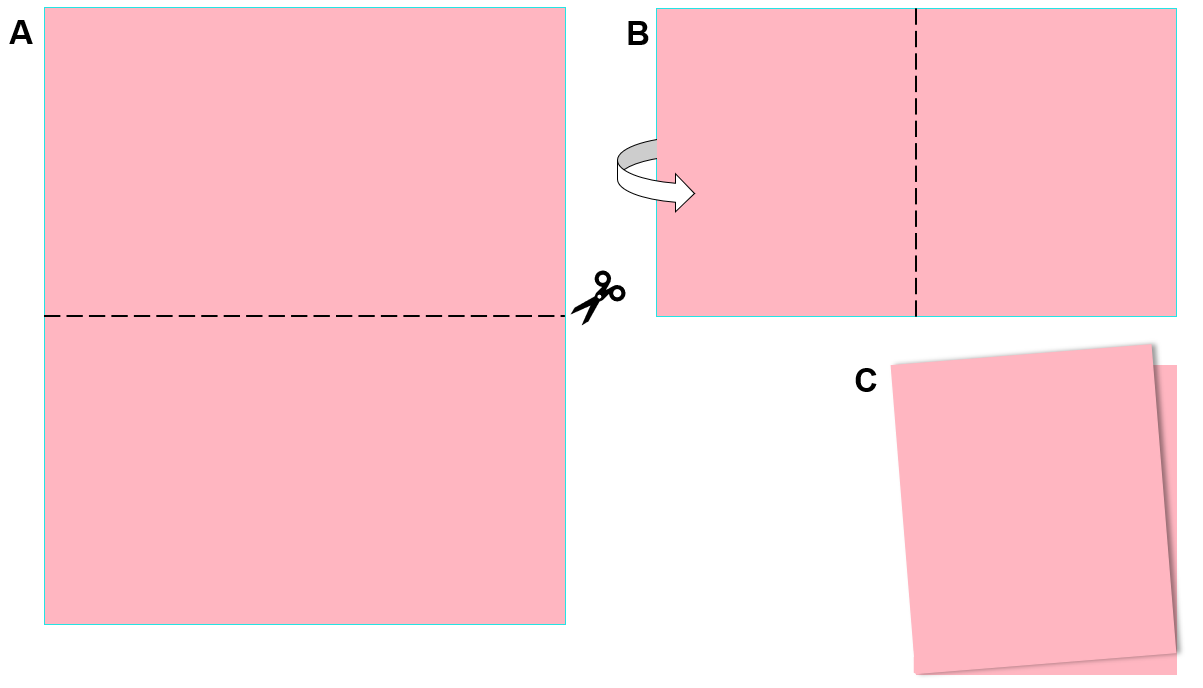
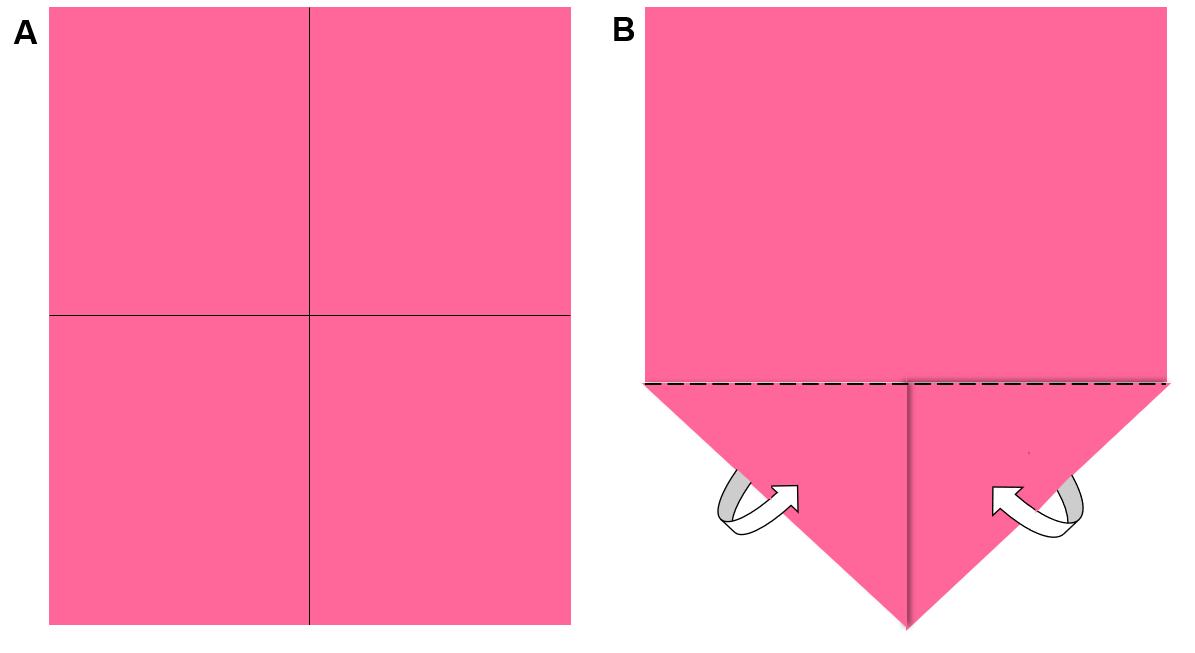
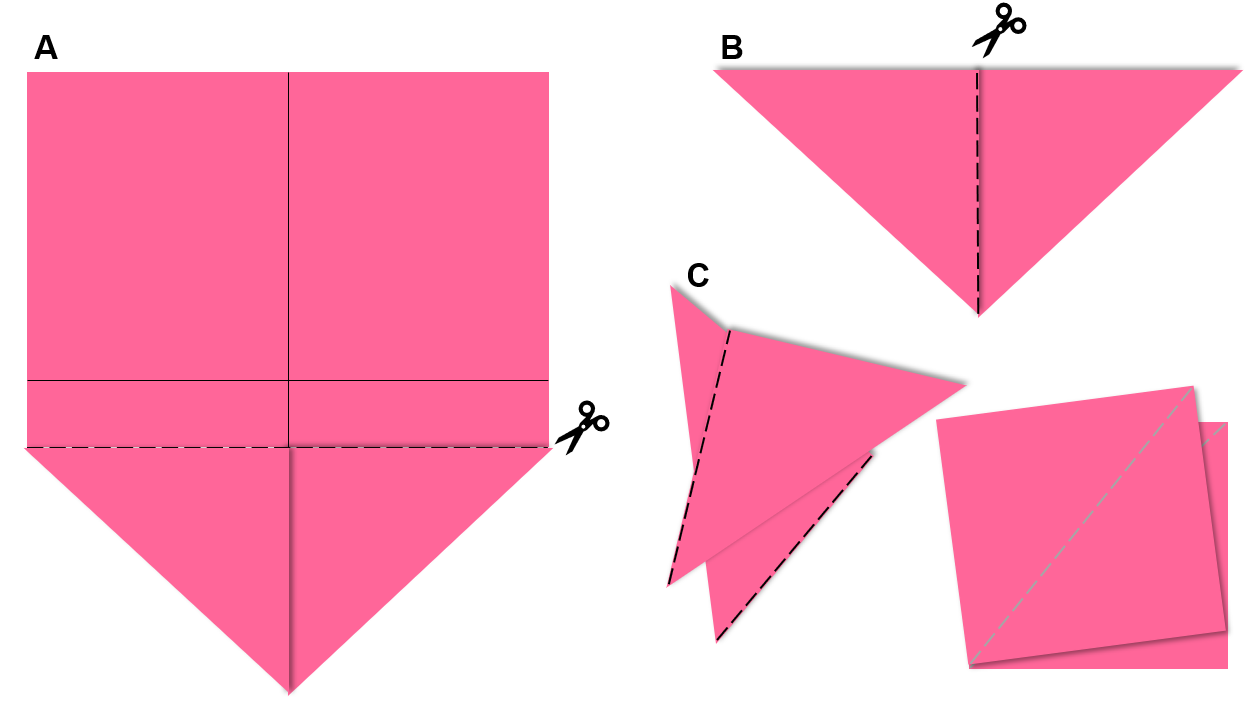
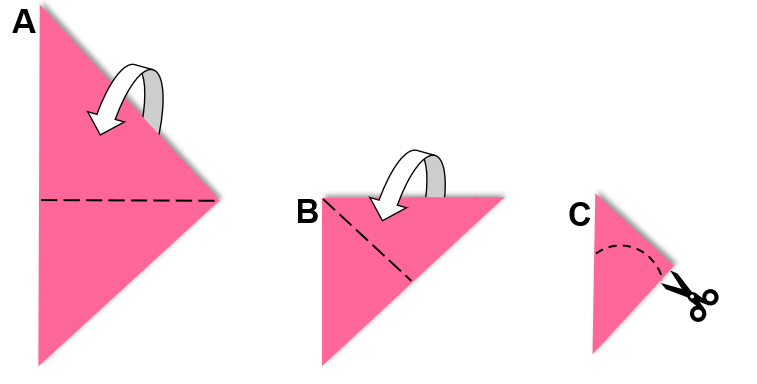
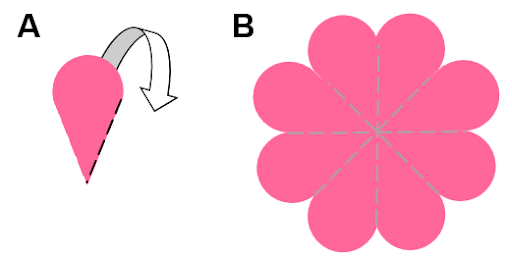
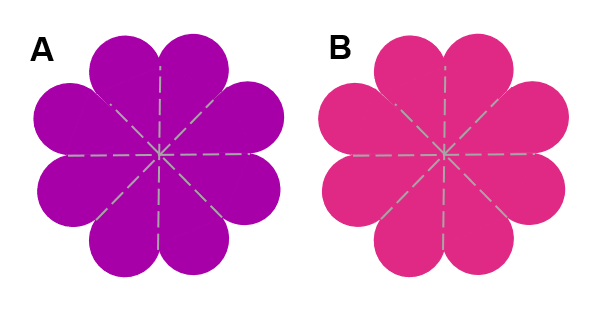
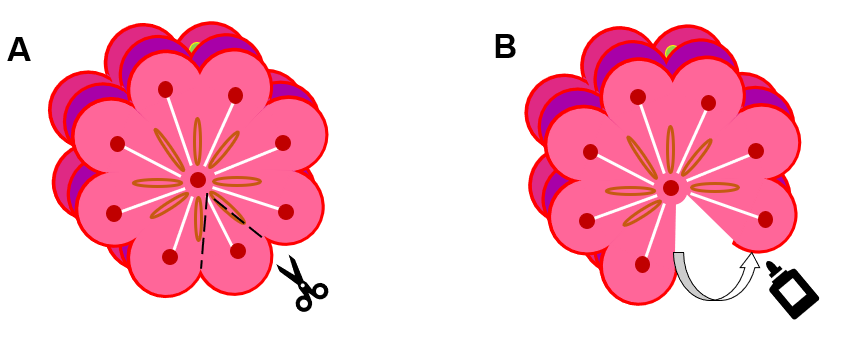
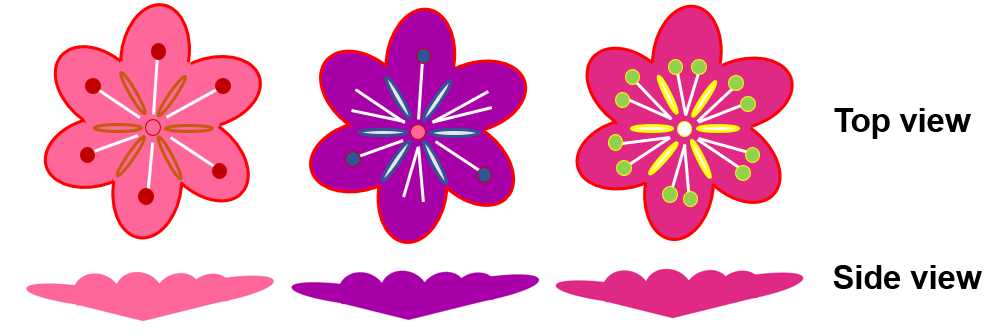
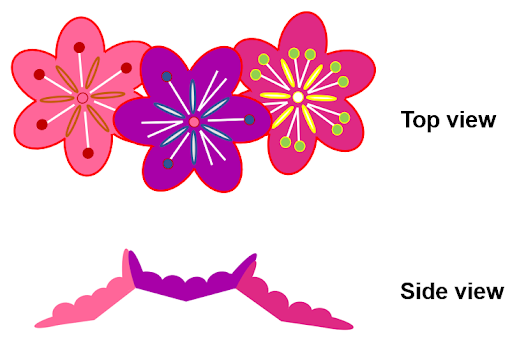
Read through the simple step-by-step instructions below and get ready to cut and decorate some beautiful flowers!

Learn How To Make Lovely Crafts this Valentine’s Day at Creativity School!

Let’s begin the creative journey of your kids and enhance their potential this 2021!

Our award-winning artists give away free LIVE art classes from the Creativity School. 

Create lovely crafts for the upcoming Valentine’s Day like collages, animations, pop up cards, and much more!

The Magic of Pop Up Cards

A young smiling girl holding her handmade popup card.

Image courtesy of Arda K. via Arree's Creativity School Facebook Community

Cards are a wonderful way to connect with each other and say,

“Hey, I am thinking about you” or,

To reach out to someone and say, “I care about you, and I want to know how you’re doing.”

And whether you are a kid or an adult, nothing is sweeter and magical than receiving and opening a handmade pop up card. 

They may seem complicated, but pop up cards are actually easy and fun to make.

They are also a great hands-on craft project to do with your kids and perfect for any occasion!

Here's a simple step-by-step guide perfectly crafted for kids and for all ages!

Ready. Craft. Cut!

Materials:

  1. Thick white paper
  2. Colored construction paper
  3. Glue and scissors
  4. Ruler
  5. Colored pencils, magic markers, crayons (or whatever coloring materials you might have)

Step-by-Step Instructions on How To Make A Pop Up Flower Card:

A picture of the steps showing a cut colored paper in half, then folded.

1. Make the base of your pop up card.

Fold the colored construction paper on the longer side (any color you want) and cut it along the crease. 

Fold one of the halves and set it aside afterward.

A picture showing a rectangular colored paper folded at bottom corners towards the middle.

2. Let’s make the flowers!

Fold another colored construction paper twice (any color you want). 

Open the paper and fold the bottom corners toward the middle.

Cut across the top edge, then cut along the center of the fold. 

When you unfold the paper, you now have two small triangles or squares.

A picture of a triangle folded twice and cut into a cone.

Fold the small triangles twice in half.

To resemble a cone, trace a curve, then cut along the line.

A picture of a cut cone unfolded to show a flower with 8 petals.

Unfold the paper to reveal the flower!

A picture of two flowers of different colors with 8 petals.

Repeat the process to make two more flowers using other colored construction paper!

A picture of three decorated flowers with 8 petals.

3. Decorate the flowers.

Draw some cute floral designs using your coloring materials.

A picture of the three flowers on top of each other with cut-and-paste instruction.

4. Finalize the form of the flowers. 

Cut out one petal of each of the flowers and glue together the two side petals.

A picture of the three flowers on top of each other with cut-and-paste instruction.

There should be 6 petals in each of the flowers, and they are bent inward towards the center.

Top and side views of the three flowers glued through one of each petal.

5. Connect the flowers.

Choose the flower you like to place in the middle. 

Using glue or glue stick, connect the other two flowers on the left and right sides to a petal.

A picture of the flowers on top of the pop up card with four glue icons.

6. Make the flower pop up!

Get your pop up card's base. Glue the flowers to the side while keeping the centerline folds (middle flower and base card) aligned.

Finished digital version of the beautiful pop up flower card.

Tadah! You’ll have a lovely 3D card that’s sure to impress! 

Tips for art-mazing success:

  • Much of this fun-filled activity requires a pair of scissors, so TAKE EXTRA CARE while handling, or seek the supervision of an adult. ✂️❗
  • For the flowers, you can explore other beautiful colors.
  • You may also add leaves, butterflies in the background or just simply write a sweet message. 

Check out some cutesy flowers crafted by our young artists at the Creativity School!

Three sets of the different pop up flower card from students at the Creativity School
Images from left to right: Margaret R. (left), Caroline C. (top-right), and Kristin H. (bottom-right)

Now that you know how to make a pop up flower card, who will you make one for first? Leave a reply below. 

Find a craft that’s perfect for all occasions here at Creativity School!

Share on facebook
Facebook
Share on twitter
Twitter
Share on pinterest
Pinterest

Related Blogs

It seems we can't find what you're looking for.

Leave a Comment

Your email address will not be published. Required fields are marked *

Scroll to Top

Where can we send your lessons?