Beautiful Sunset Painting- How To Paint Sunset with Watercolors Easy
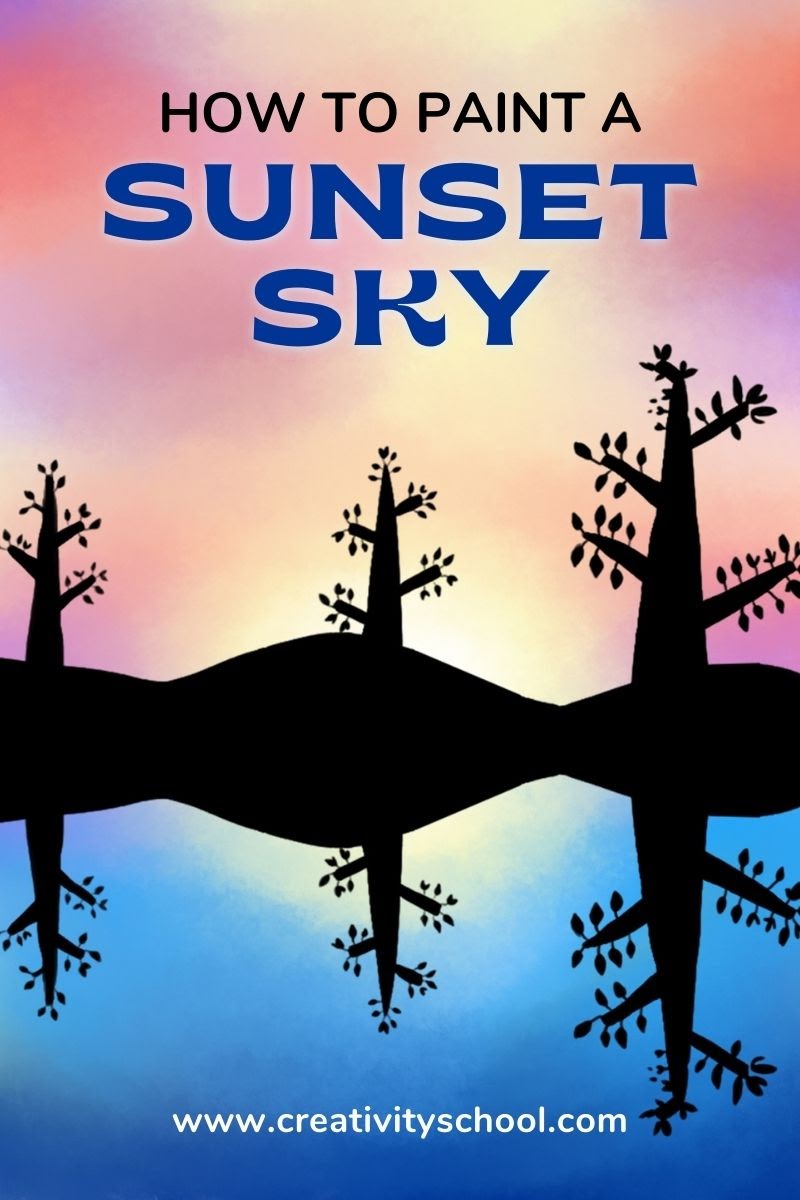
Today, we’re going to do a sunset painting using watercolors.
This fun activity comes with an easy step-by-step guide that is enjoyable for kids of all ages, and it helps us admire the beauty above us.
Enjoy and happy painting!
Recent Posts
Learn How To Draw and Paint at Creativity School!
Let’s begin the creative journey of your kids and enhance their potential this 2021!
Our award-winning artists give away free LIVE art classes from the Creativity School.
Learn how to make collages, animations, pop-up cards, draw ninjas, characters, paint, and much more!
The beauty of sunsets
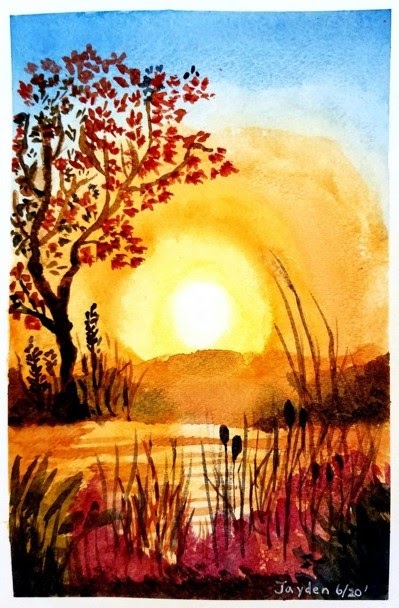
Who doesn’t love watching the sky as the sun displays its beautiful layers of colors before it goes down?
NO ONE!
Sunsets are beautiful parts of nature. They have a way to give calmness and peace after a long, tiring day.
Sunsets can be seen from the beach, over a bridge, on a roof, or on top of a mountain – just about anywhere!
And in these trying times, the sunset is a special reminder that everything will be alright. Each day is an opportunity to become a better you.
Basic Art Concepts
Here are some important words for you to learn before we do our sunset painting tutorial.
Composition
It is the arrangement of all the things or visual elements in our drawing or painting.
Visual elements
These are the parts that make up your drawing or painting. Examples of visual elements are:
- Lines (vertical line, horizontal line, diagonal line, and many more)
- Shapes (circle, rectangle, triangle, and many more)
- Colors (red, yellow, blue, warm colors, cool colors, and many more)
- Space (Positive and negative space)
- Depth (Foreground, background, and middle ground)
Artists use these concepts to enhance certain types of feelings in their artwork.
Now that you know some of the basic art concepts, let’s now paint a beautiful sunset and apply everything we’ve learned.
Ready. Set. Paint!
Materials
- Watercolor paper (1 set)
- 1 small plate
- 1 pencil
- 1 Eraser
- 1 paintbrush (large)
- Lots of clean water
- Watercolor paints (tubes)
- Blue
- Red
- Yellow
- Mixed (orange)
- Mixed (purple)
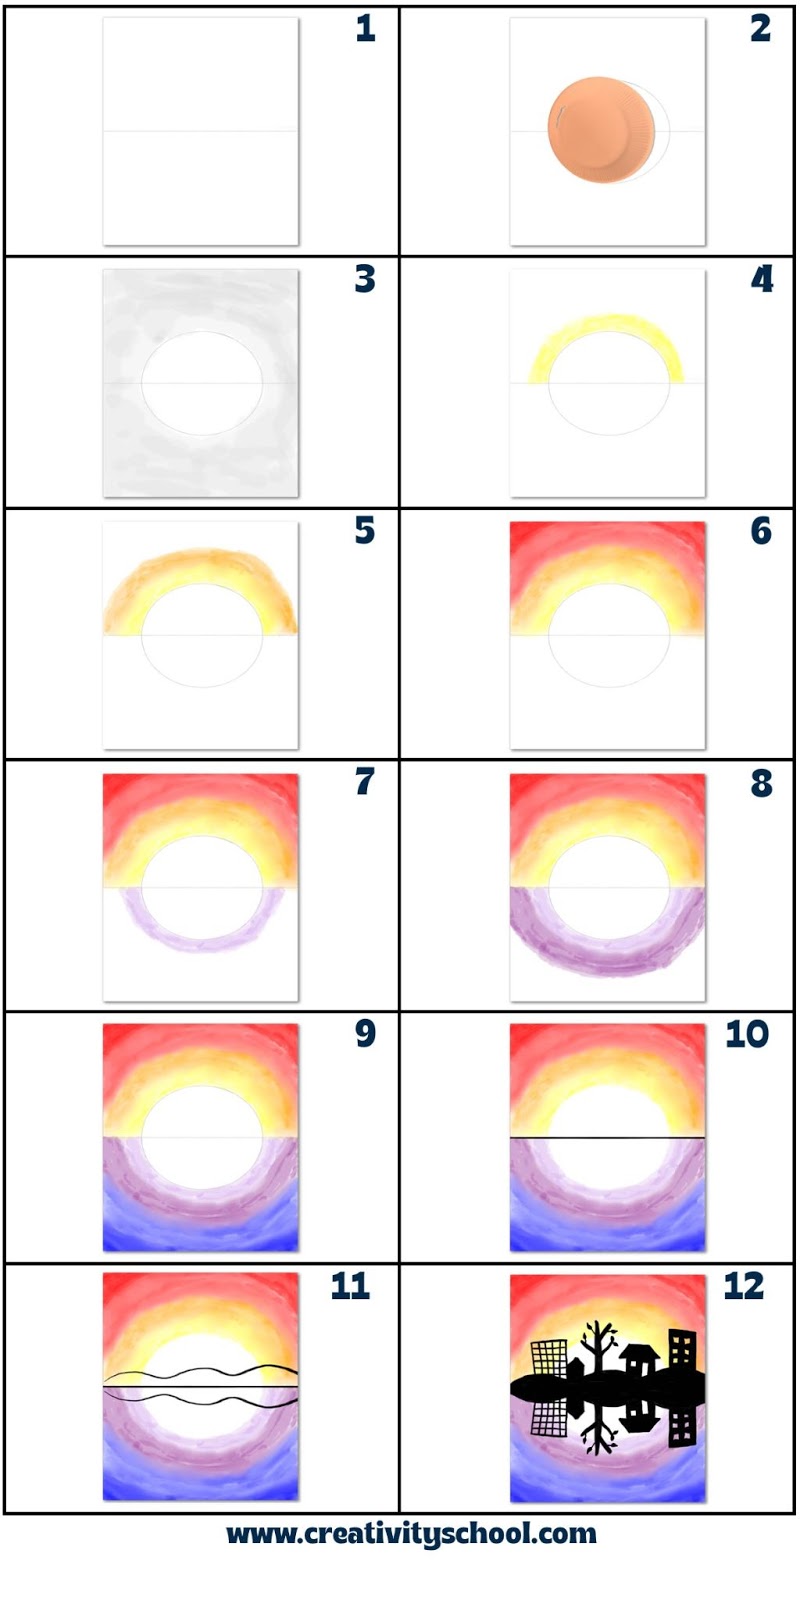
How to Paint a Beautiful Sunset Using Watercolors (Overview)
Step by Step Instructions

Step 1. Draw a horizontal line across the watercolor paper.
Using a pencil and a ruler, draw a horizontal line across the middle of the watercolor paper.
If you don’t have watercolor paper available, you can use other types of paper such as:
- Canvas (any size)
- Cardboards stock
- Regular thick paper
- Used envelopes
- Paper plates
- rocks
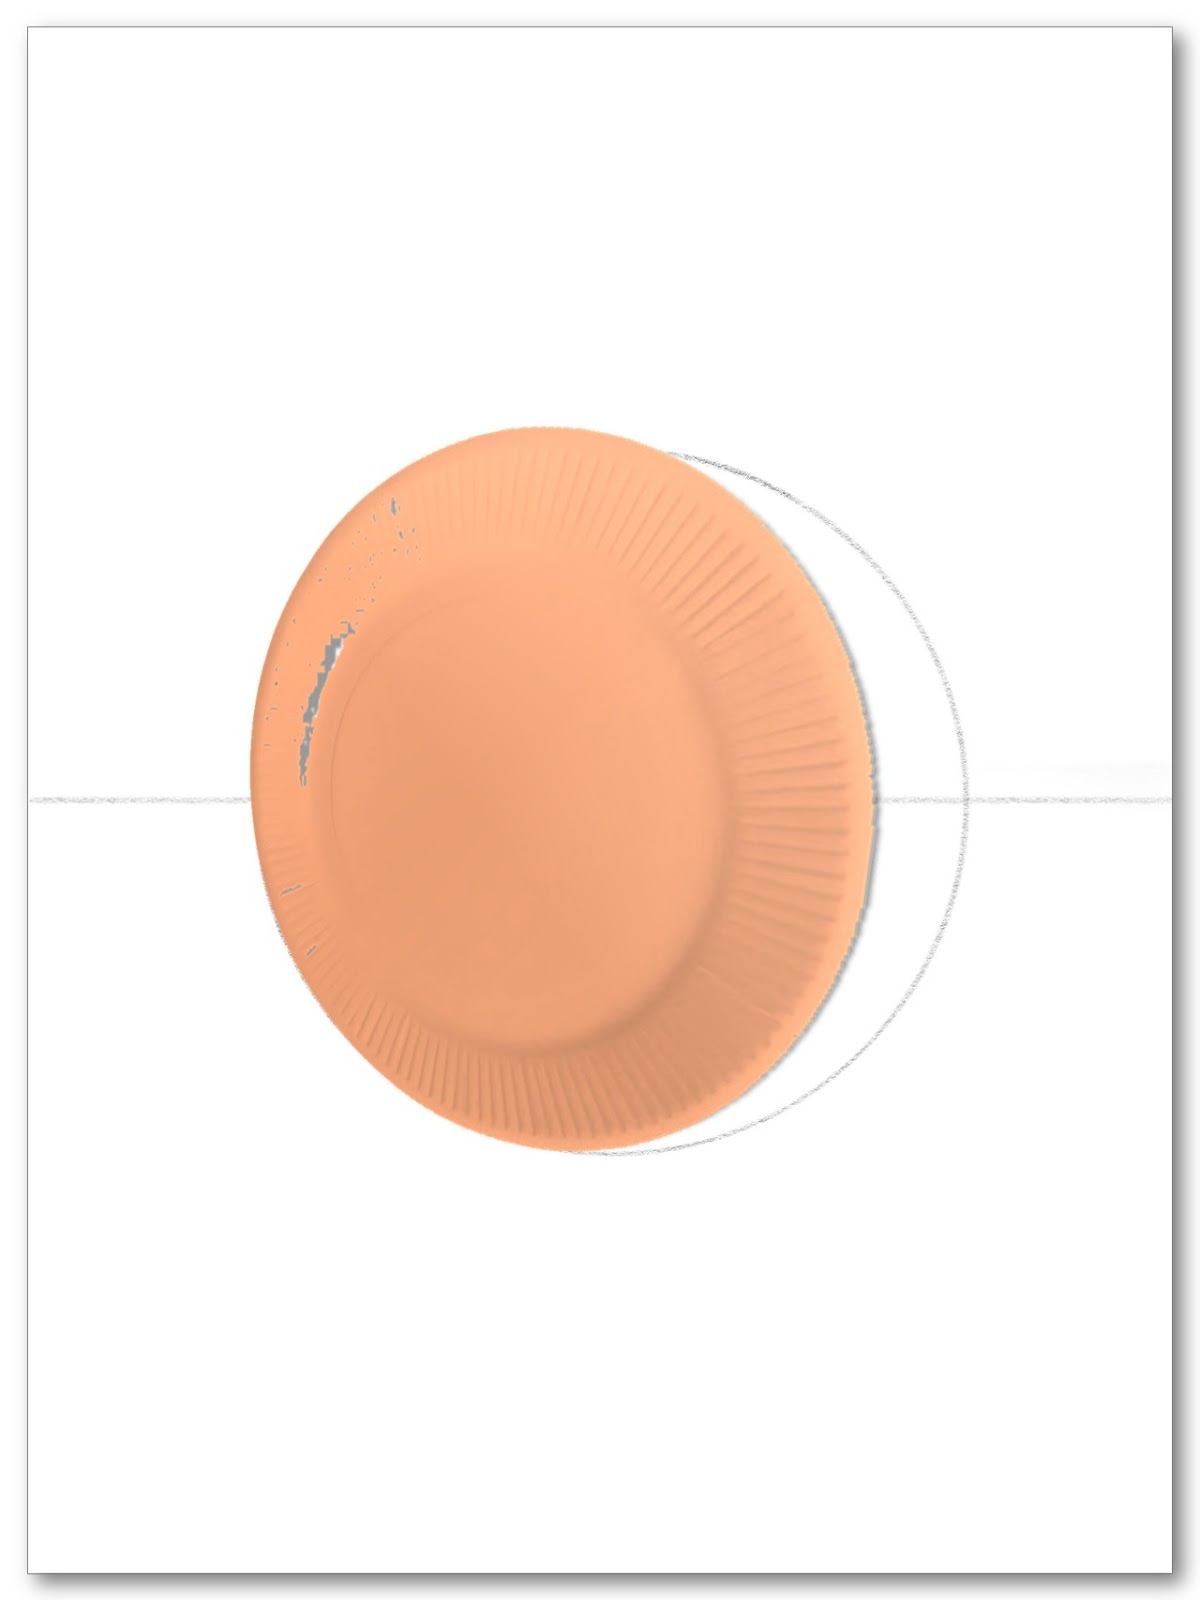
Step 2. Put the small plate right in the middle of the watercolor paper, then trace a circle.
If you don’t have a small plate, you can use other circular objects to draw it.

Step 3. Dip your brush into the water, then wet your watercolor paper, except for the inside of the circle.
The watercolor paper is perfect for this activity as it absorbs a good amount of water compared to other types of paper.
Brush only a small amount of water all around the paper except for the inside of the circle.
The inside of the circle will be our “sun.” Basically, the area closest to the sun will have a lighter shade, and as we get closer to the edges, the shade gets darker.
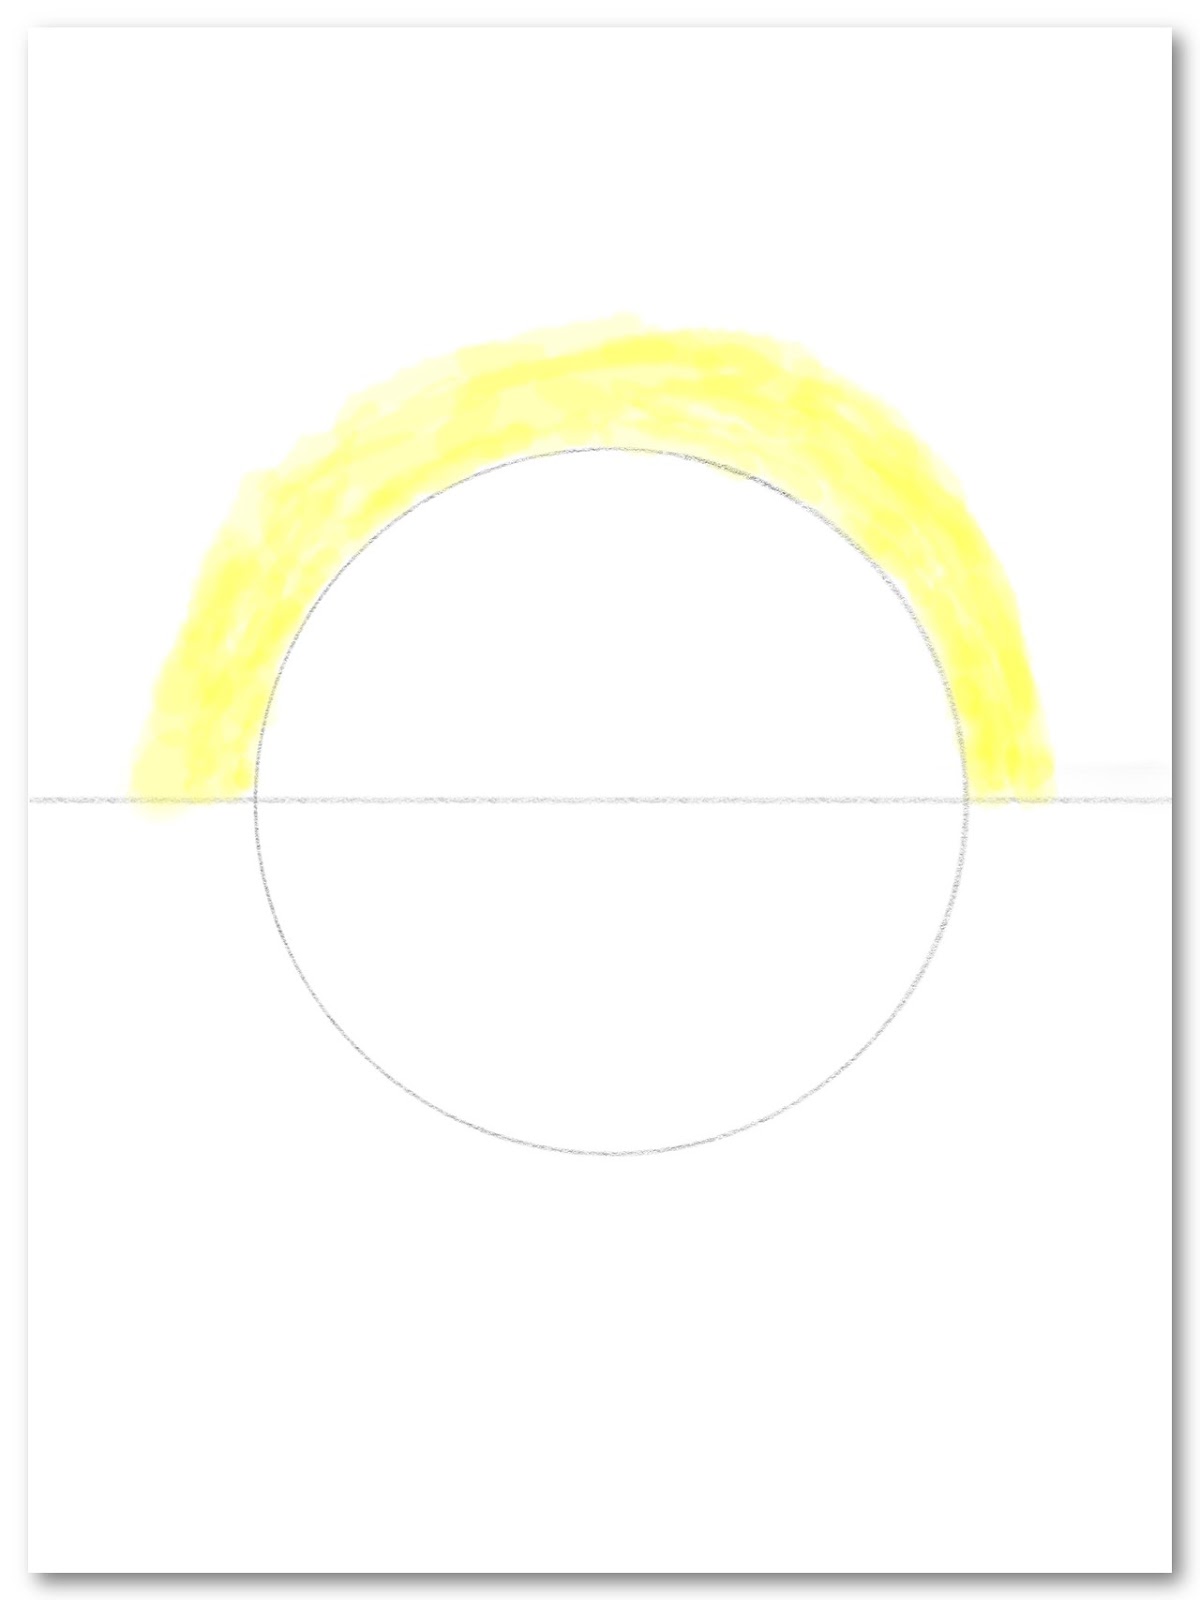
Step 4. Paint yellow on top of the upper circle.
Try to avoid accidentally painting the “sun.”
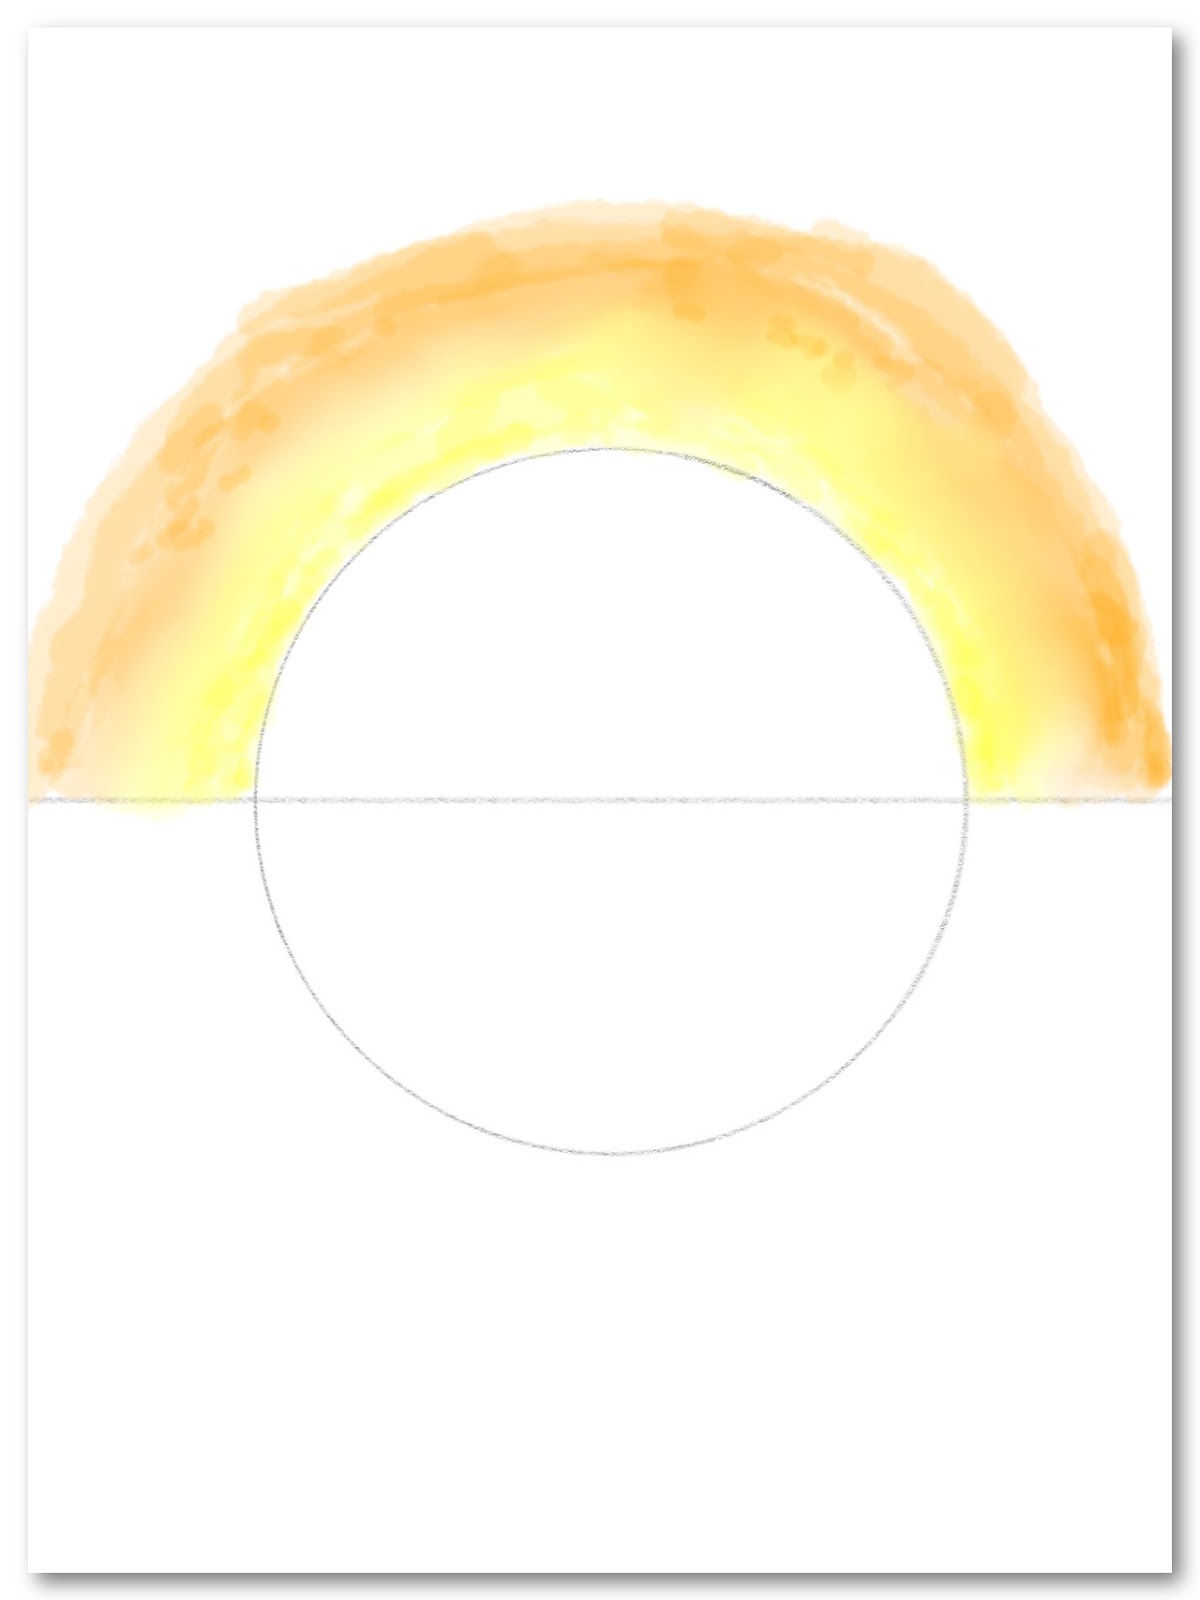
Step 5. Paint orange on top of yellow.
If you do not have orange, you can mix red and yellow to produce one.
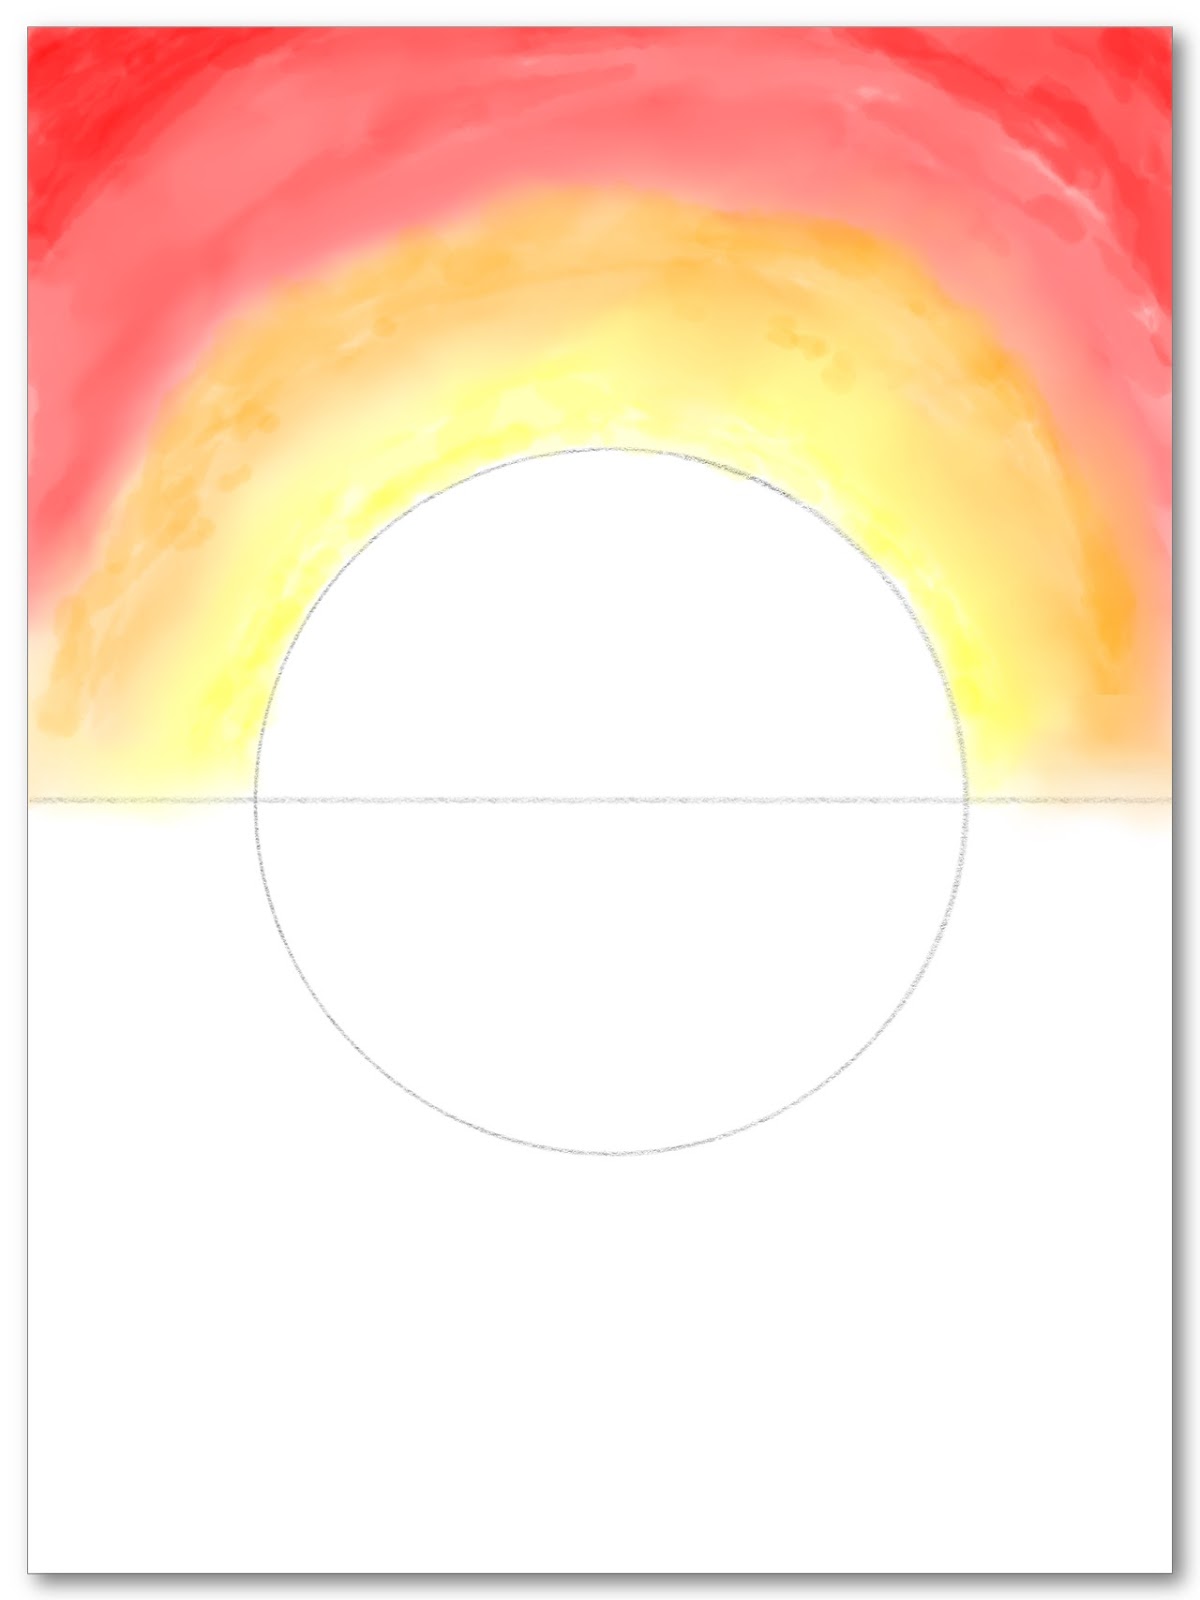
Step 6. Paint red on top of the orange and the rest of the watercolor paper's top portion.
Paint the corners with a darker red since it is the farthest from the center.
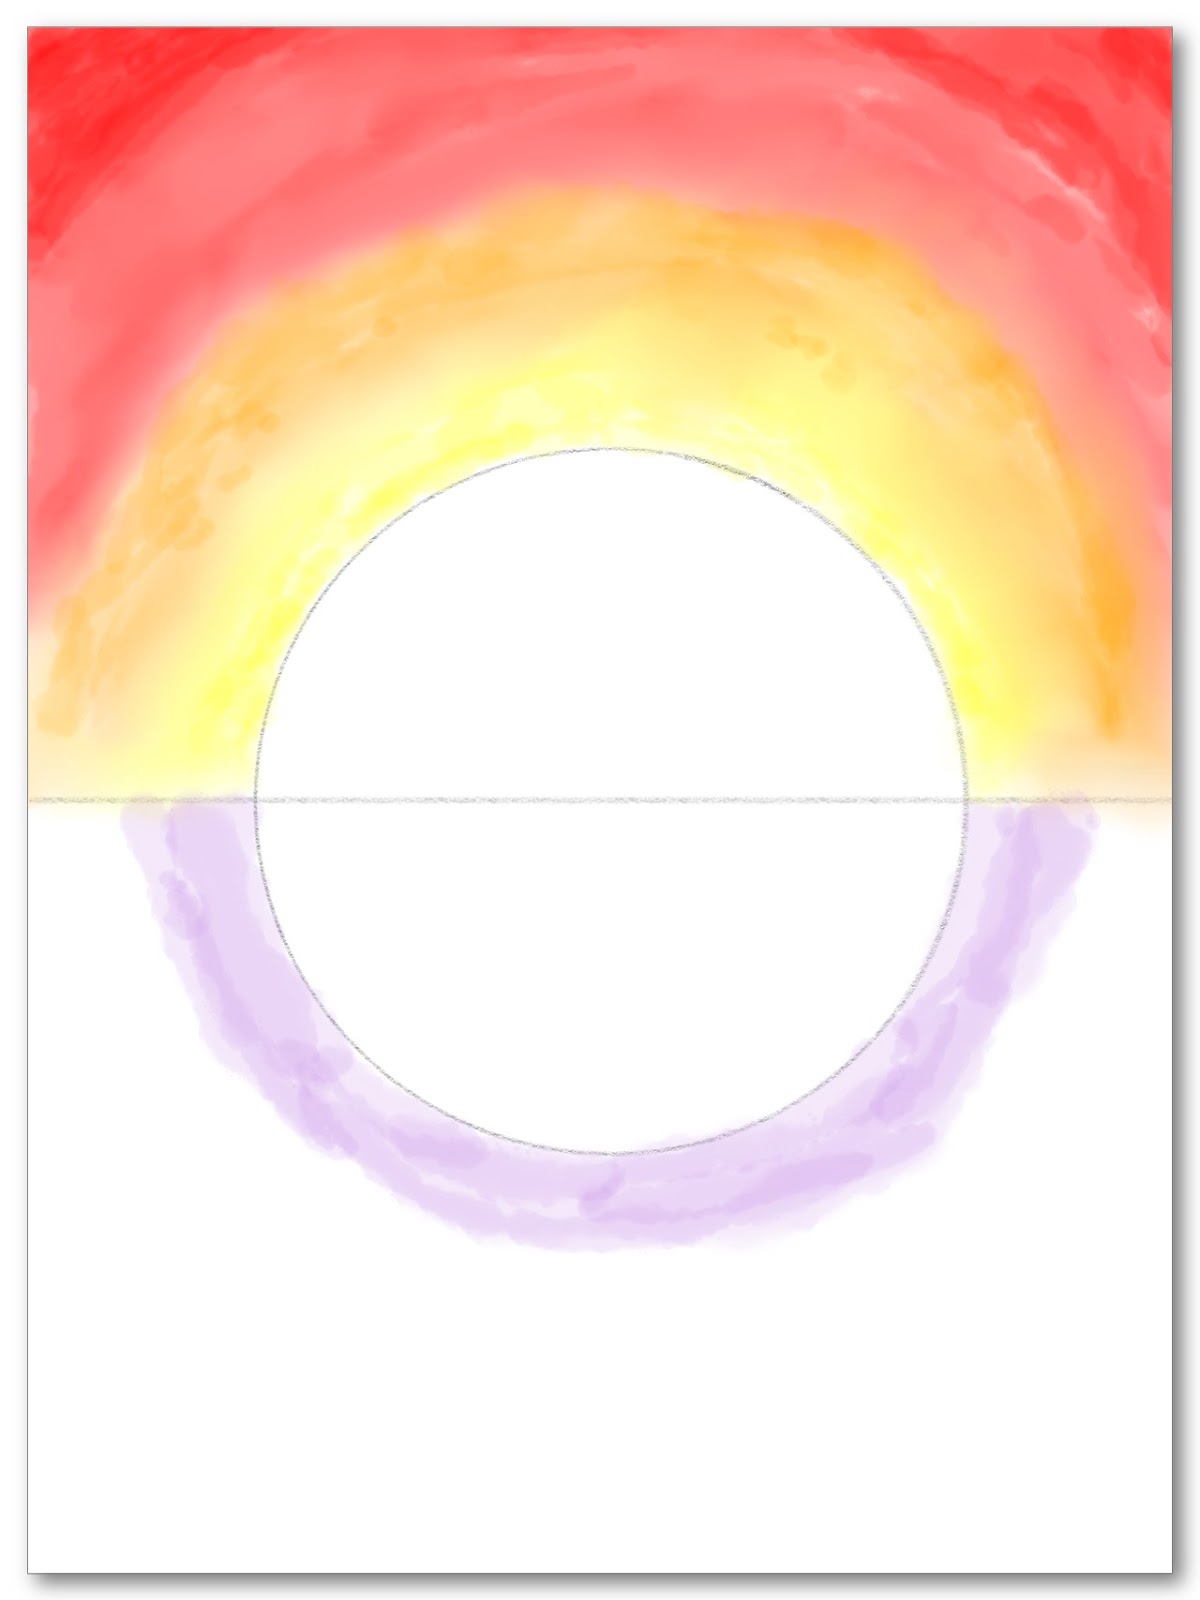
Step 7. Paint a light purple below the lower circle.
If you do not have light purple, you can mix red and blue, then add a little water to produce one.
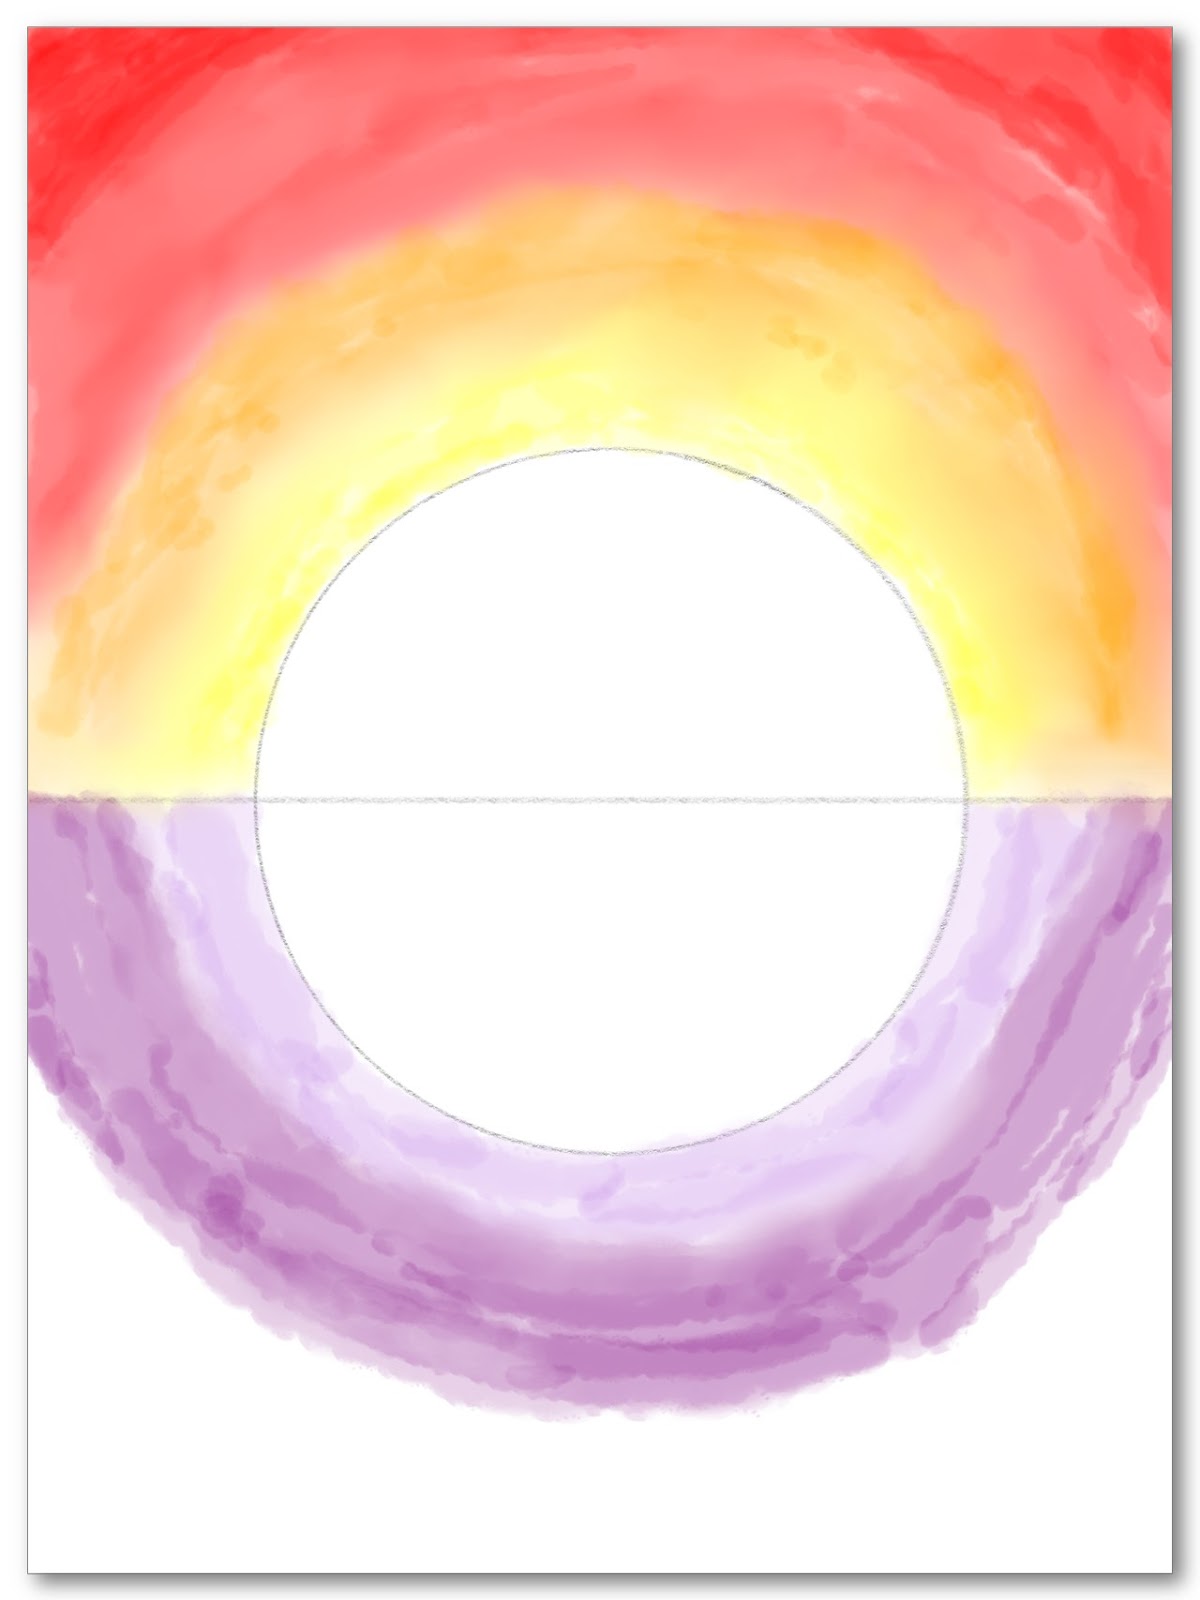
Step 8. Paint purple below the light purple.
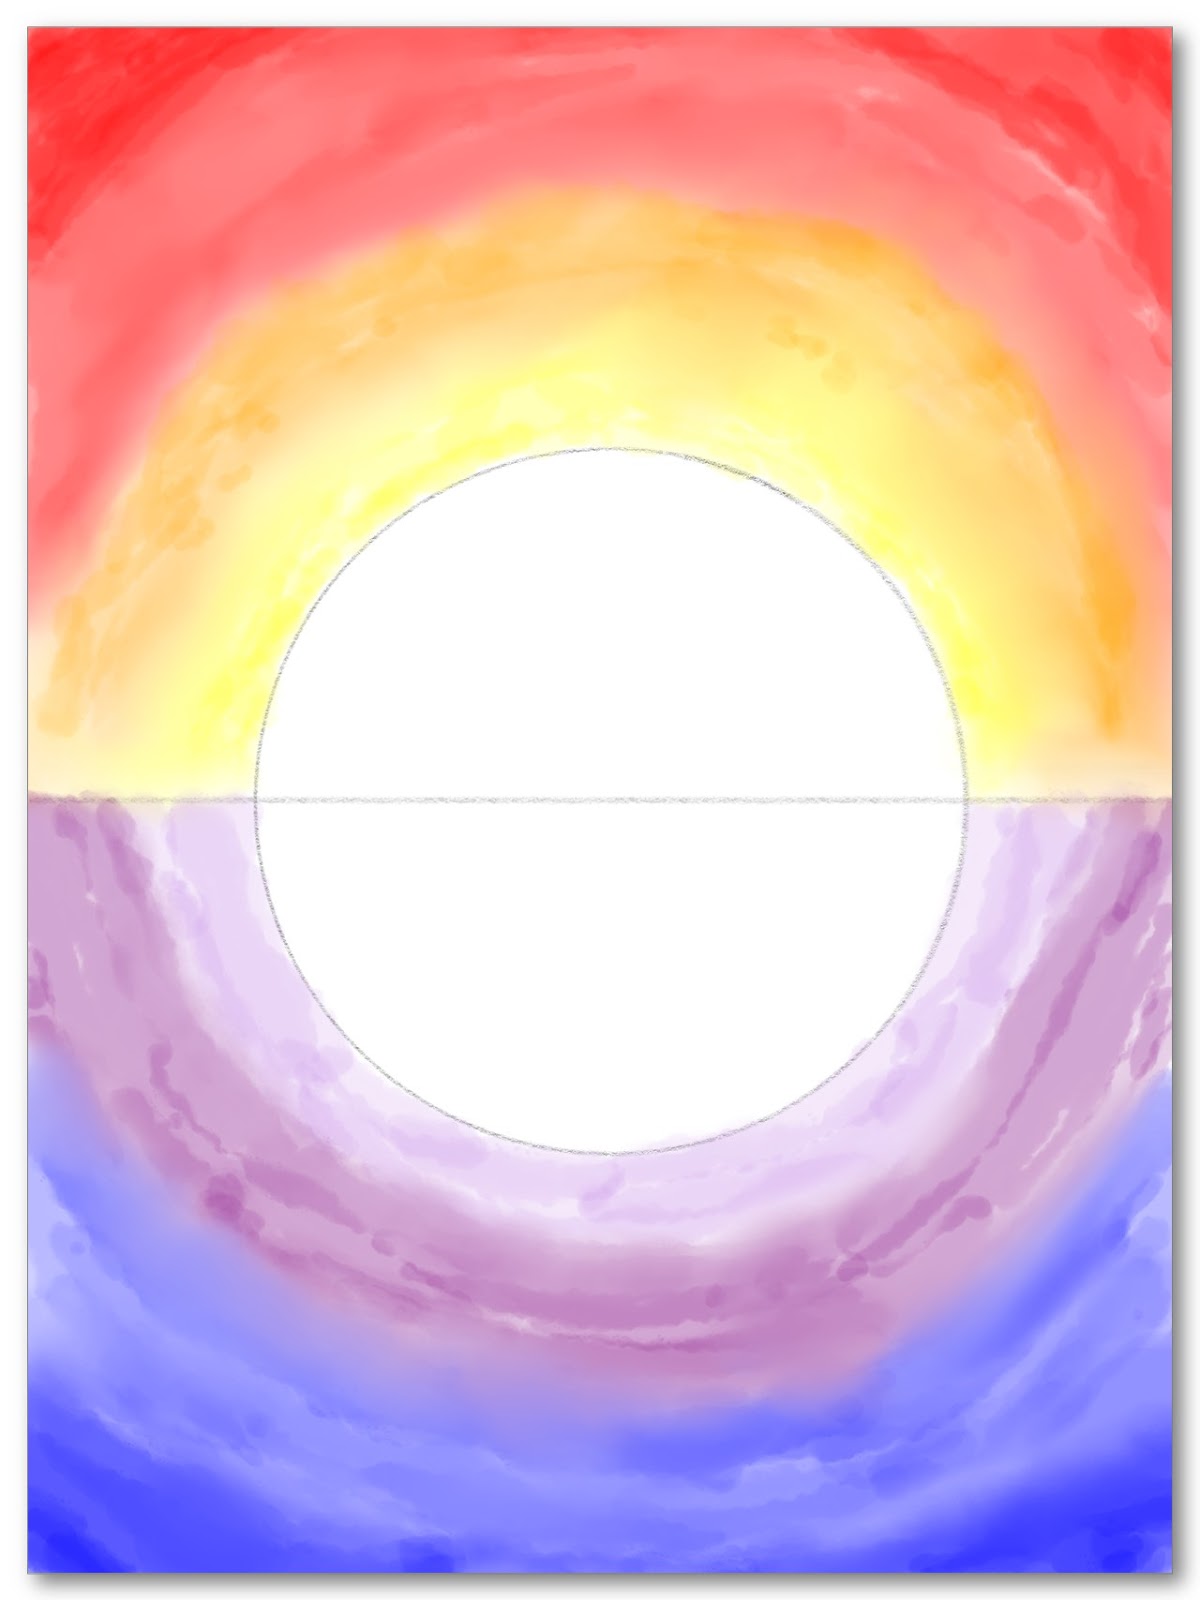
Step 9. Paint blue below the dark purple and on the rest of the bottom portion of the watercolor paper.
Paint the corners with a darker blue.
We’re done with our watercolor painting! Set aside your painting to dry.
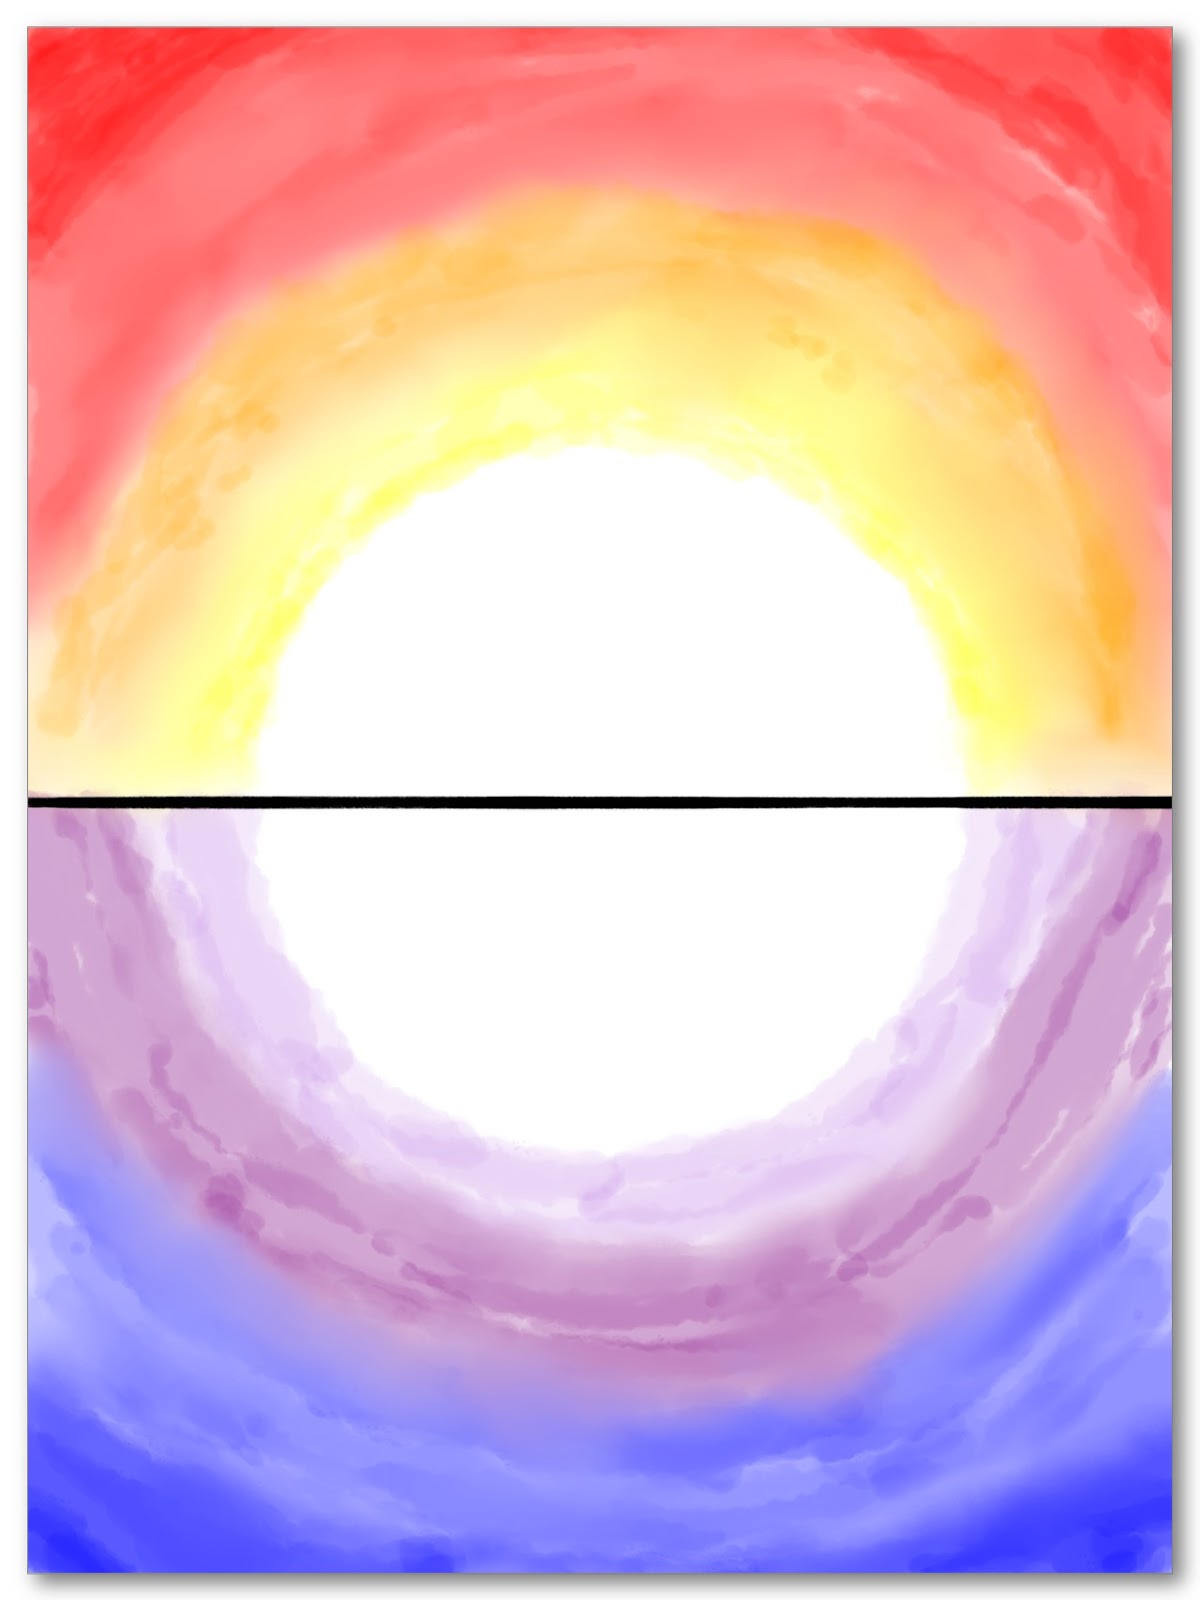
Step 10. Using a marker, trace the horizontal line in the middle.
Check your painting if it is dry enough to the touch.
When it is dry already, let’s draw the silhouette and reflection elements.
First, trace the horizontal line in the middle using a marker.
The horizontal line acts as the “horizon” and separates the top portion which is the land and sky, and the bottom which is the water.
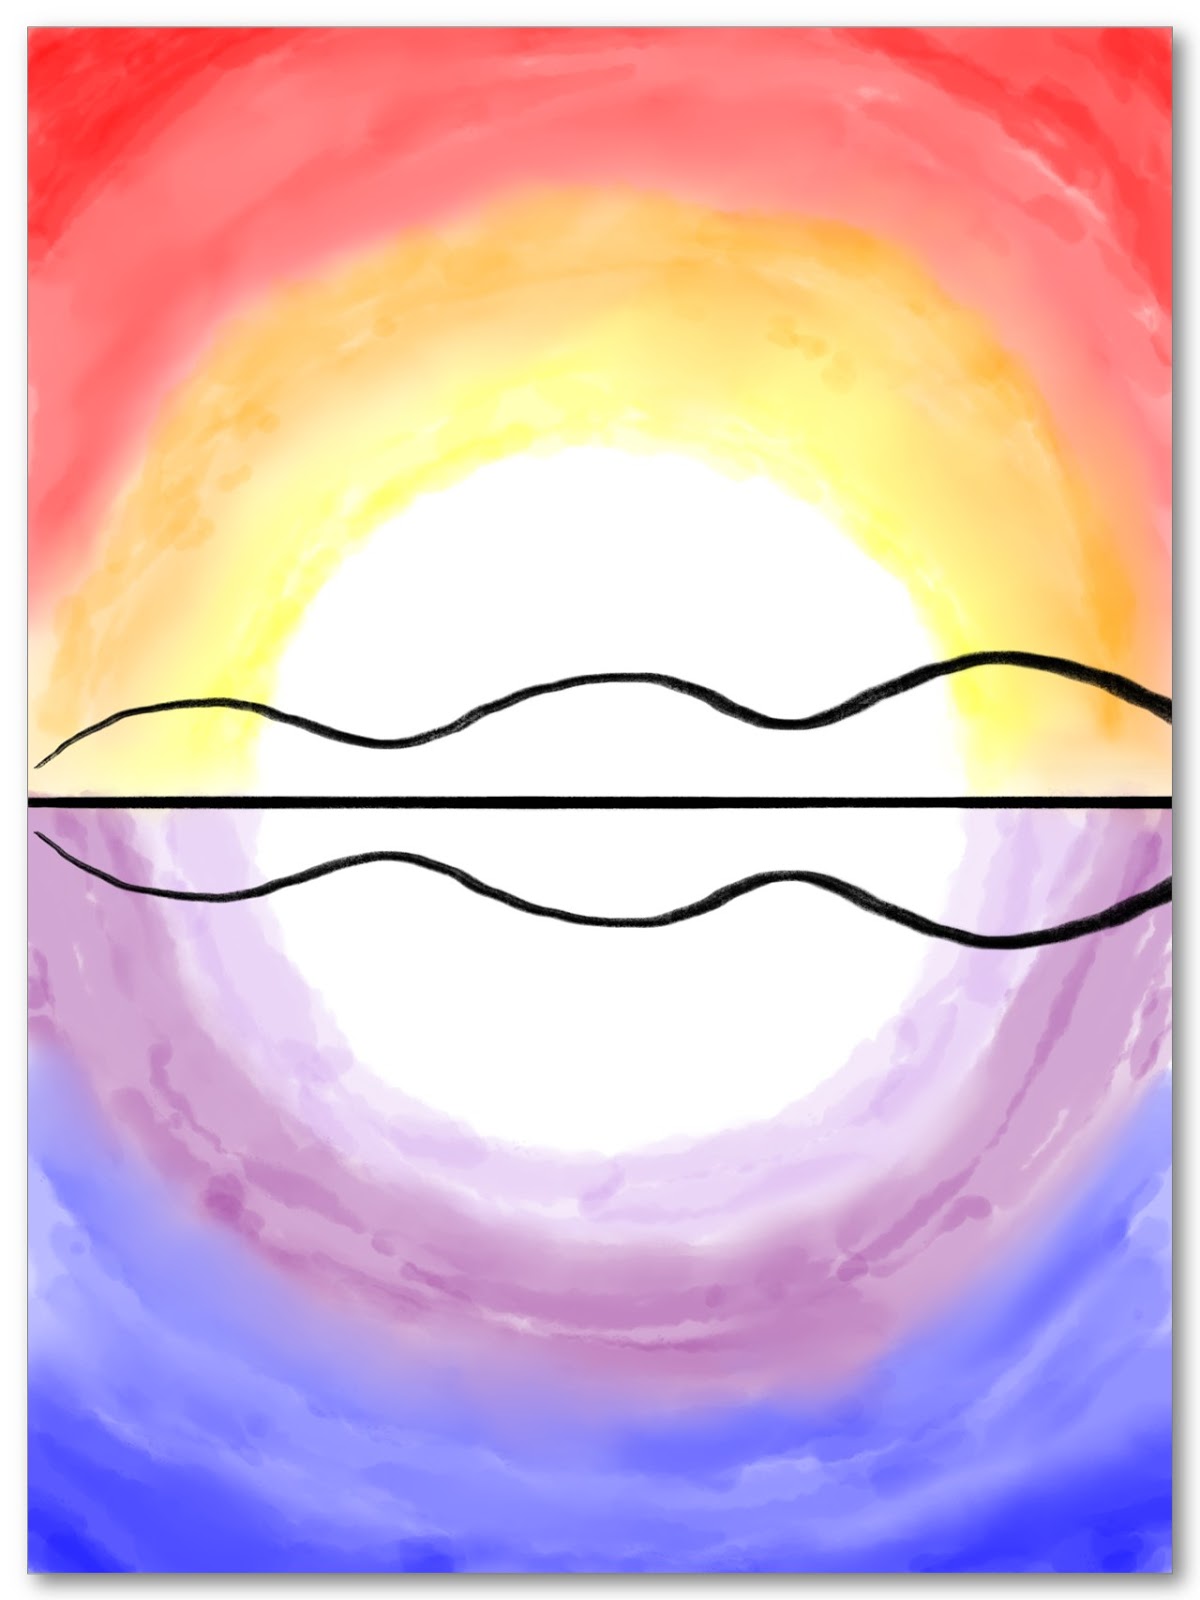
Step 11. Draw the land silhouette.
Draw a curved line on the top portion of the horizon for the land element.
Draw a flipped image of the curve on the bottom portion of the horizon to show reflection.
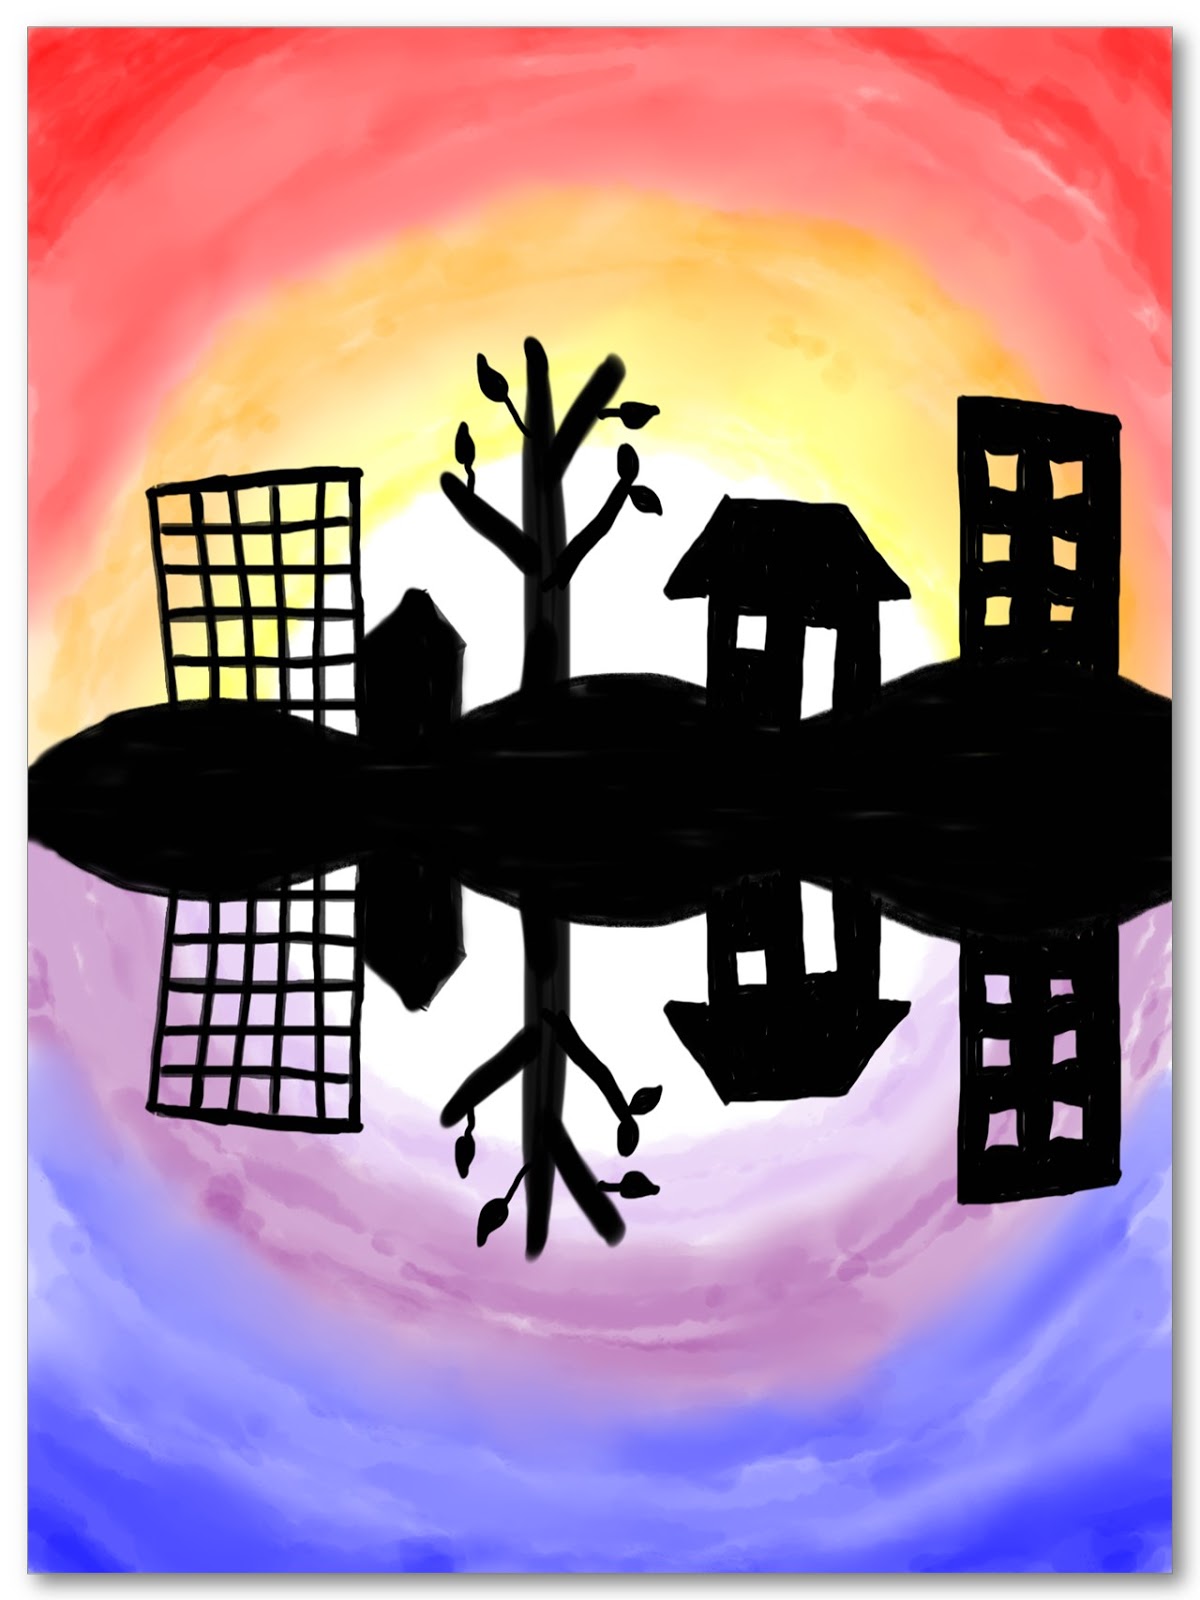
Step 12. Draw silhouettes of trees, houses, and buildings.
Draw and shade different silhouettes of trees, houses, and buildings on the top portion of the horizon.
Lastly, draw the flipped image on the water to show reflection.
Wow! You’ve just painted a beautiful sunset!
Tips for art-mazing success
- Don’t be afraid to get messy and wet! It’s a part of your creative learning!
- Do not add too much water on your painting! This will greatly affect the color and the quality of your paper. Instead, use only a medium amount of wetness in your brush to make the watercolor look nice, rich, and solid.
- Use napkins or paper towels to remove any paint from your brush.
- You can paint different sunset sceneries (mountain, cityscape, beach, and many more)
- Explore with other colors to create other sunsets hues!
Here are some other beautiful and heartwarming sunsets painted by our young artists at Creativity School.
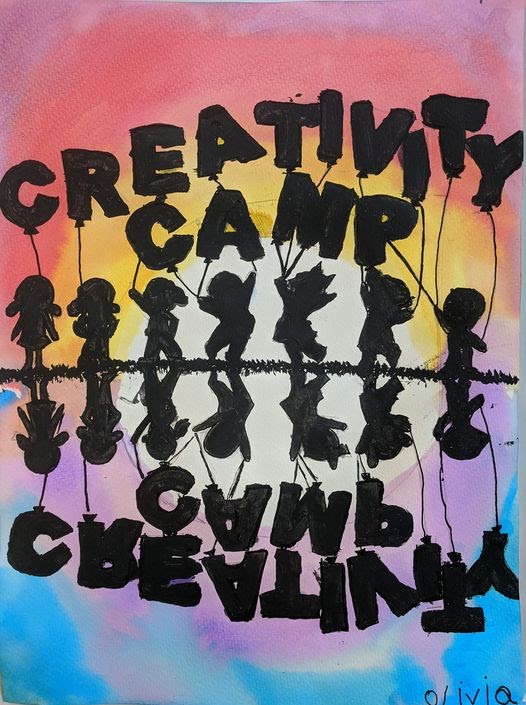
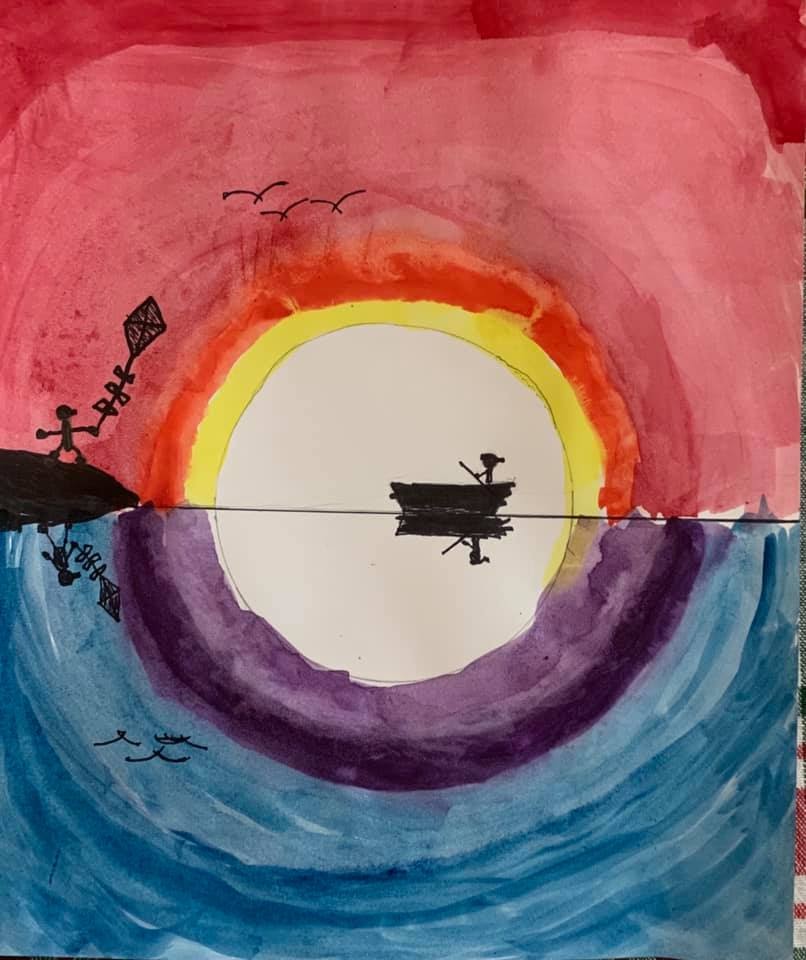
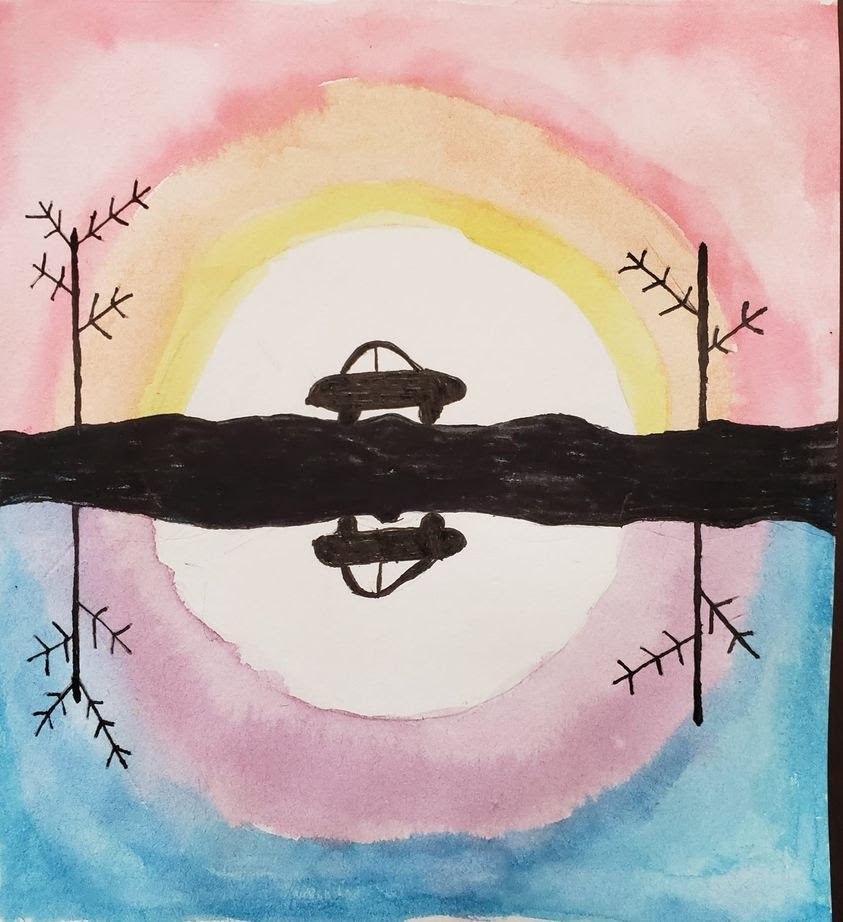
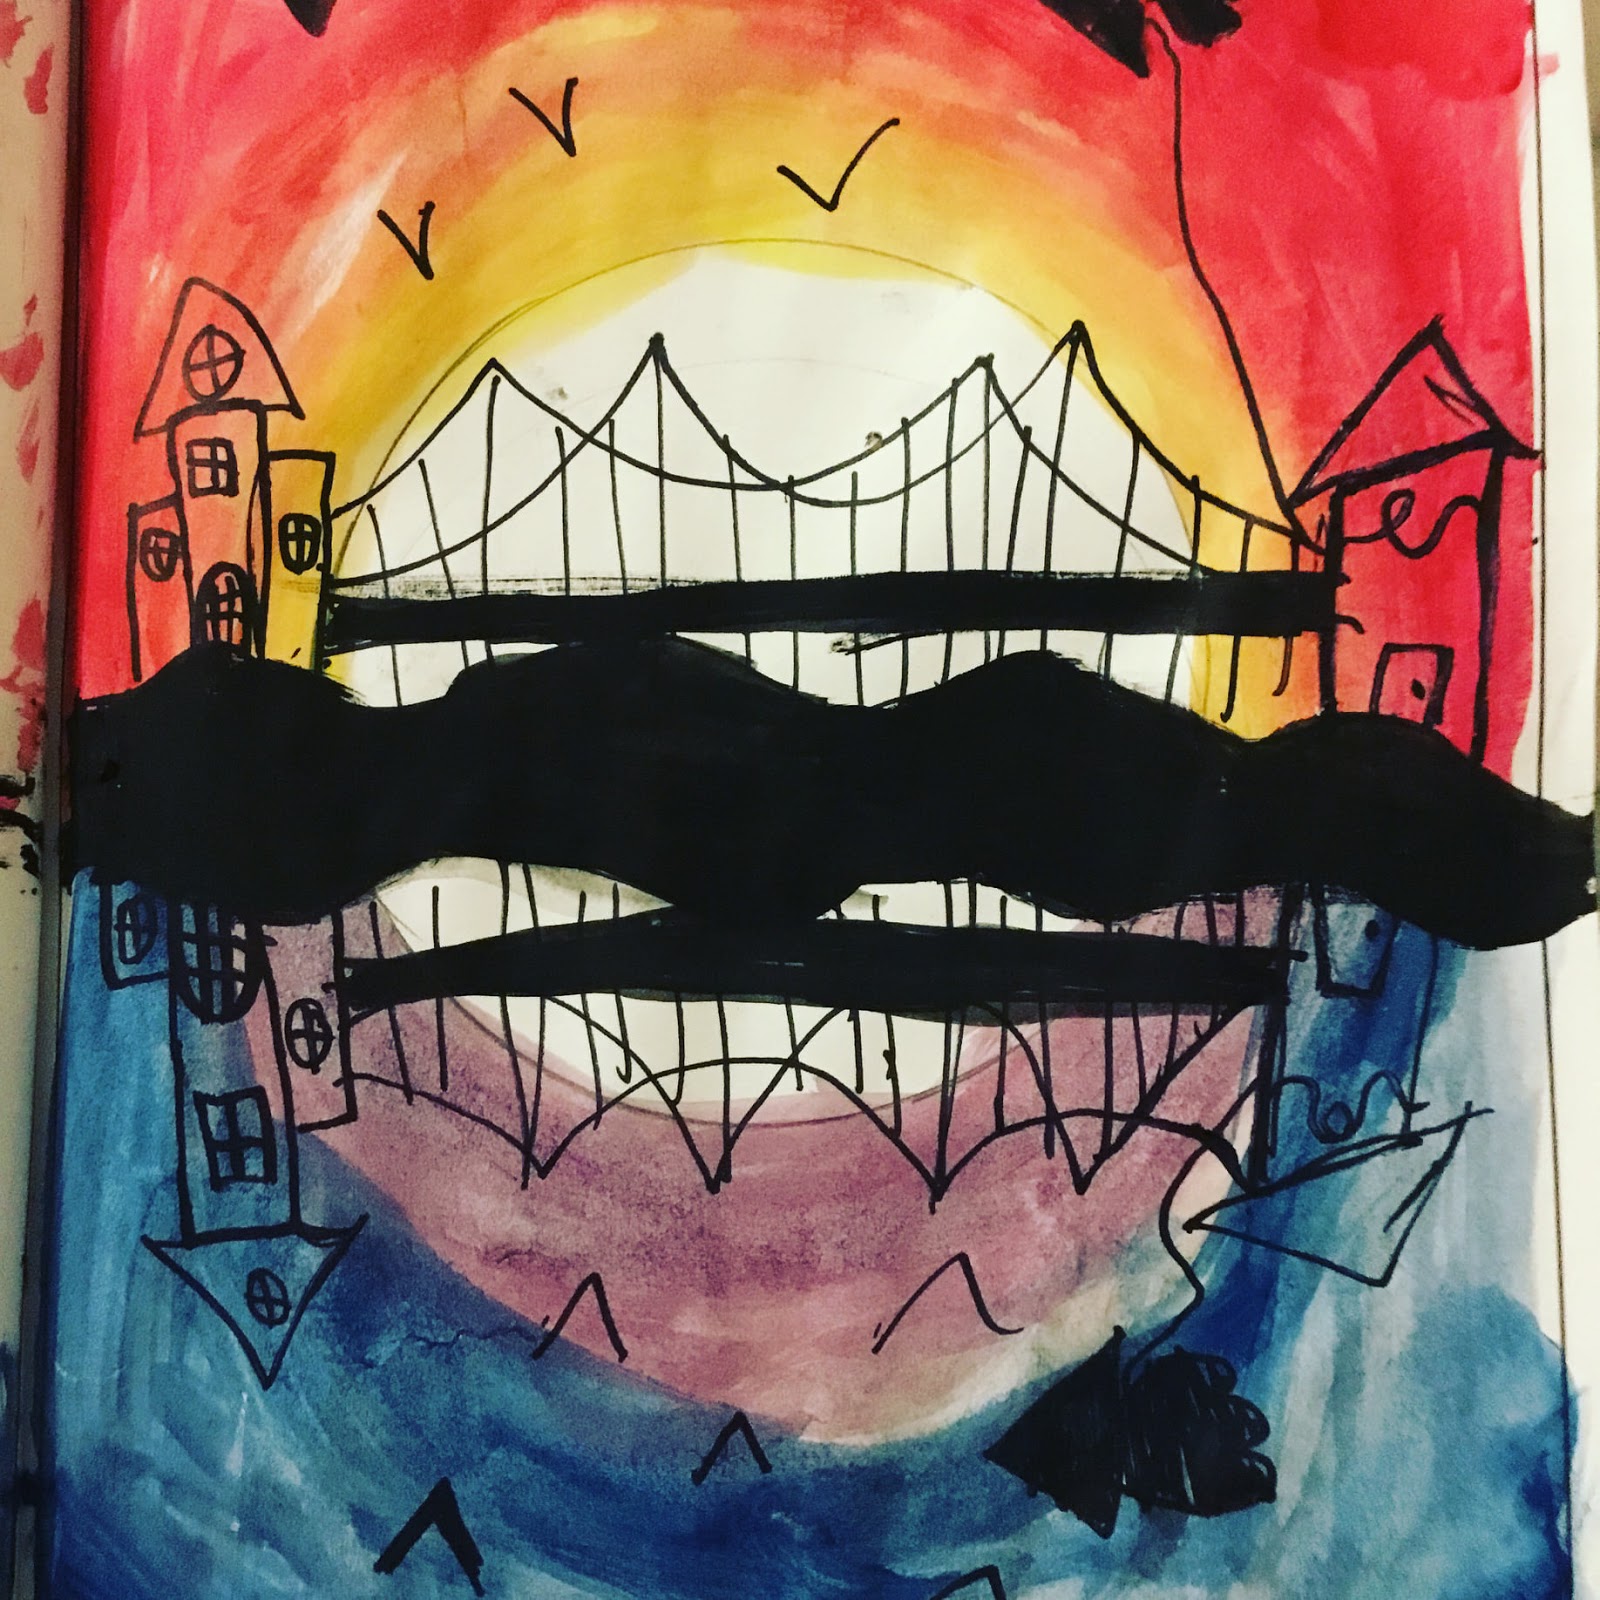
Artworks from Creativity School by Olivia K. (top left), Emilia M. (top right), Julian T. (bottom left), and Parnika P. (bottom right)
If you love and enjoy looking at sunsets, I am sure you enjoyed this painting tutorial, too! Share your thoughts in the comment section below.
Here are other fun painting lessons at Creativity School.
Creative Kids Live
- Celina G.
On Demand Class
—Miao
