How to Make Comics for Kids- Easy Step by Step Guide
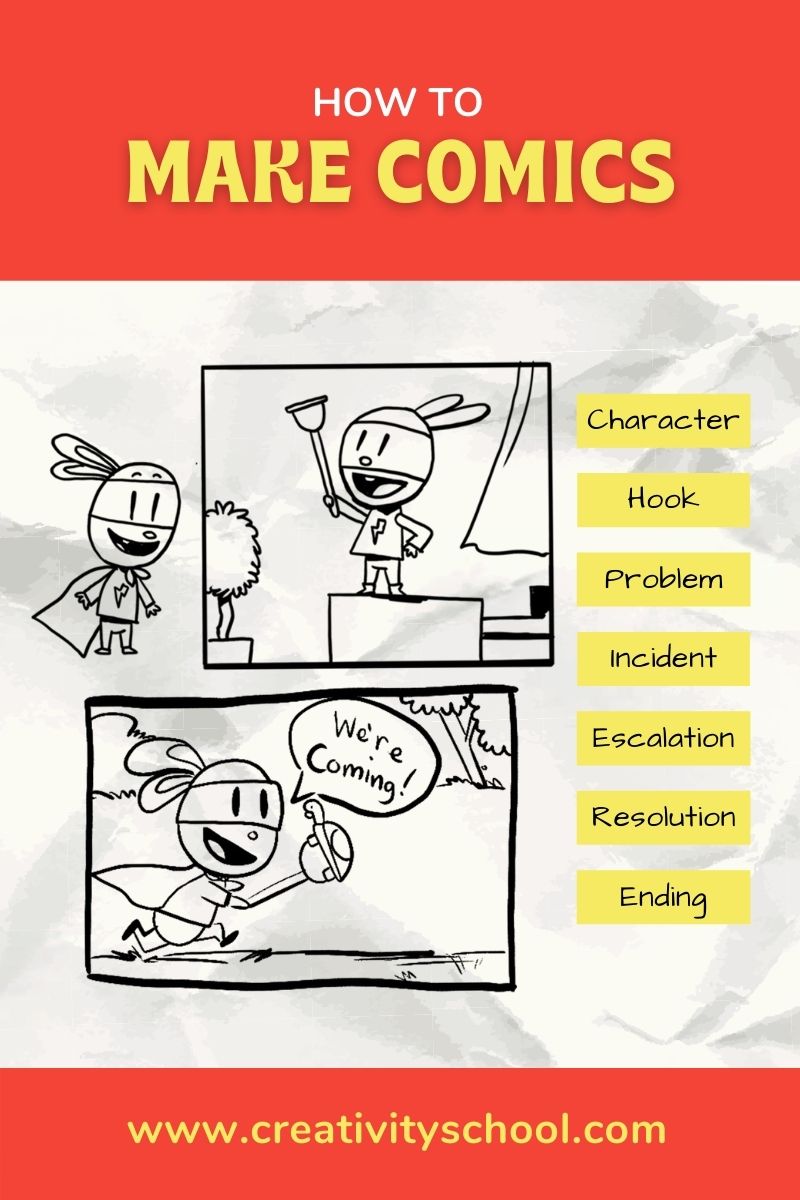
Today, let's talk about how to make comics for kids with an easy step by step guide.
Comic books help kids develop more interpretations. It motivates them to “read between the lines” and uncover meaning from the pictures.
Here's the first of the 5 blog series about making comics that we will share with you in the future.
Read on!
Recent Posts
Learn How To Make Comics at Creativity School!
Let’s begin the creative journey of your kids and enhance their potential this 2021!
Our award-winning artists give away free LIVE art classes from the Creativity School.
Learn how to make collages, animations, pop-up cards, draw ninjas, characters, paint, and much more!
Why are comics good for kids?
Comics are a fun way of learning stories or facts by using pictures drawn mostly in panels.
Here are some of the wonderful benefits of reading comic books for kids:
- It can be a great supplement to help foster love and enjoyment for books to kids starting learning how to read.
- It is more fun and easier to read than traditional books.
- It provides meaning through brief, easy-to-read sentences and other visual and text cues (e.g. character sighs, door slams, etc.)
- It benefits kids with learning disabilities and can learn a lot about recognizing feelings from the images of a comic book.
- Kids have a great opportunity to learn new vocabulary through comic books. It combines background clues (information from pictures or other text cues) to help them understand the meaning of unfamiliar terms.
What are the Elements of Good Comics?
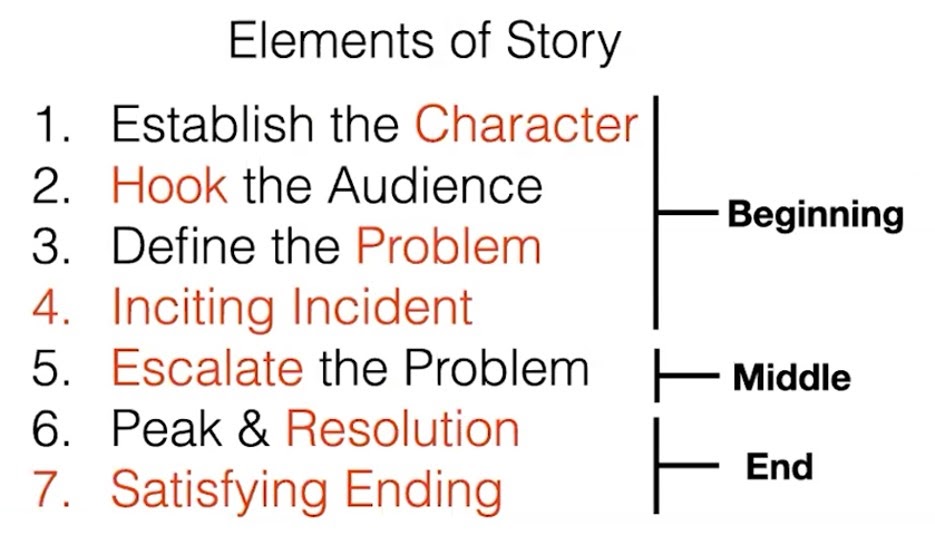
Every good comics comprise the elements of a good story. Let’s review them!
There are three important elements or parts of a story in our previous blog- the Beginning, Middle, and End.
These parts are also our key elements in making our comics. Knowing and planning what happens to each part will help us organize our story, make it simple, fun, and engaging for the kids.
Let's get into the details.
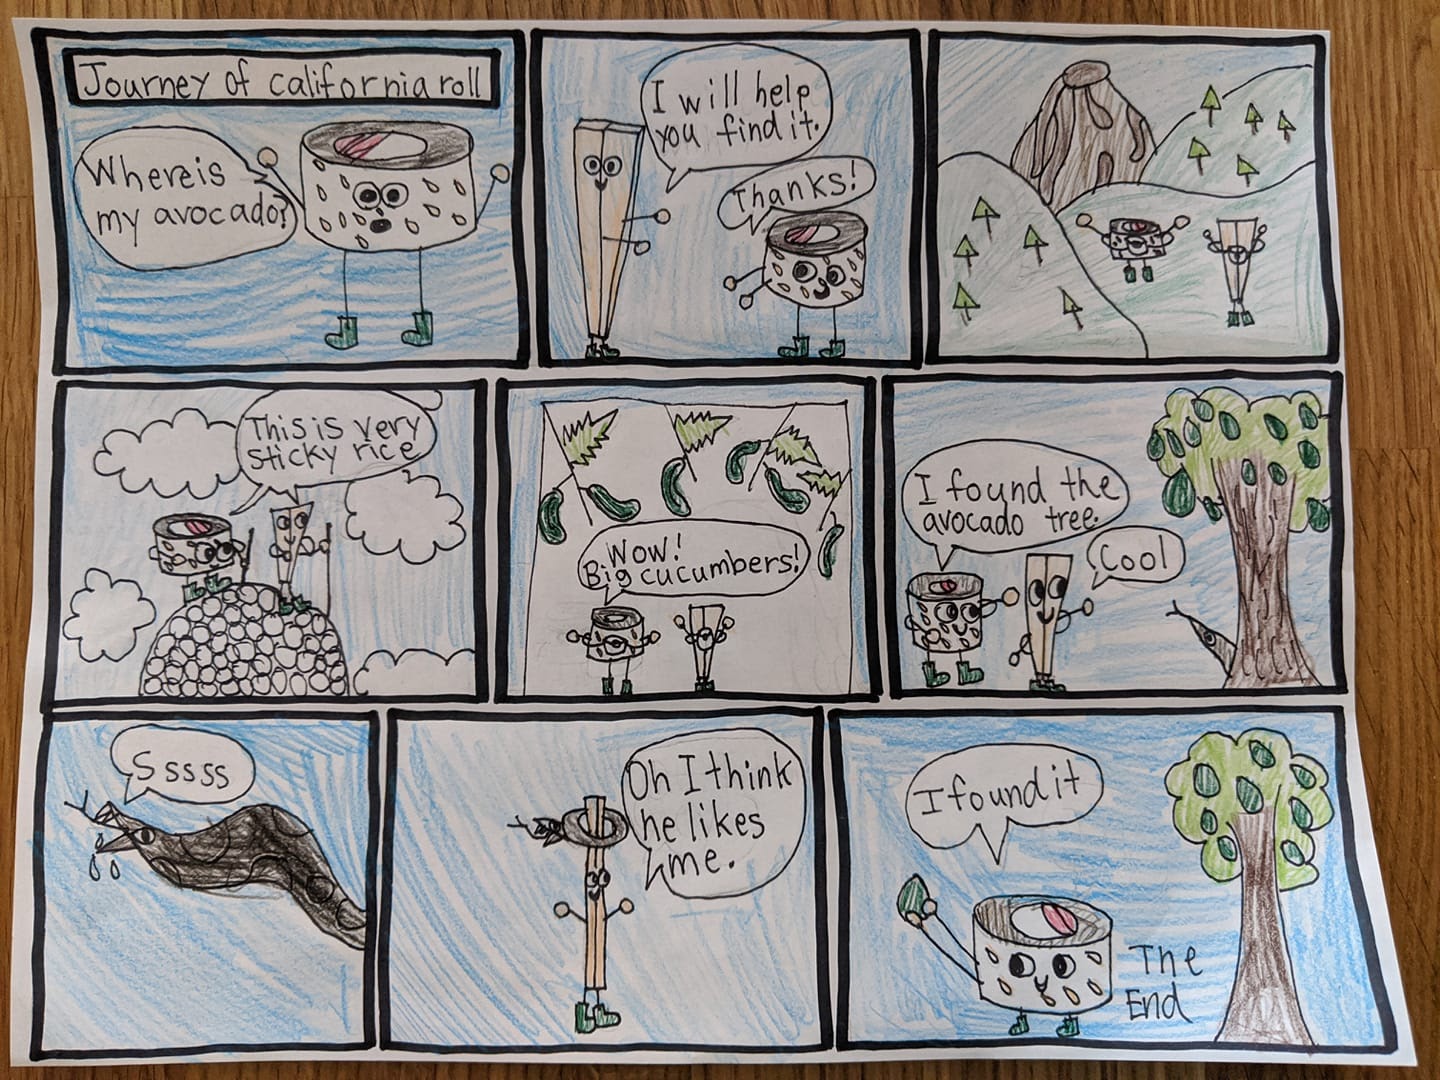
To understand better, let’s try to look into this amazing one-page comics entitled, ‘Journey of California Roll’, authored and illustrated by Emika Allwood, one of our students at the Creativity School.
Beginning (maximum of 2 panels)
1. Establish the Character
In general, comics use pictures and dialogs to tell the story. You can create questions that you will answer to establish your characters like:
- Who are the characters?
- Where do they live?
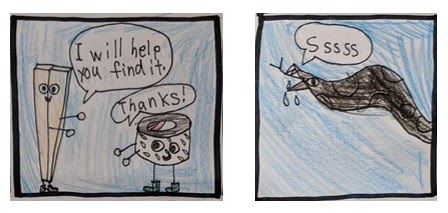
In the ‘Journey of California Roll’ comics made by Emika, the characters she established are: California Roll, Chopsticks, and the snake.
2. Hook the audience
Comics are made to hook different types of people of any age and personality. You can engage them more through the art and your storyline.
The comics was well done – a good storyline, cool characters, and simple choice of colors.
3. Define the Problem
In defining the problem, you establish a certain point where the story revolves around. It does not have to be a real problem or issue. It can also be funny, like looking for a lost bone.
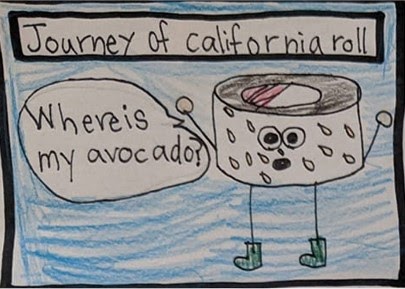
The problem is that the California roll is looking for his avocado!
4. Inciting Incident
This is the part of your comics that hooks the reader into the story.
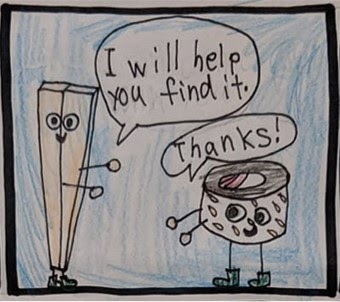
In the comics, the inciting incident is when Chopsticks said to California roll that he would help him!
Middle (4-6 panels)
5. Escalate the Problem
The middle is the longest part in your comics, and I suggest you allot about 4-6 panels to tell this part of your story. To escalate the problem, you can answer questions like:
- What happens next?
- How does the problem get worse?
- What changes happen?
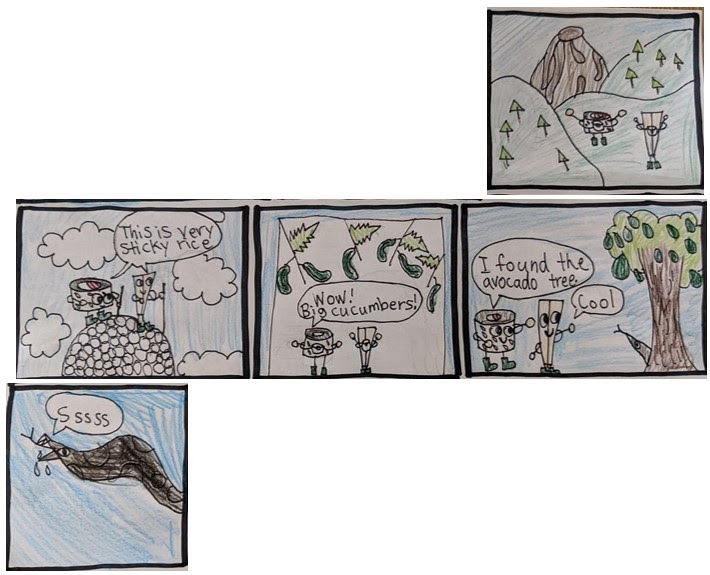
In the comics, the middle-part contains five panels which show California roll and Chopsticks’ journey to find an avocado. When they saw it, another problem arises: the snake!
End (1-4 panels)
Typically, the end is also a short part of a comic, and I recommend including about 1-4 panels for it. To make this, you can answer questions like:
- What choices are made?
- How is the problem solved? (or the end of the joke)
- How do we feel at the end?
6. Peak and Resolution
This is how the character acts and solves the problem. This is also the part that shifts from the long middle part to the ending.
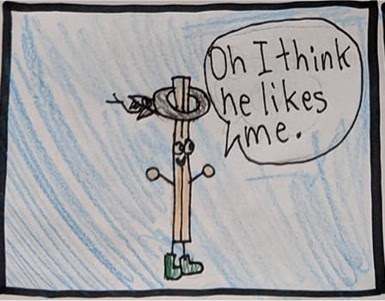
So what happens when they see the snake? The chopsticks befriended it!
7. Satisfying Ending
This sets the overall mood of the comics. Most comics for kids end happily or sometimes funny.
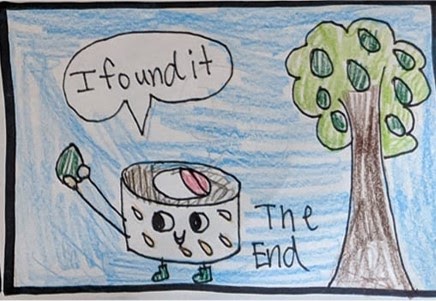
The beautiful ending is, of course, California roll finding his avocado!
Now that we had a review of a story's elements let's learn how to make a one-page comic!
How to Make Comics for Kids in 4 Steps
To make a comic, here are four simple steps:

Step 1. Write your Story Idea
Step 2. Draw the Pictures
Step 3. Write the Words
Step 4. Put images in order and draw the frames
We will discuss these basic steps in detail in the next parts of our how to make a comic blog series!
Here are some amazing comics created by our young artist at Creativity School.
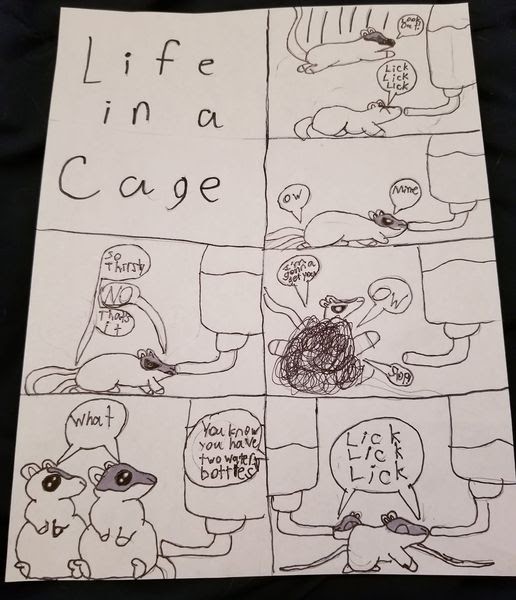
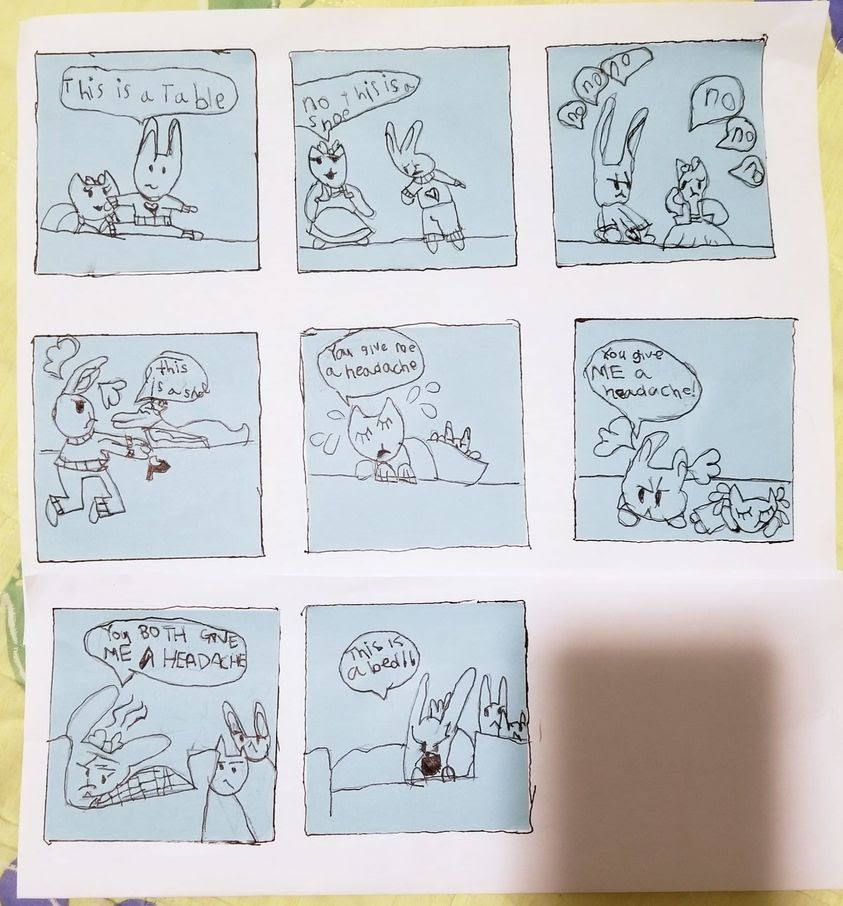
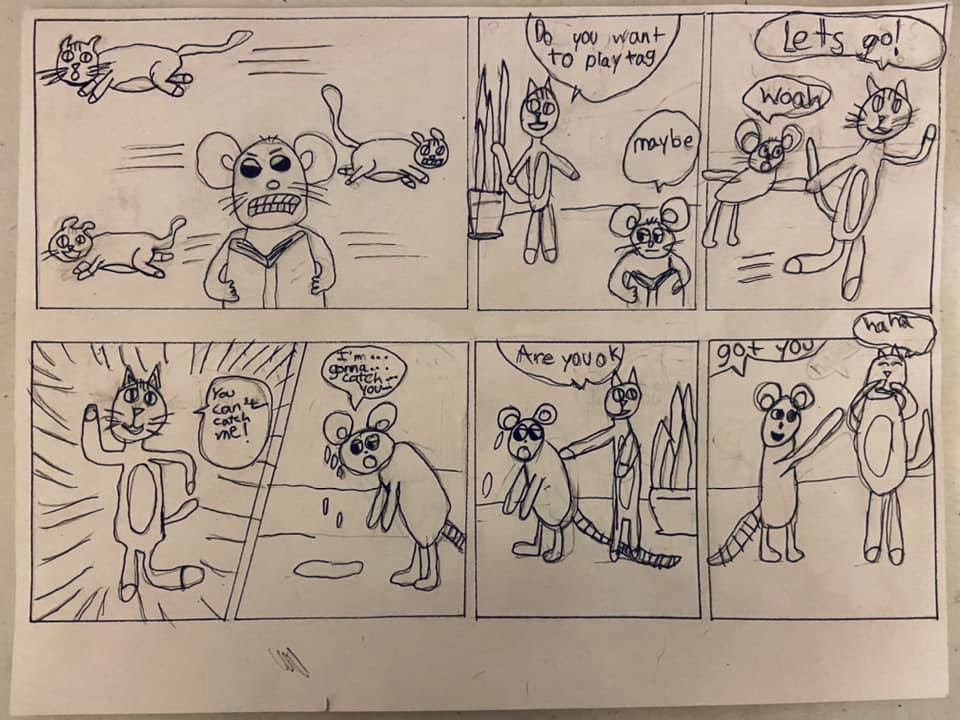
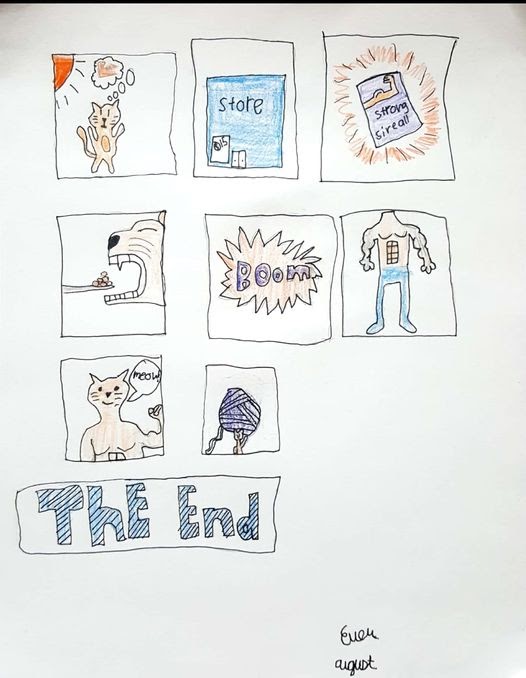
Artworks from Creativity School by Cayton T-B (top-left), Courtney K (top-right), Naia L (bottom-left), and Ever A (bottom-right)
Now that you know the overview on how to make a comic, try to make a one-page comic using post-it notes, and share it to our Creativity School Facebook Group!
Did you learn a lot about our lesson? Share your thoughts in the comment section below.
Visit Creativity School for more creative lessons.
Creative Kids Live
- Celina G.
On Demand Class
—Miao
