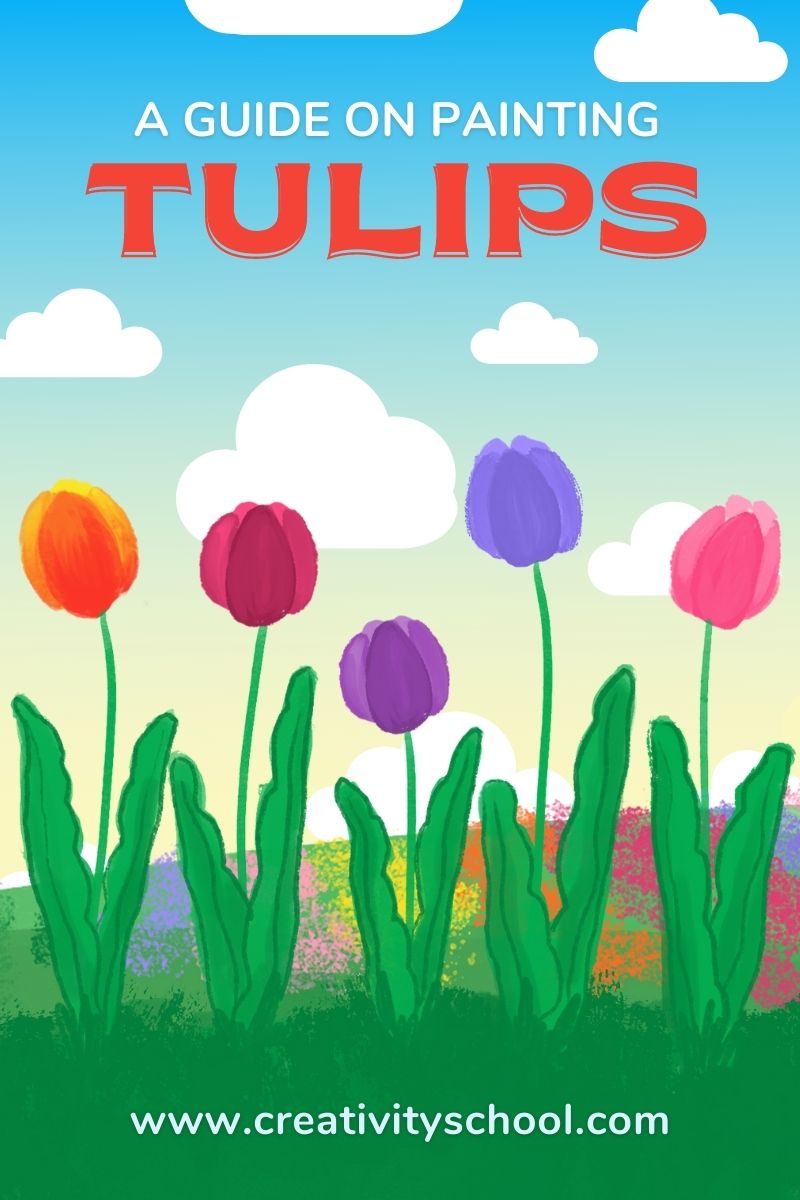
How To Draw and Paint a Tulip Easy Step-by-Step Guide
Make some beautiful flower garden artwork with our easy tulip drawing and painting tutorial!
Our step-by-step guide makes it super easy and fun for kids to follow along and create their own beautiful tulips!
Enjoy and have fun drawing and painting!
Recent Posts
Learn How To Draw and Paint at Creativity School!
Let’s begin the creative journey of your kids and enhance their potential this 2021!
Our award-winning artists give away free LIVE art classes from the Creativity School.
Learn how to make collages, animations, pop-up cards, draw ninjas, characters, paint, and much more!
The beauty of tulips
Tulips are one of the most amazing and special flowers in the world, especially in the beautiful place of Amsterdam in the Netherlands.
The vibrant colors of red, pink, and yellow of the flowering tulip bulbs are wonderful in Amsterdam during the spring season. In fact, during Tulp Festival in the whole month of April, blooming tulips are bountiful everywhere: public areas of Amsterdam, museum gardens, city centers, and many more locations!
With our friend and Creativity School teacher, Alex Leon, let’s draw and paint this beautiful and amazing flower!
Let’s draw and paint a tulip
This amazing flower is so fun and easy to draw and paint. You can make a single bulb, or you can make a whole garden in just minutes!
Ready. Art. Go!
Materials
- Painting paper
- Acrylic paint set
- Scarlet red
- Cobalt blue
- Viridian green
- Lemon yellow
- White
- Paintbrushes (Small and Large)
- Mixing palette
Instructions
Step 1. Tulip Drawing: Flower Bud
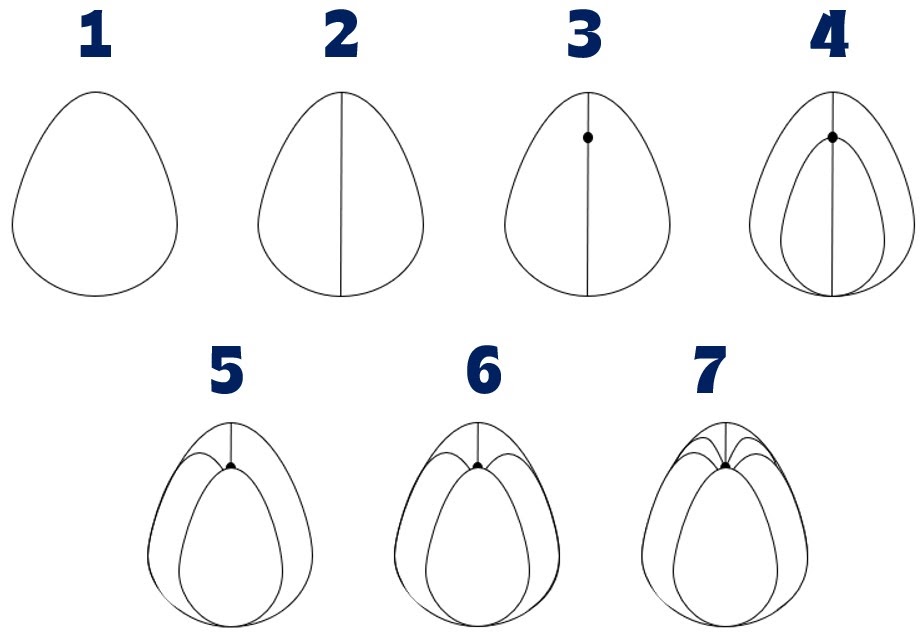
1. Draw a reference oval.
The reference oval should be egg-shaped. This is where we draw our tulip buds.
Do not draw thick lines
2. Draw a centerline along the middle of the oval.
The centerline is useful in drawing our tulip symmetrical.
3. Draw a dot near the top.
This is the center point, or the middle of the flower.
4. Draw the first petal.
From the dot, draw an oval down the curve of the reference oval.
5. Draw the second petal.
On the upper left side of the first petal, draw a curve line to the side, then down the curve of the reference oval.
6. Draw the third petal.
Like on the second petal, draw a curve line on the upper right side of the first petal to the side, then down the curve of the reference oval.
7. Draw the top petal.
With the dot in the middle, draw two slight curves on top of it.
Step 2. Tulip Drawing: Stem and Leaves
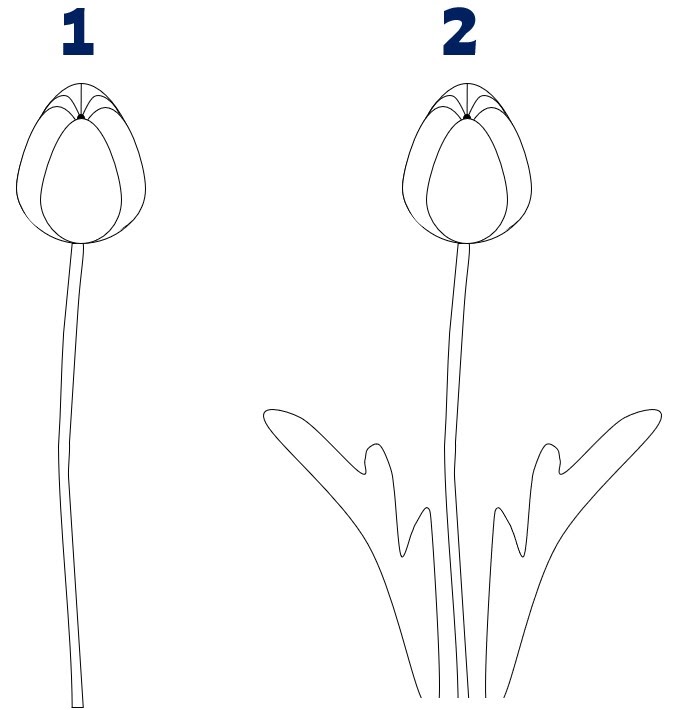
1. Draw the stem.
Draw two curved lines down from the tulip bud to the bottom part of the paper. You can decide how thick your tulip stem is going to be.
2. Draw the leaves.
First, draw the outside curve. Then, draw three hook-shaped inside curves.
Step 3. Tulip Painting
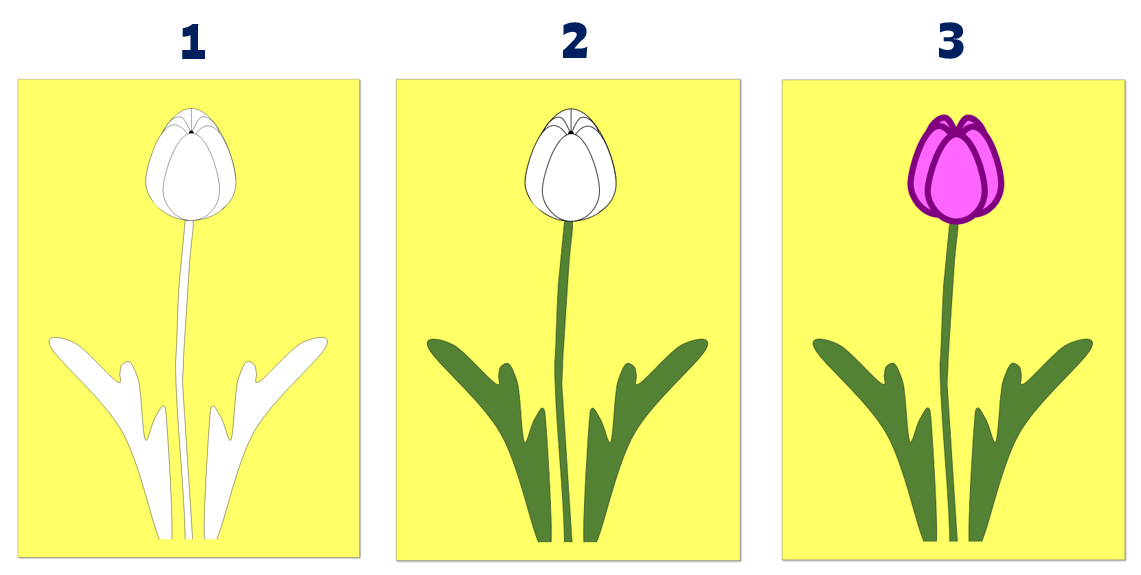
1. Paint the background a base yellow.
You can use a larger brush for the big spaces. Likewise, you can use a smaller brush for the detailed parts, like the areas around the tulip.
2. Paint the stem and the leaves green.
Mix a little bit of yellow acrylic paint to the green, then paint the stem and leaves.
This mixing creates harmony between the two colors making the painting more beautiful and vibrant.
3. Paint the petals with purple.
Mix blue and red acrylic paints to make purple, then paint the outline of the petals.
Add a small amount of white to the purple to make it lighter, then paint the inside of the petals.
You can use other colors (you like) to paint the petals.
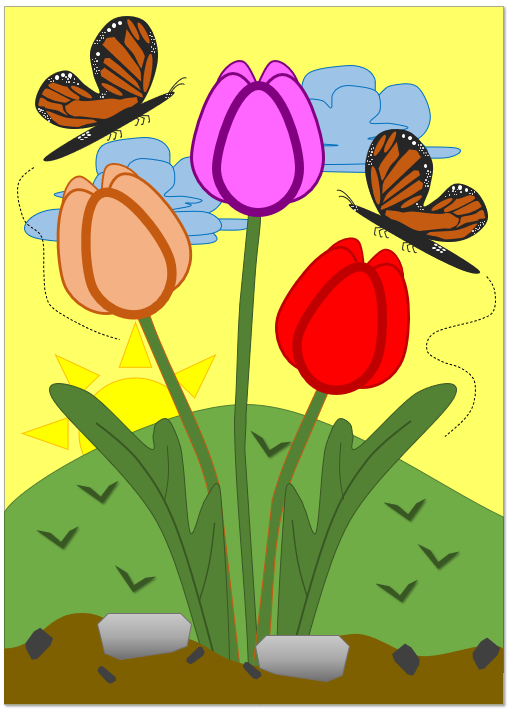
Step 4. Add additional details to your tulip painting.
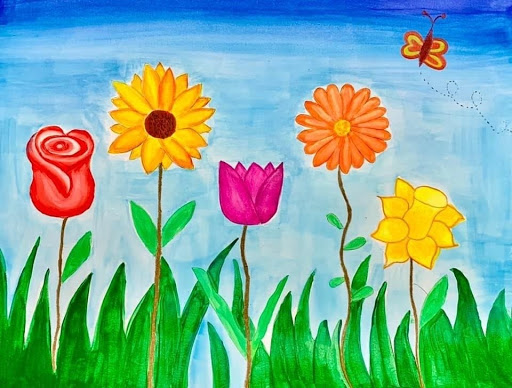
Add additional objects like rocks, grasses, and butterflies to make your tulip painting more beautiful!
Wow! You’ve painted wonderful and colorful tulips! Great job!
Tips for art-mazing success:
- Paint from right to left (right-handed) or right to left (left-handed) for smooth brushing!
- Paint more tulips to make a tulip garden!
- Explore with different colors to paint your background.
Here are some of the beautiful tulip paintings created at the Creativity School by our young artists!
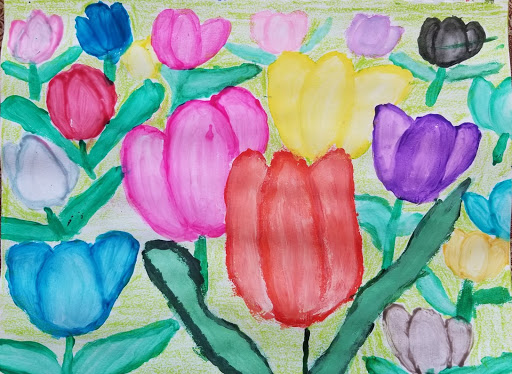
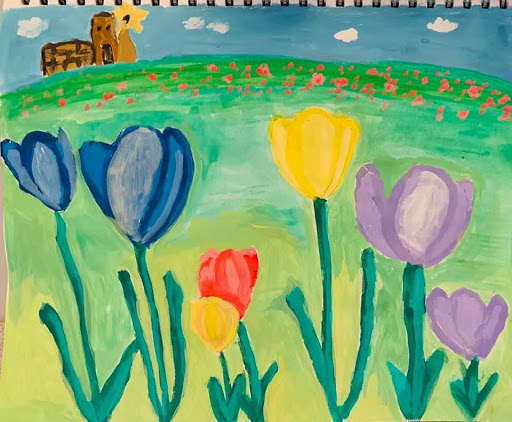
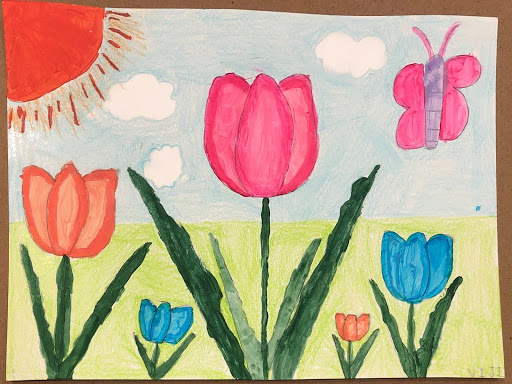
Artworks from Creativity School by Avni S (top left), Charlotte C (top right),
Vijittasree B (bottom left), and Ria S (bottom right)
If you love tulips or flowers, in general, and enjoyed this painting tutorial, share your thoughts in the comment section below.
Visit Creativity School for more drawing and painting lessons.
Here are other fun painting lessons at Creativity School.
Creative Kids Live
- Celina G.
On Demand Class
—Miao