Principles of Animation: Anticipation and Pose-to-Pose
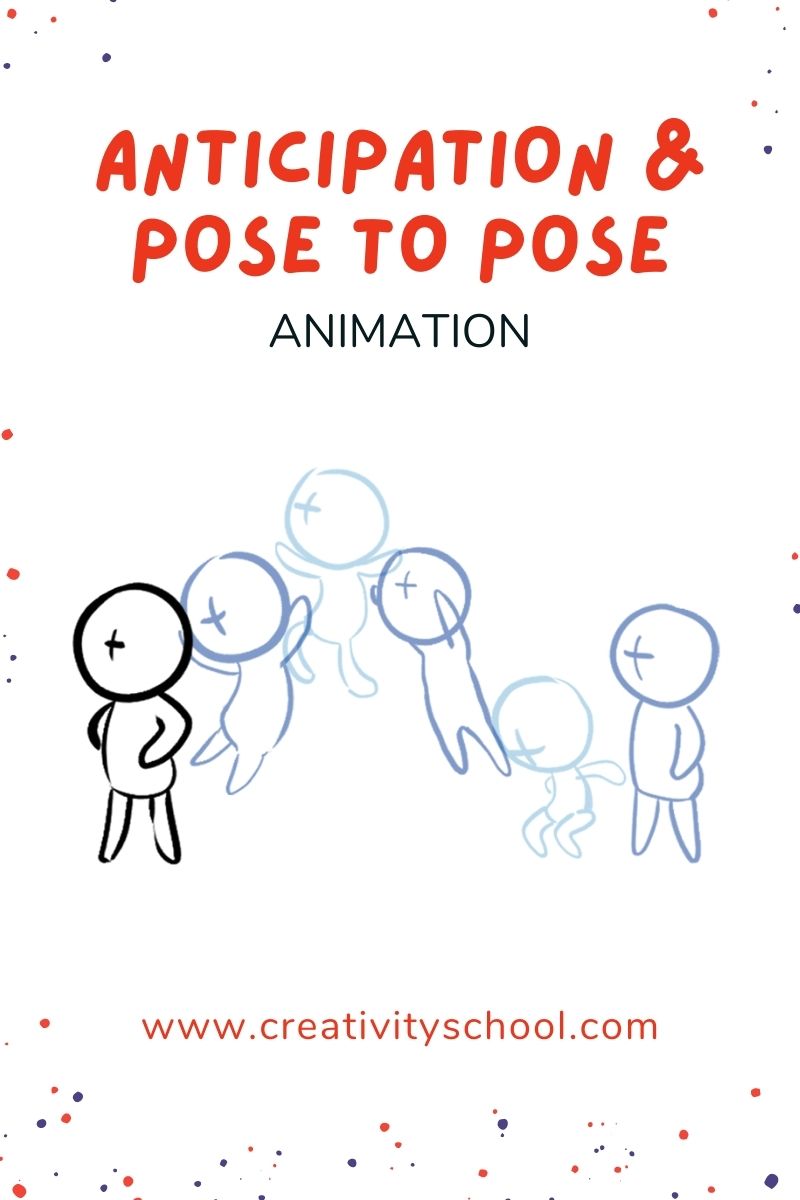
Learn two principles of animation- Anticipation, and Pose-to-Pose!
In our previous blog, we’ve talked about Squash and Stretch and taught you how to animate a bouncing ball. Now, we’re gonna study these two key principles of animation.
We'll be able to make a jumping cartoon and hit a golf ball in this activity.
Let’s get started!
Recent Posts
Learn the Basics of Animation at Creativity School!
Let’s begin the animation journey of your kids and enhance their creative potential this 2021!
Our award-winning artists give away free LIVE art classes from the Creativity School.
Learn how to make animations, pop-up cards, draw ninjas, characters, paint, and much more!
What is Anticipation?

Anticipation is the small action that happens before the main action.
We set up the main action that is about to happen whenever we have the anticipation.
What is Straight Ahead vs. Pose to Pose?
Straight-ahead and pose-to-pose are two different ways to do your animation.

Straight ahead means making your animation frames in sequence from start to finish.
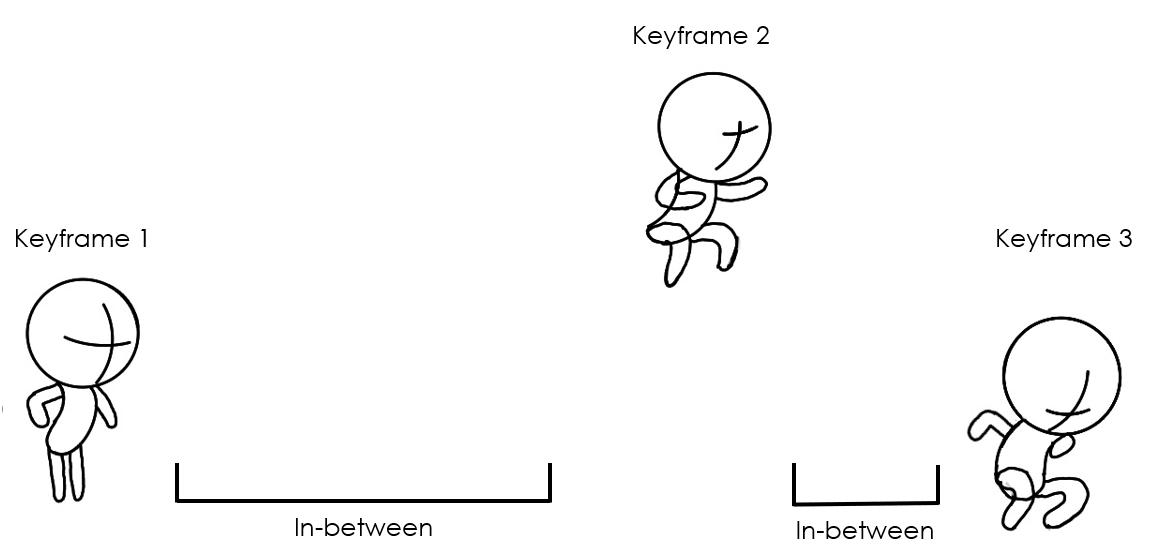
Pose-to-pose means planning out your keyframes first before adding the in-between poses or frames.
As compared to straight ahead, doing pose-to-pose makes our animation smoother in each transition.
Jumping animation
For this activity, we’ll do the jumping animation to demonstrate anticipation and pose-to-pose.
Let’s start!
Materials
- Small rectangular papers
- 1 pencil/pen
Instructions

Step 1. Get 3 pieces of rectangular papers and label them with KF1, KF2, and KF3.
These will be our keyframes.

Step 2. On each of the papers, draw a reference line at the bottom.
This line is the ground from where our character/cartoon jumps.

Step 3. Let’s draw our cartoon and the 3 key poses.
For our cartoon, draw a bean-shaped body and a circle for the head. Then draw a sausage-like shape for the arms and legs.
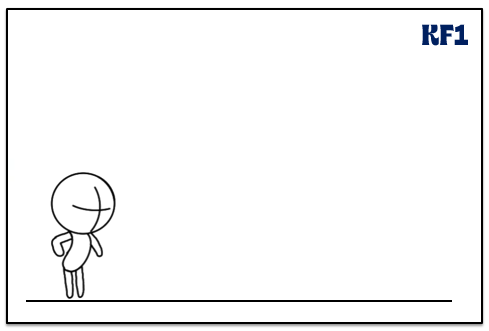
Key pose 1. Standing
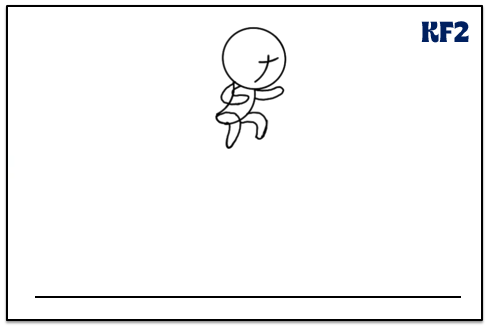
Key pose 2. Max jump
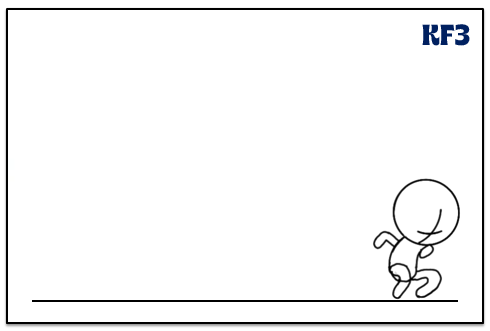
Key pose 3. Landing
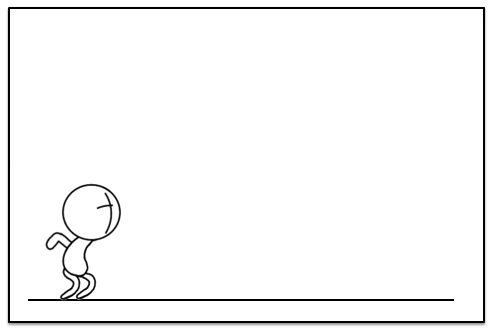
Step 4. Get another piece of rectangular paper and draw the “Anticipation” pose.
This is usually the action after the first keyframe.
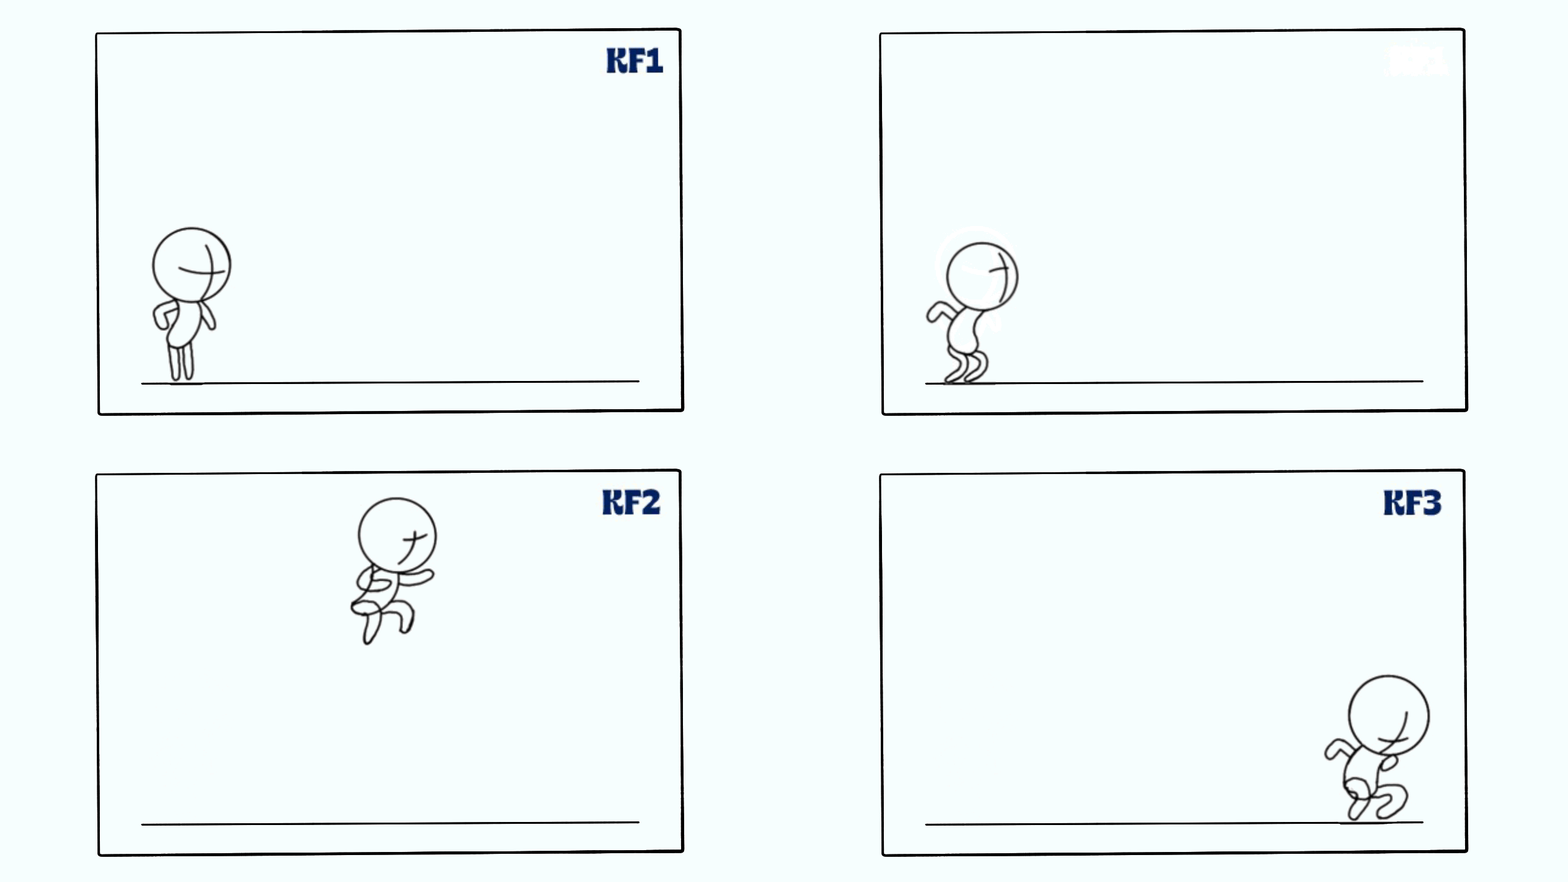
Step 5. Let’s try to flip it!
Arrange the papers: KF1, Anticipation, KF2, and KF3, one on top of the previous.
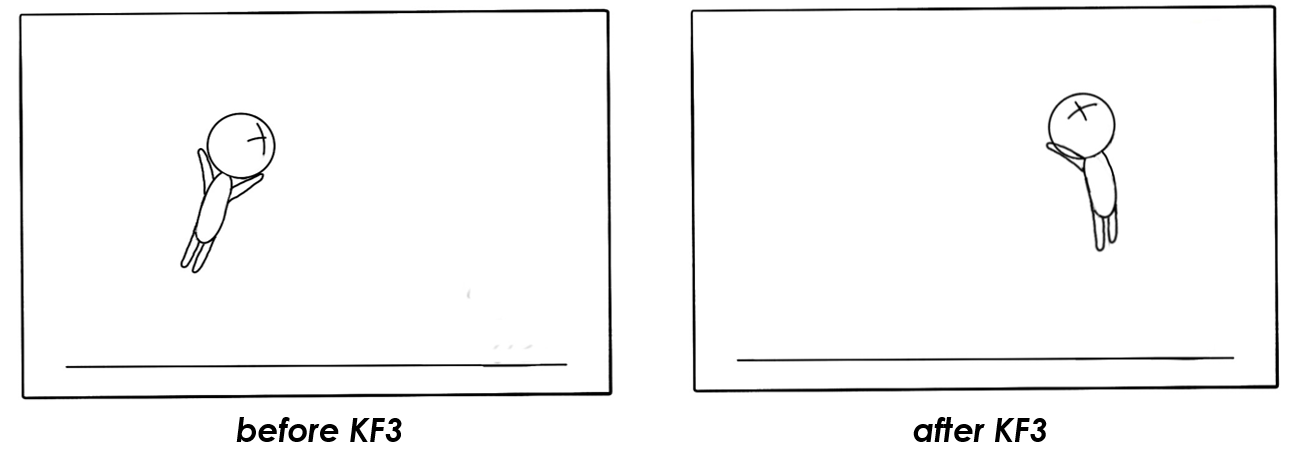
Step 6. Add In-Between Poses.
Get two pieces of rectangular paper and draw in-between poses before and after KF3.
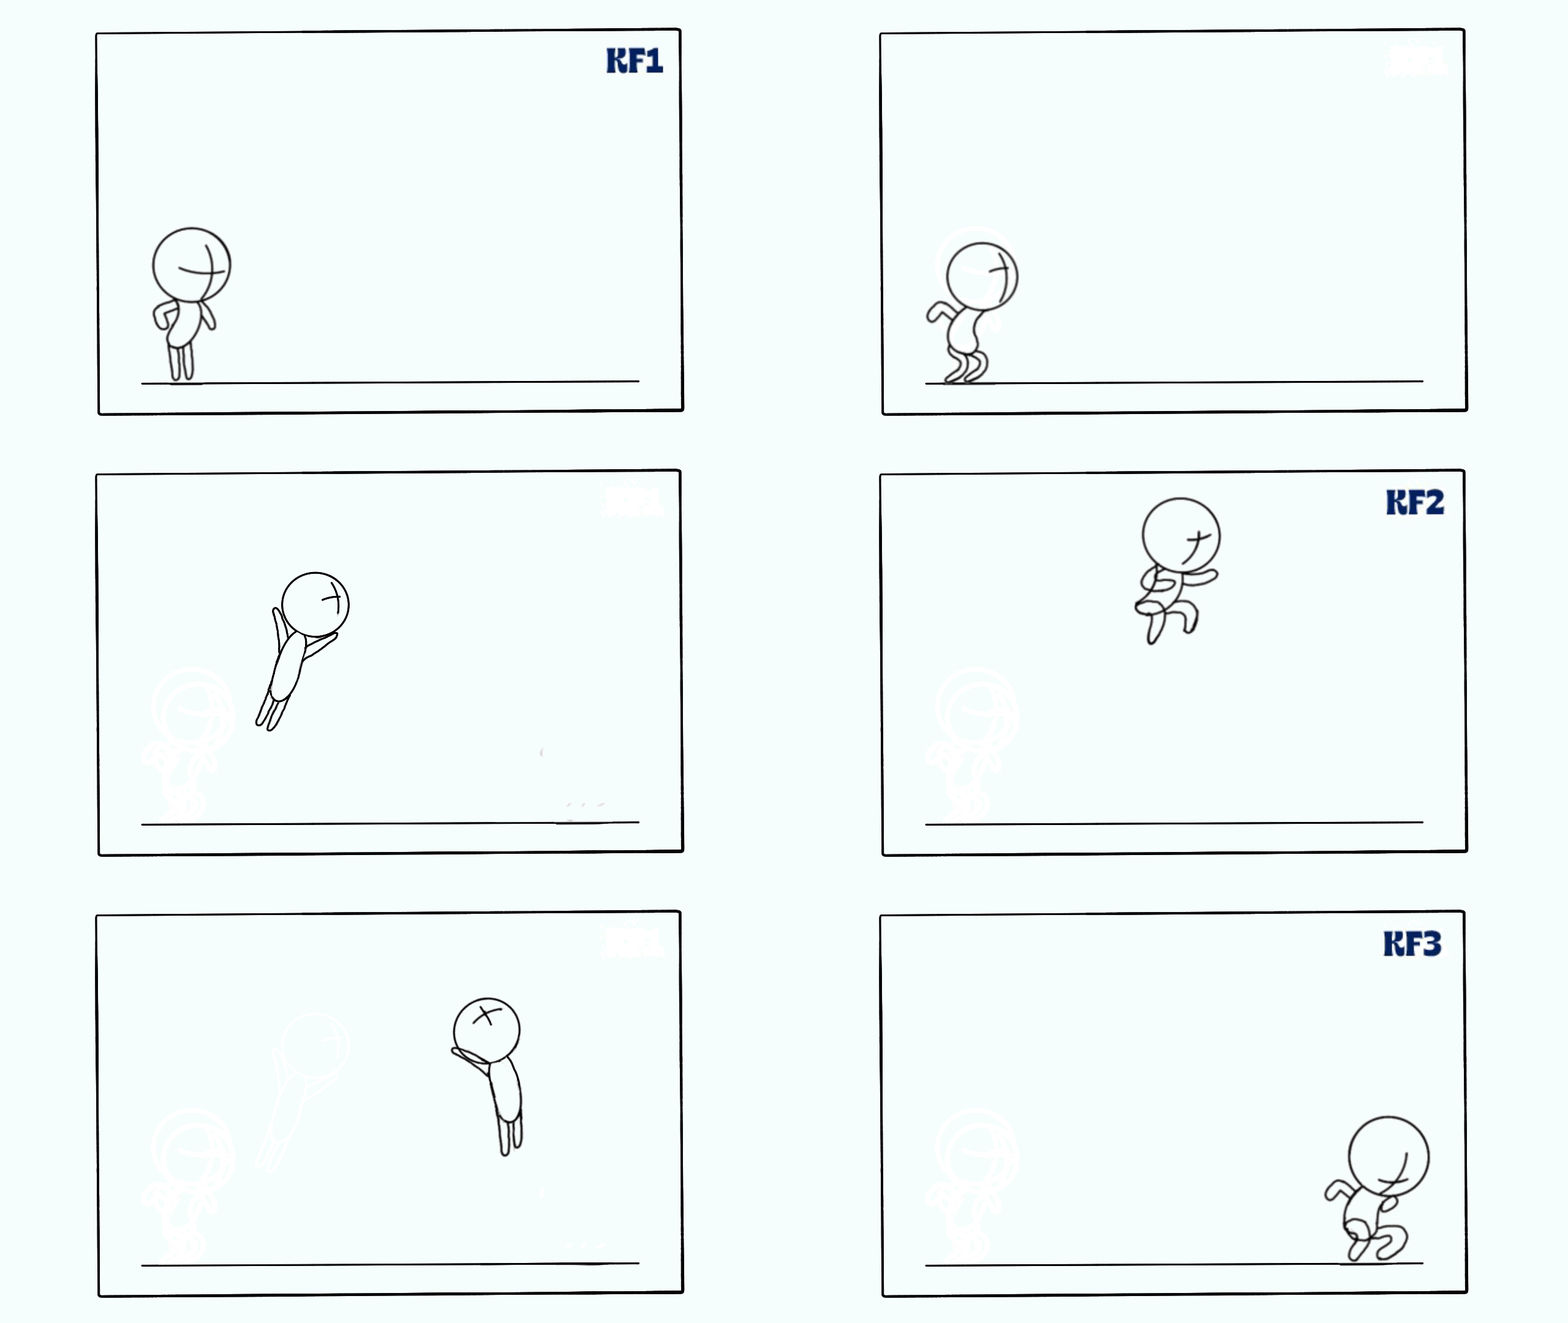
Step 7. Flip it again and see the difference!
Add the in-between frames before and after the KF3 paper, then flip.
You can see that the in-between poses make the transition smoother as compared to your first animation.
Now you already know the basics of anticipation and pose-to-pose animation principles! Good job!
Practice time!

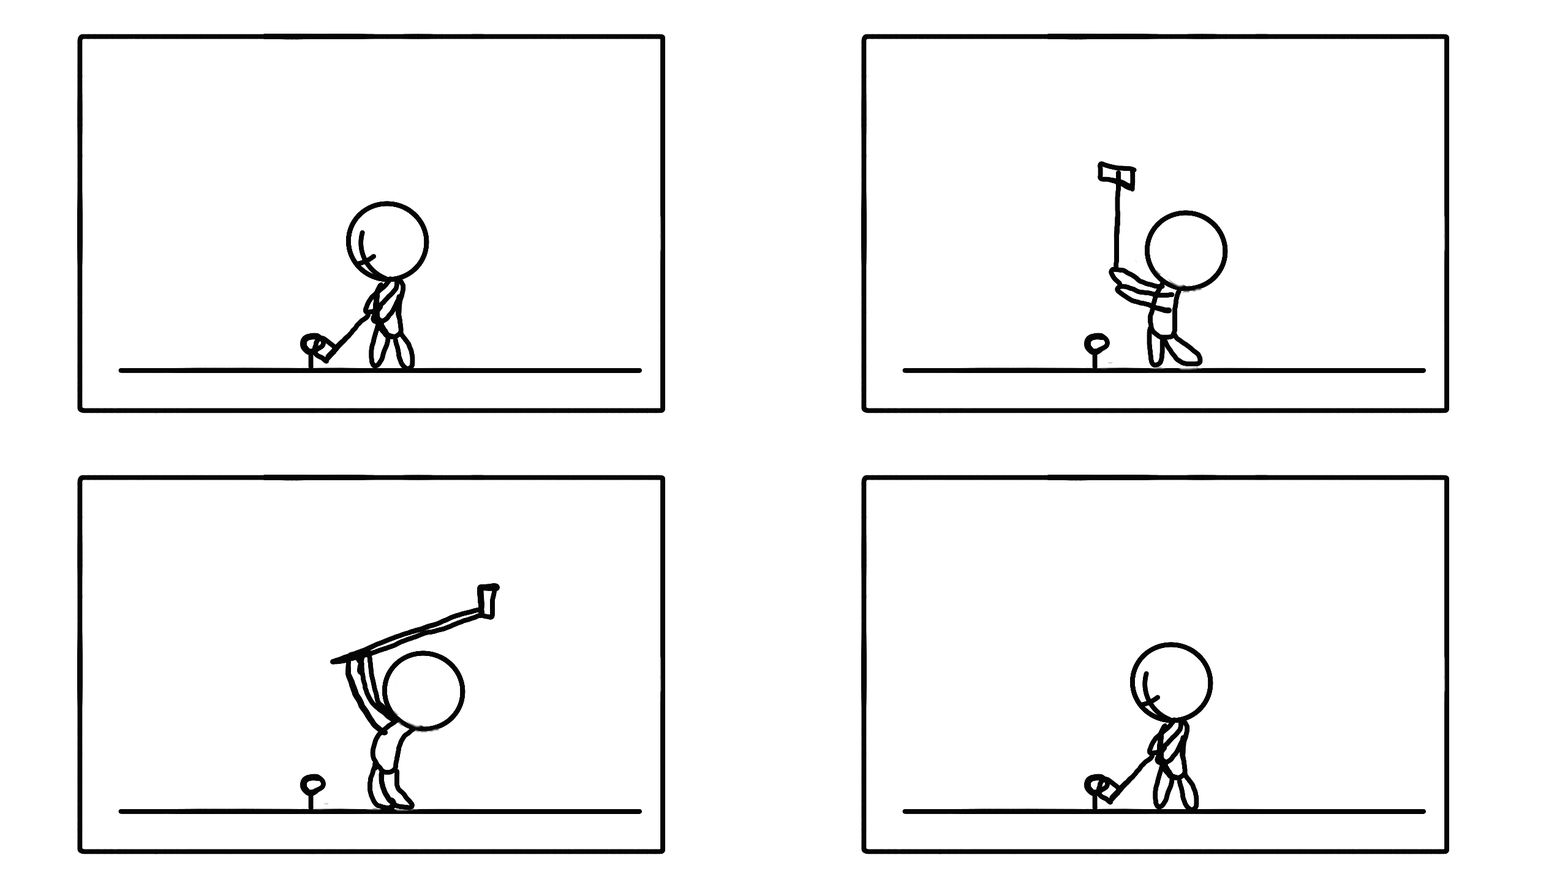
Practice those skills by making this simple golf swing animation! You can repeat and add more frames for a longer transition.
Hold the pages when you’re done, then flip them to animate!
It can look like this in your final animation!
Tips for art-mazing success:
- If you have an iPad or a tablet, I highly recommend that you try FlipaClip. It is an awesome app that lets you do digital animation just like a flipbook!
- You can add more in-between frames for an even smoother transition.
Want to learn more about animation?
Check out this awesome blog about one of the 12 basic principles of animation: Squash and Stretch!
Creative Kids Live
- Celina G.
On Demand Class
—Miao
