How to Make A Forest Paper Collage
Looking for some simple craft activity that kids can do? A forest paper collage is a great one.
Paper collage is all about cutting or tearing papers into various shapes and sizes for pasting and assembling. It helps kids build their fine motor skills and awareness of different colors and textures.
Let's start and create a playful and colorful work of art!

Recent Posts
Table of Contents
Learn how to make a collage at Creativity School!
Let’s celebrate creativity with your kids and enhance their potential this 2021!
Our award-winning artists give away free LIVE art classes from the Creativity School.
Create fun and crafts like collages, animations, pop up cards, and much more!
How to Make a Forest Paper Collage (Overview)
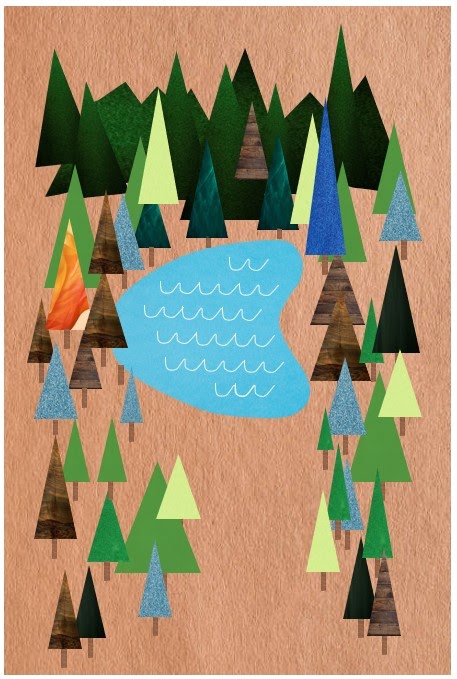
It's time to put those papers to good use and create some fantastic art that we'll love even more.
Collage art is open-ended, and we're free to use any materials to create a unique artwork. It is simple to make, and you can do it at your own pace and time.
Sit and create together with your child. You can talk about what they're doing or ask questions like, “I love how you turn this blue paper into a lake!” or “This will be nice to hang on our wall.”. This will improve their imagination and let them have a feel of what they're creating.
Collage also teaches them to be resourceful and builds confidence that anything they make is lovely and perfect.
Watch the full video tutorial below.
Materials
- Glue
- Scissors
- Green paper
- Light blue paper
- Dark green paper
- Brown crayon
- Blank sheet of paper
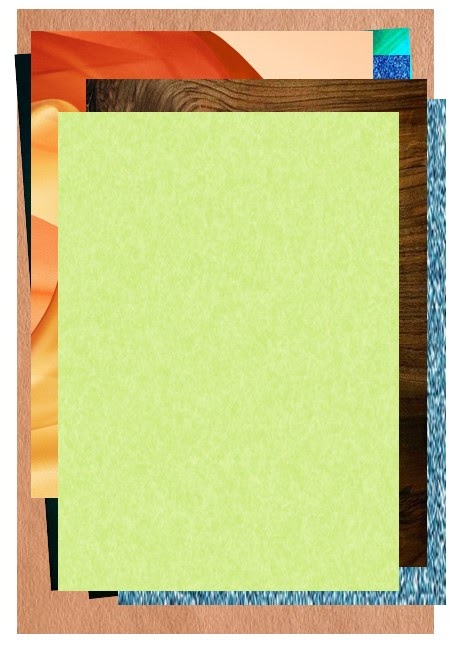
Step 1. Get the needed papers and your paper collection ready!
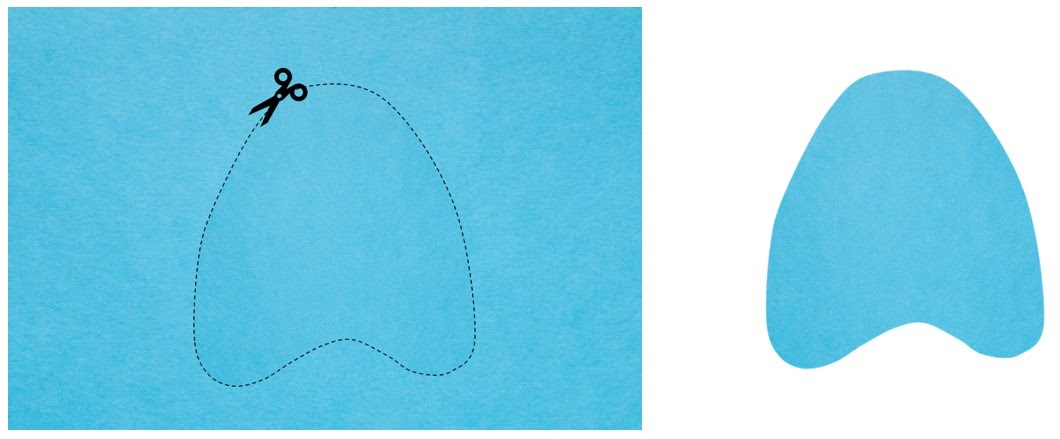
Step 2. On blue paper, draw a lake outline, then cut.
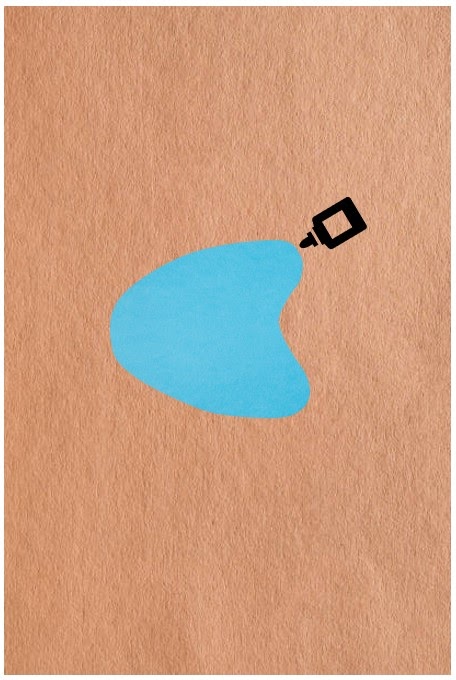
Step 3. Paste the lake cutout on top of a blank sheet of paper.
You can use white bond paper, or you can choose any color you want.
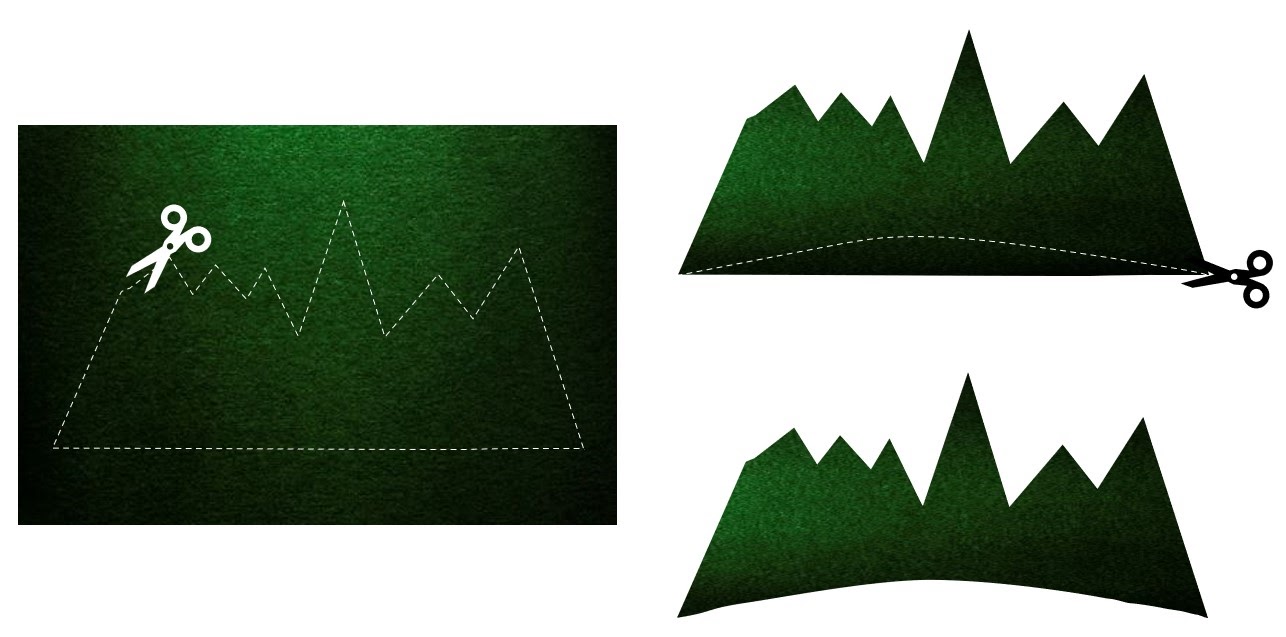
Step 4. On green colored paper, draw a mountain outline, then cut.
You can cut to a curve the bottom part to style.
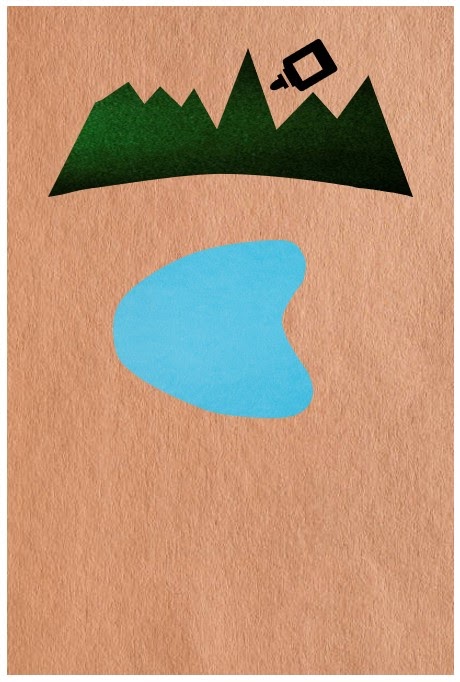
Step 5. Paste the mountain cutout on top of the lake.
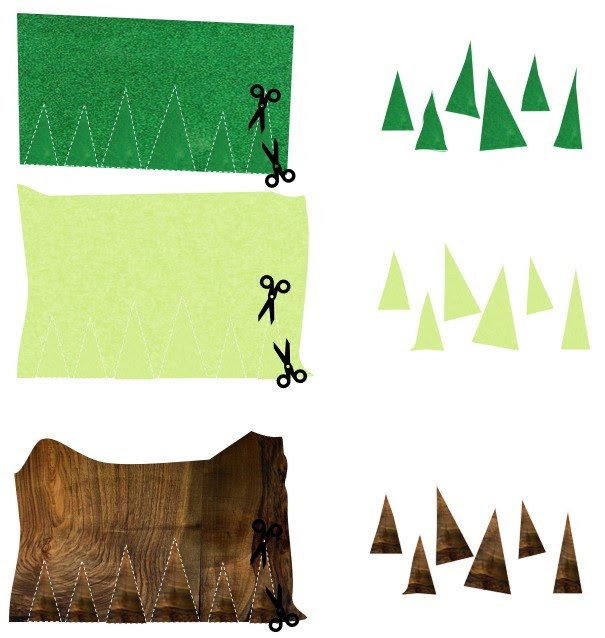
Step 6. Cut a lot of small triangles in varying sizes on any paper that you like. These will be the trees in our forest collage.
An easy way to cut the triangles is by moving your pair of scissors alternately through the paper. You can use different colored papers or use specialty papers with unique designs.
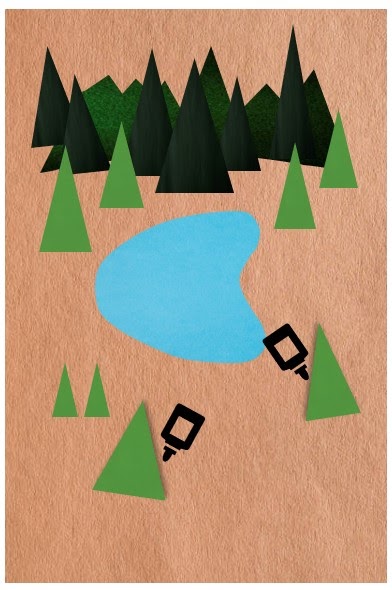
Step 7. Arrange and paste all the triangle cutouts on your collage.
You can arrange the trees on your collage any way you want.
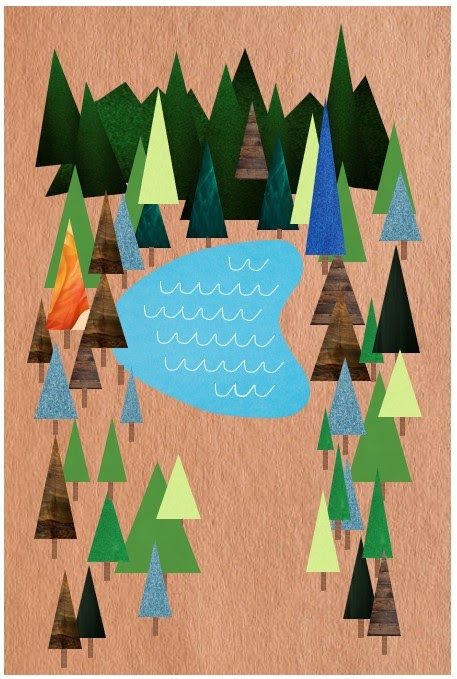
Step 8. Using a brown marker, draw small straight lines for the tree trunks.
Draw wave patterns on the lake with a white pencil crayon, or you can add objects you like for a beautiful finish!
Tips for art-mazing success
- This fun and simple activity need the use of scissors. TAKE EXTRA CARE while handling them or ask help from your parents or guardian.
- If you don't have the art supplies or the paper colors needed, you IMPROVISE! Collage is also about being RESOURCEFUL!
- It's okay to get messy! It's part of our learning!
- Don't throw away papers! You can use them in creating other collage next time.
Check out some special and colorful creations by our young artists at the Creativity School.
Here's how I added simple fishes drawing to our artwork.
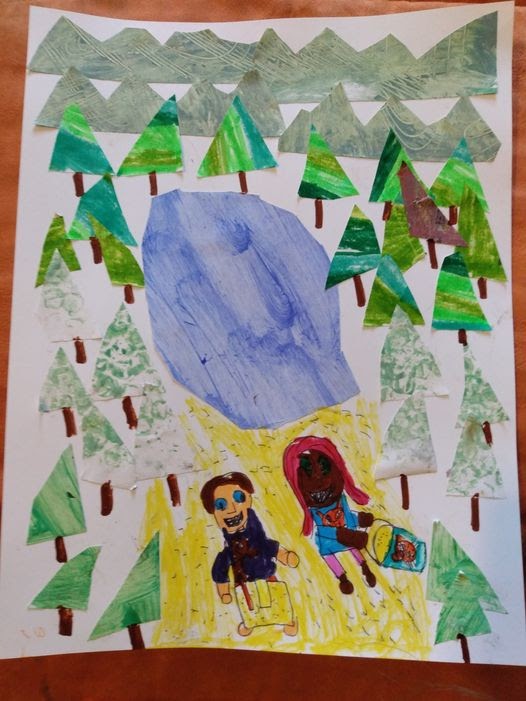
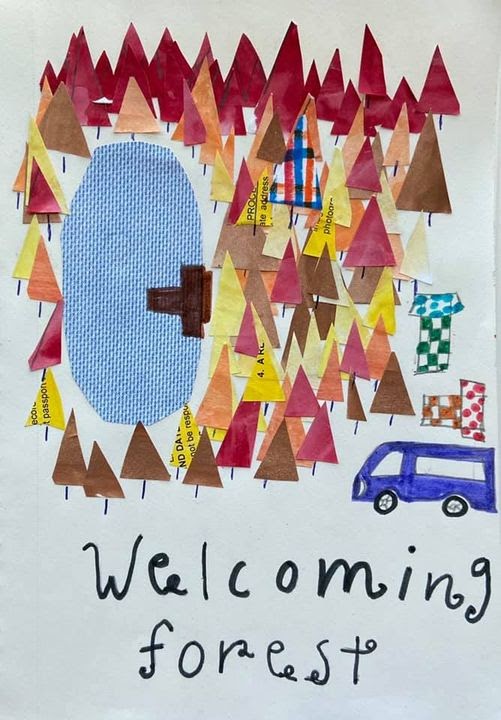
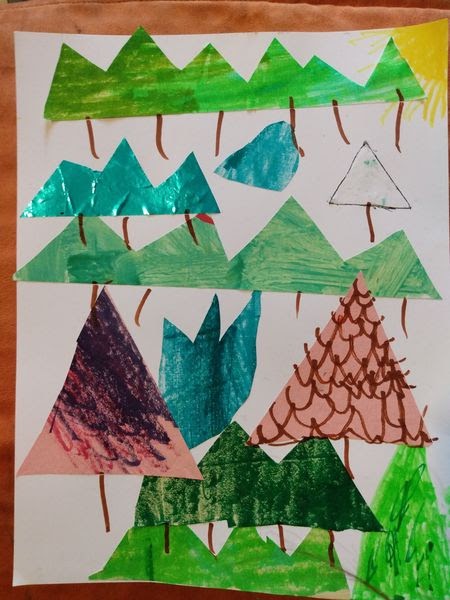
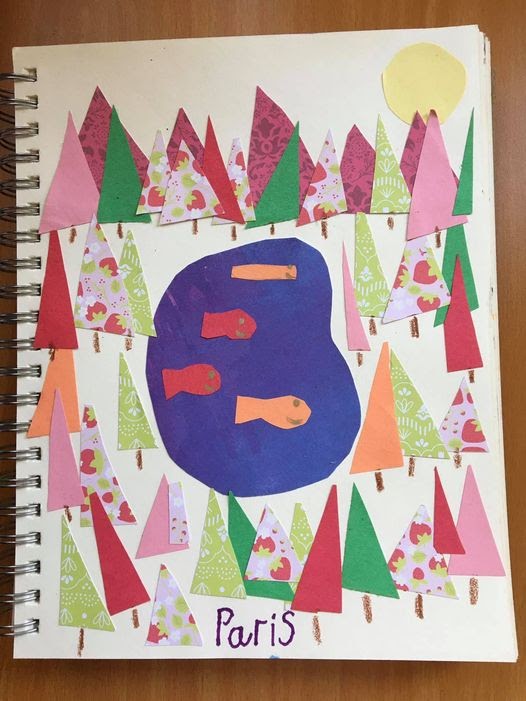
Forest collages crafted at Creativity School by R (top-left), Khaia (top-right), L (bottom-left), and Paris (bottom-right)
Share your beautiful forest collage in a comment below!
If you enjoy this collage activity, try other collage art ideas below.
Creative Kids Live
- Celina G.
On Demand Class
—Miao
Related Blogs
It seems we can't find what you're looking for.
